

Generate raster tiles from QGIS project#
Generate zipped raster tiles from an archive with QGIS project and data.
Inputs:
ZIP file containing QGIS project and data files;
Polygons file - Optional file with polygons. Tiles will be generated for each polygon and stored into one catalog. This may be faster for non-rectangle regions;
Extent. If empty, a combined extent of all layers will be used. It may unexpectedly calculate an extent of the entire planet, then the tool will take a lot of time to process. Options to set the extent are: 1) upload a file with polygons - it’s handy if you need tiles for a complex area, along a coastline, for example, 2) mark it on a map, 3) draw it on the map and then correct the numbers or 4) enter the extent manually following the format ‘xmin, xmax, ymin, ymax’. Enter coordinates in WGS 84 (EPSG:4326), for example
-7.3,42.1,10.5,50.5;Min zoom level - between 0 and 25, the default value is 0;
Max zoom level - between 0 and 25, the default value is 9;
Output format - pick one of the options from the list:
PNG - ZIP-archive with PNG tiles;
JPG - ZIP-archive with JPG tiles;
MBTiles (mbtiles) - single .mbtiles file with PNG tiles inside;
DPI - image resolution in dots per inch, between 48 and 600, the default value is 96;
Quality for JPEG - the level of image compression between 1 (more compression, low quality) and 100 (max quality), the default is moderately compressed, 75;
Metatile size - between 1 and 20, the default value is 4;
Tile height in pixels, the default is 255;
Tile width in pixels, the default is 255;
Background color in RGBA, if not specified, 0,0,0,0 (transparent) will be applied.
Output:
MBTiles file or ZIP archive with tile images organized into folders.
Launch the tool: https://toolbox.nextgis.com/t/qgis_rastertiles
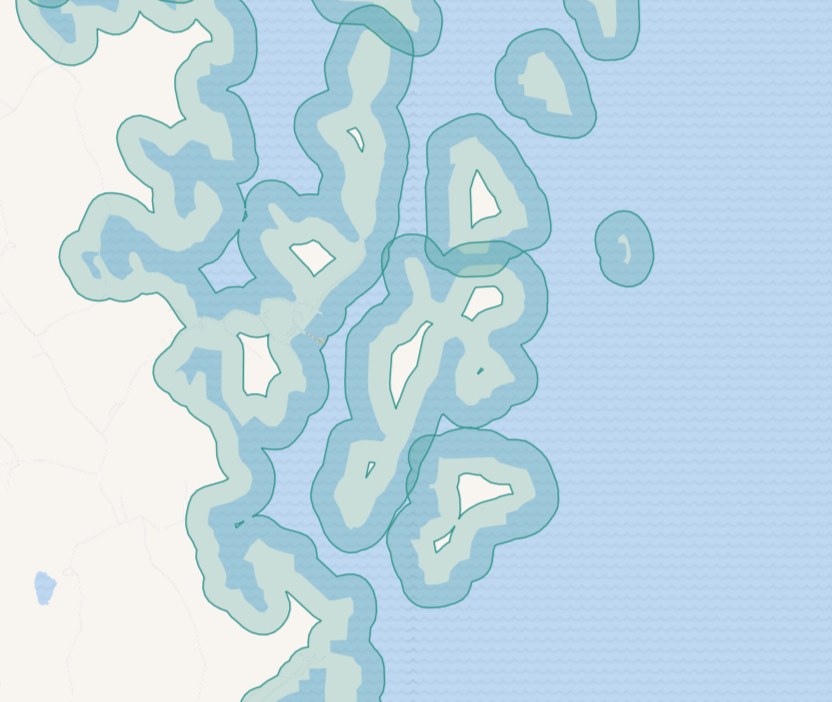
Fig. 247. Example polygons with complicated geometry used to calculate the extent#
Try the tool in action
Click on the Demo button above the tool form. The fields are filled in with demo values.
Click on the Run button.