Uploading elevation data#
What is a terrain (DEM - Digital elevation model) - is a digital representation of the earth’s surface as a continuous phenomenon describing it with some precision, in the form of a raster or regular grid of cells of a given size.
For the Cesium client the relief is a TMS service in the EPSG: 4326 projection which renders tiles in a special quantized-mesh format. As a source of heights the terrain provider uses either a raster layer with a loaded single-band image or a TMS service that returns heights in a specially encoded RGB raster.
Of the TMS services, Mapzen and Mapbox are supported.
Getting mesh from TMS connection.
To connect the Terrain-RGB terrain you need to create a TMS connection (Fig. 679.).
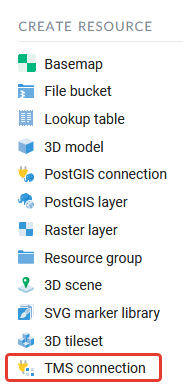
Fig. 679. Selecting a TMS connection resource#
The first step is to name the TMS connection (Fig. 680.).

Fig. 680. Selecting a TMS connection resource#
Description and metadata tabs are optional. When creating a connection be sure to configure the parameters of the TMS connection tab (Fig. 681.). To connect to the Mapbox terrain you need to specify a custom connection method, URL template, parameter and the API key itself, auth username and password. All settings are described here, an api-key of access token is generated when logging on https://account.mapbox.com/. You can also Skip SSL/TLS certificate verification and specify tiling scheme. After you specify all the parameters created TMS connection (Fig. 682.).
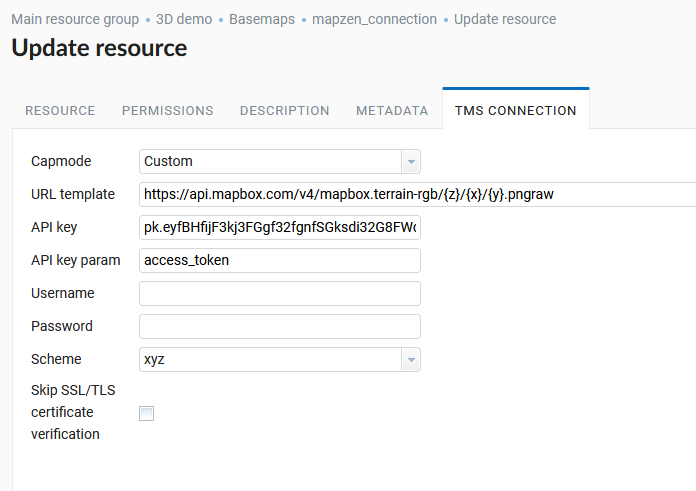
Fig. 681. TMS connection resource settings#
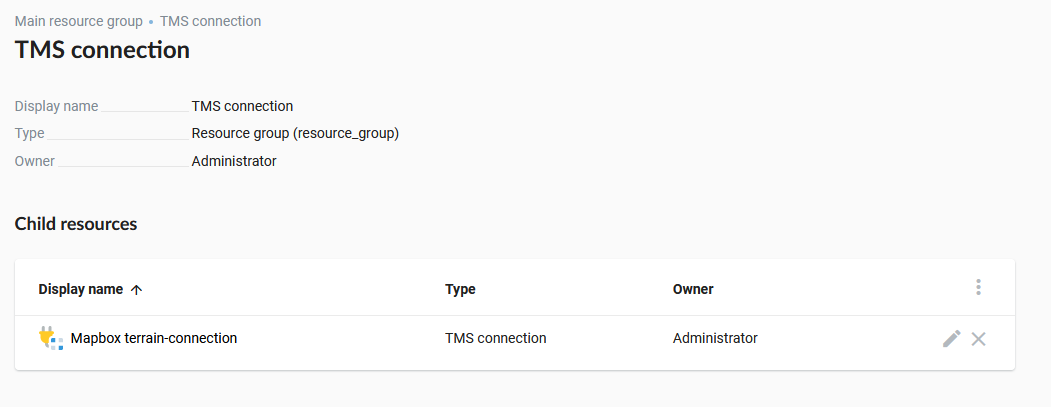
Fig. 682. Created TMS connection resource in NextGIS Web#
Next you need to create a TMS layer for the Mapbox terrain based on the ready-made TMS connection (Fig. 683.).
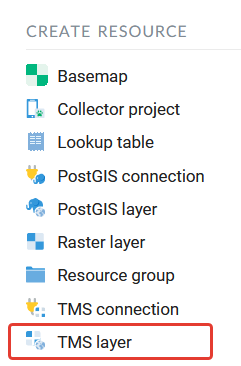
Fig. 683. TMS layer resource selection#
By analogy with other types of resources the name, description and metadata are also set. (Fig. 684.).
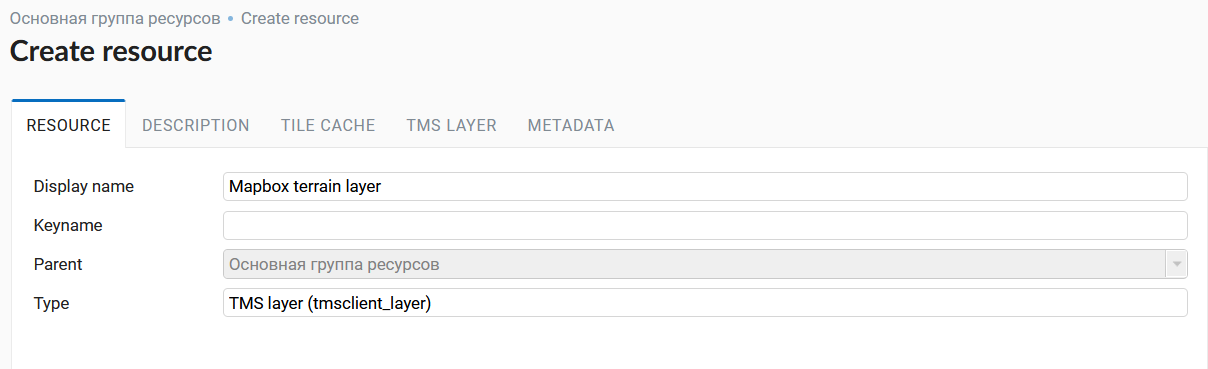
Fig. 684. TMS layer resource selection#
The TMS layer tab contains settings for connection through the TMS connection resource created earlier which must be specified in the appropriate field (Fig. 685.). If necessary you should specify additional parameters depending on the specifics of the loaded terrain. For Mapbox terrain you must specify the maximum zoom level - 15 (Fig. 686.).
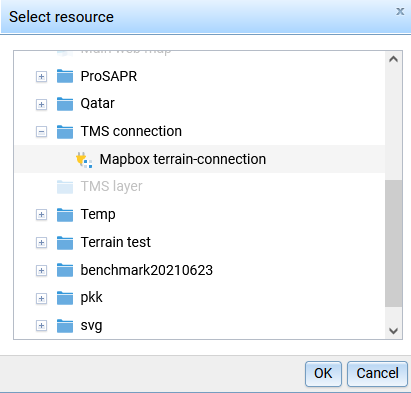
Fig. 685. Selecting TMS connection resource for TMS layer#

Fig. 686. TMS layer connection parameters#
After saving the TMS layer it will appear in the corresponding NextGIS Web directory (Fig. 687.), and its child resource, Terrain, will become available (Fig. 688.). For it, you must specify the name and encoding (Fig. 689.).
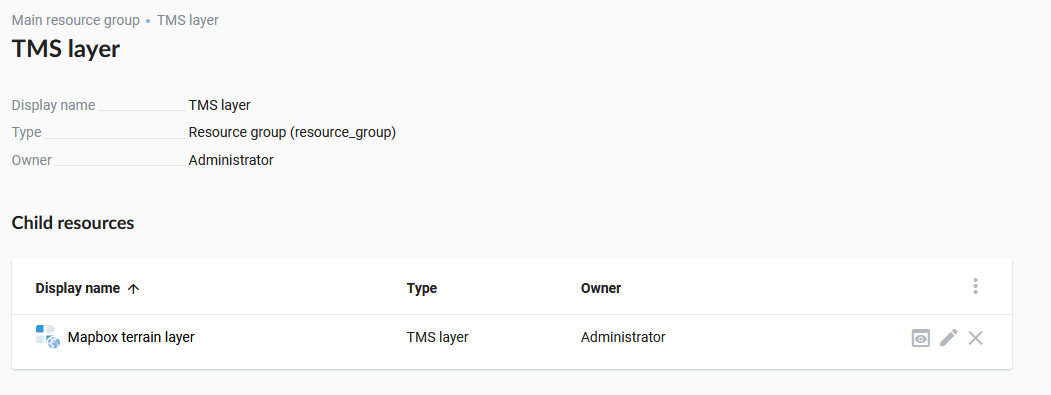
Fig. 687. TMS layer connection parameters#
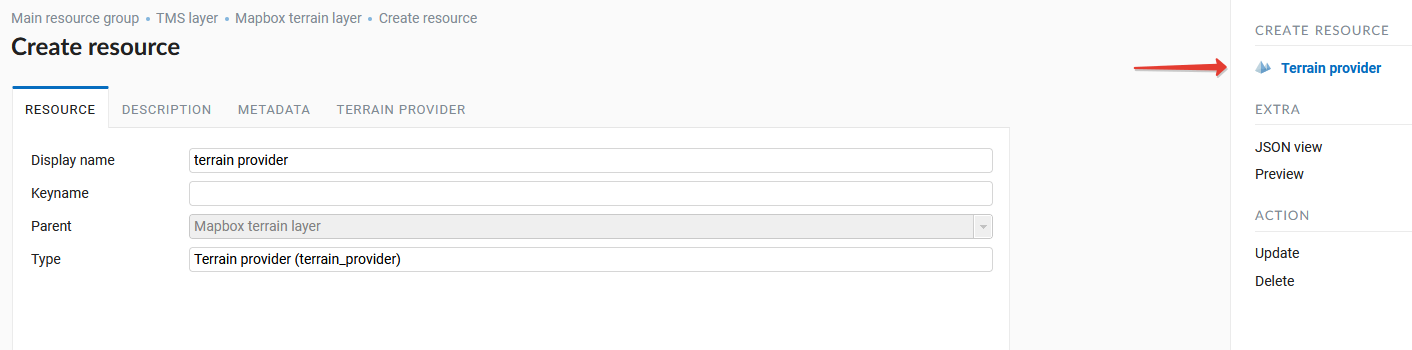
Fig. 688. Child resource ‘Terrain provider’ of the TMS layer#
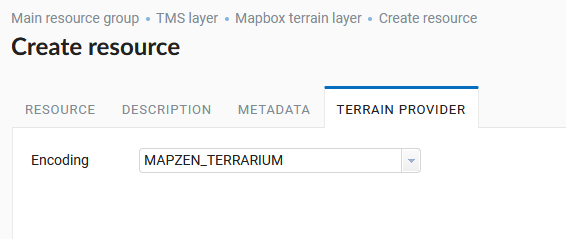
Fig. 689. Terrain encoding selection#
After creating a resource it will appear in the corresponding NextGIS Web directory (Fig. 690.).
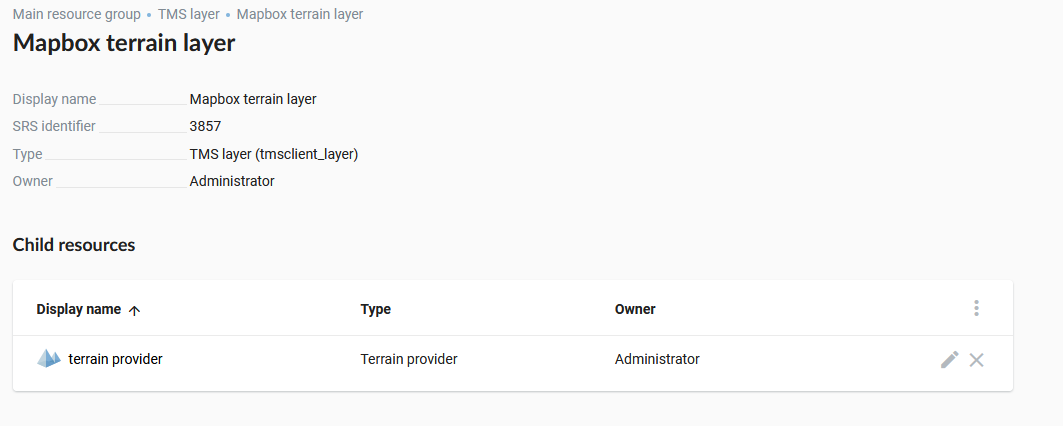
Fig. 690. Created resource ‘Terrain provider’ in NextGIS Web#