7.4. Adding resources
NextGIS Web is built on a resource-based approach - each component of the system (layer, group, service) is a resource. One of these resources is a layer - a raster image or a vector file (database table).
For each layer you can create an unlimited number of styles - ways to visualize geodata on a Web Map.
Interface for adding of PostGIS layers, vector and raster layers is practically the same. First, you specify the parameters for the layer, and then you add a style that renders data on the Web Map.
To create a new resource, open the group where you want to add it and press Create resource button. Then in the pop-up window select the resource type. The window opens on the full list of available resource types.
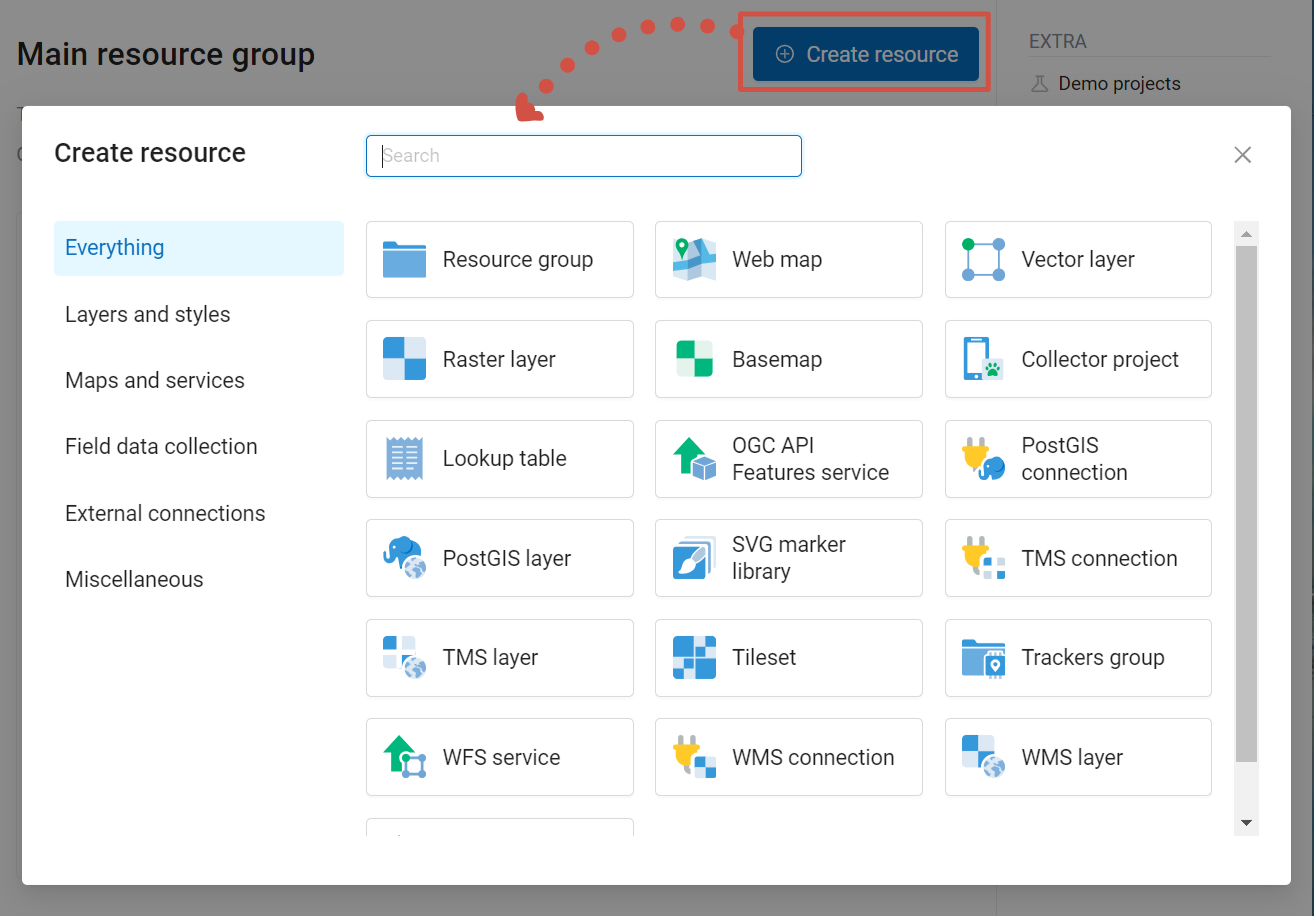
Pic. 7.25. Create resource window
To find the resource type you need faster, use the search bar.
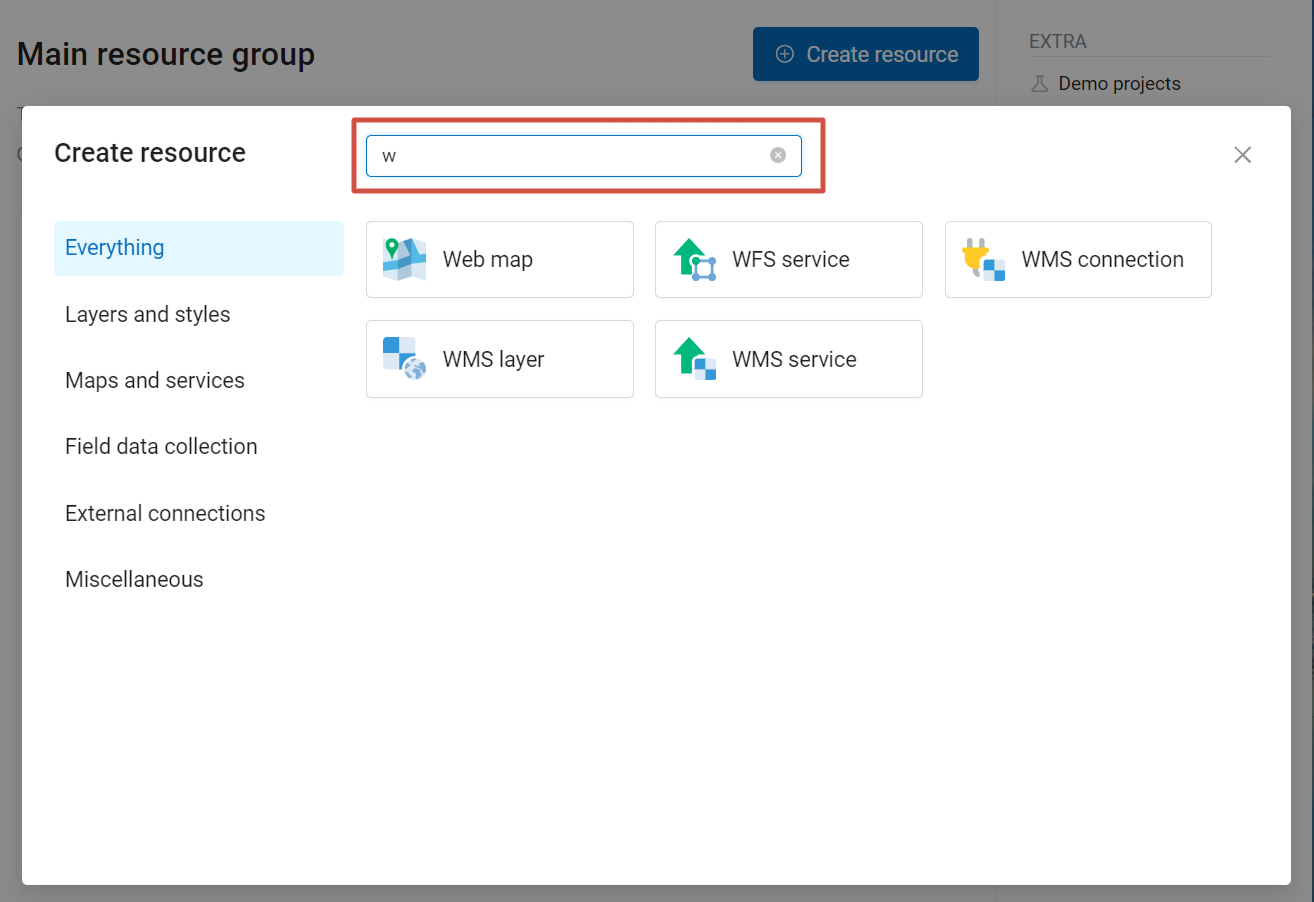
Pic. 7.26. Searching for resource type
Resource types are also grouped into categories. You can select a category from the list on the left.
Layers and styles (raster and vector layers and styles, basemaps)
Maps and services (Web Map, WMS, WFS, OGC API - Features services)
Field data collection (tracker group, tracker, Collector project), form for data collection
External connections (PostGIS, TMS and WMS connections)
Miscellaneous (resource group, SVG marker library, lookup table, file bucket)
Click on the resource type to see the detailed description of the process.
7.4.1. Create Resource group to manage data
Resources can be arranged into groups. For example, you can have special groups for base layers, satellite images and topical data.
Groups help organize the layers in the Control panel and make it easier to manage access permissions.
To create a resource group navigate to the group, where you want to create a new one (root group or another). Press Create resource button and select Resource group (see Pic. 7.27.).
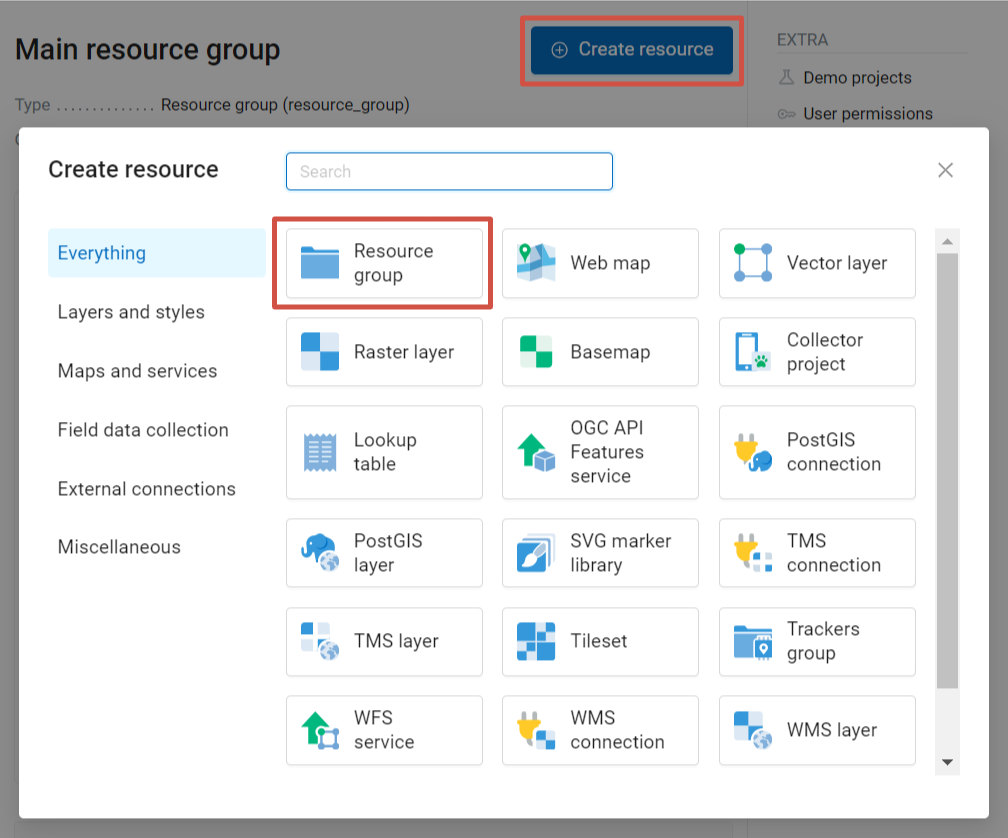
Pic. 7.27. Selection of “Resource group” resource type
Create resource dialog for resource group is presented on Pic. 7.28..
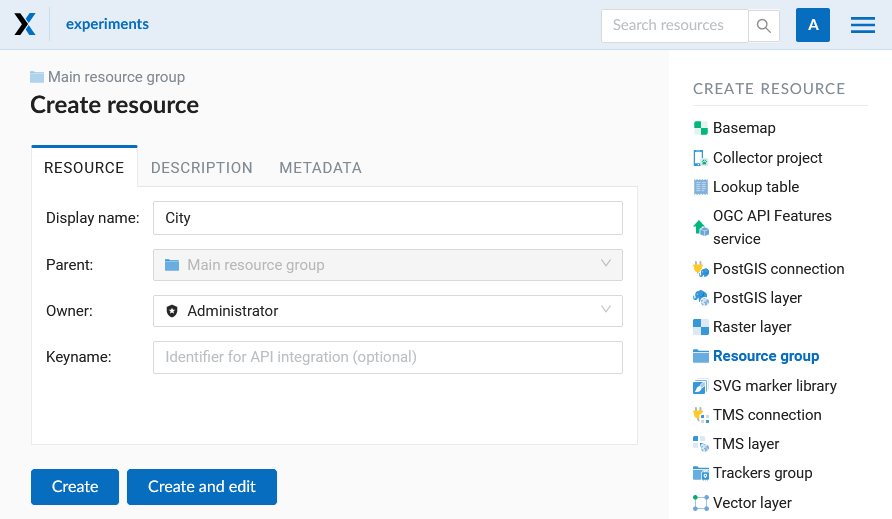
Pic. 7.28. Create resource dialog for resource group
In the opened dialog enter the name of the resource that will be displayed in the administrator interface and in the map layer tree, and then click Create.
“Keyname” field is optional. You can also add resource description and metadata on the corresponding tabs. Metadata is used in external apps working with API.
Now you can access newly created Resource group and create new resources in it.
Resources can be transfered from one group to another.
Note
You can also create new Resource groups in Web GIS with desktop app QGIS.
7.4.2. Data preview
The preview function allows you to see the uploaded data on the basemap or a basemap without adding it on the Web Map.
Click the “eye” icon opposite the name of the child resource you want to preview.
A visual preview of the uploaded geometries will open without the possibility of more detailed interaction (viewing attributes, identifying objects, etc).
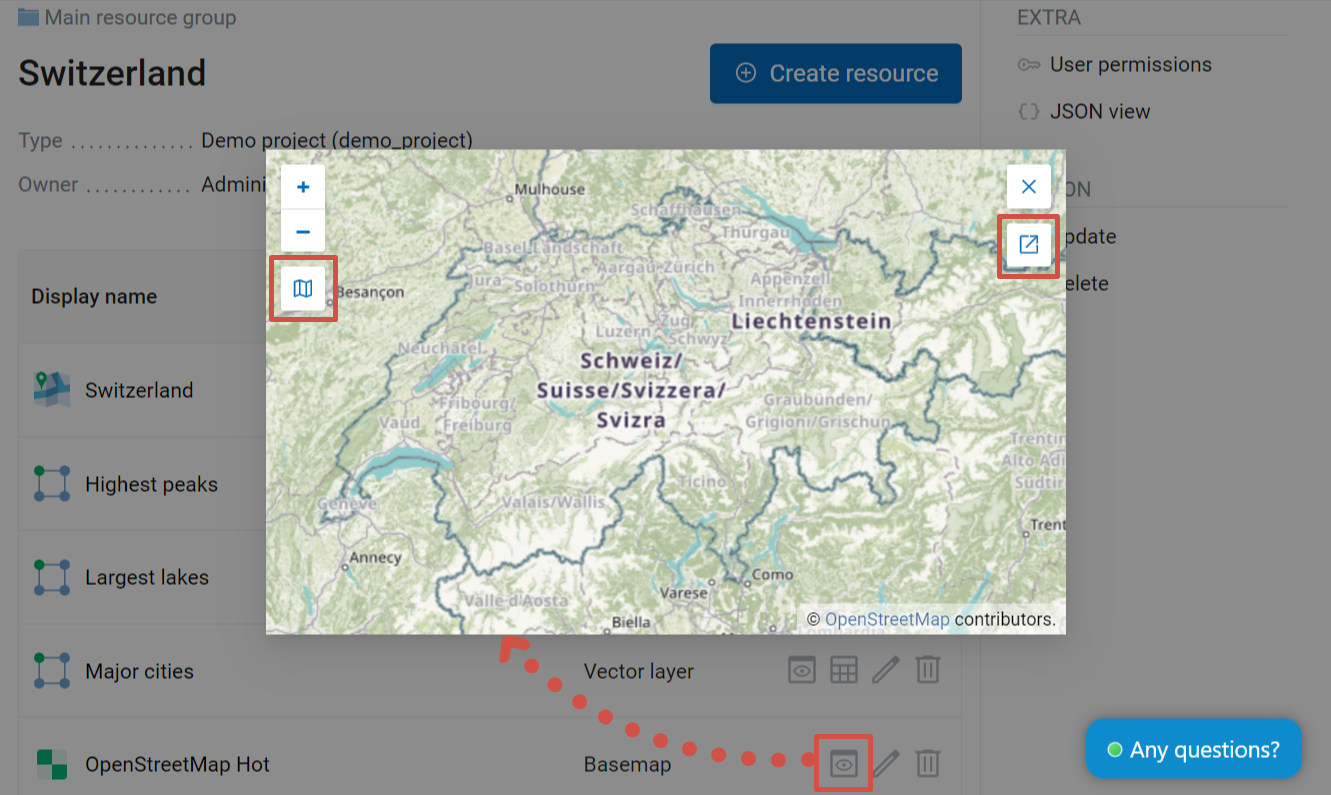
Pic. 7.29. Data preview
Click  Open in a new tab to view a bigger preview on a separate page.
Alternatively, open the resource page and click on the Preview button in the right menu in the Extra section.
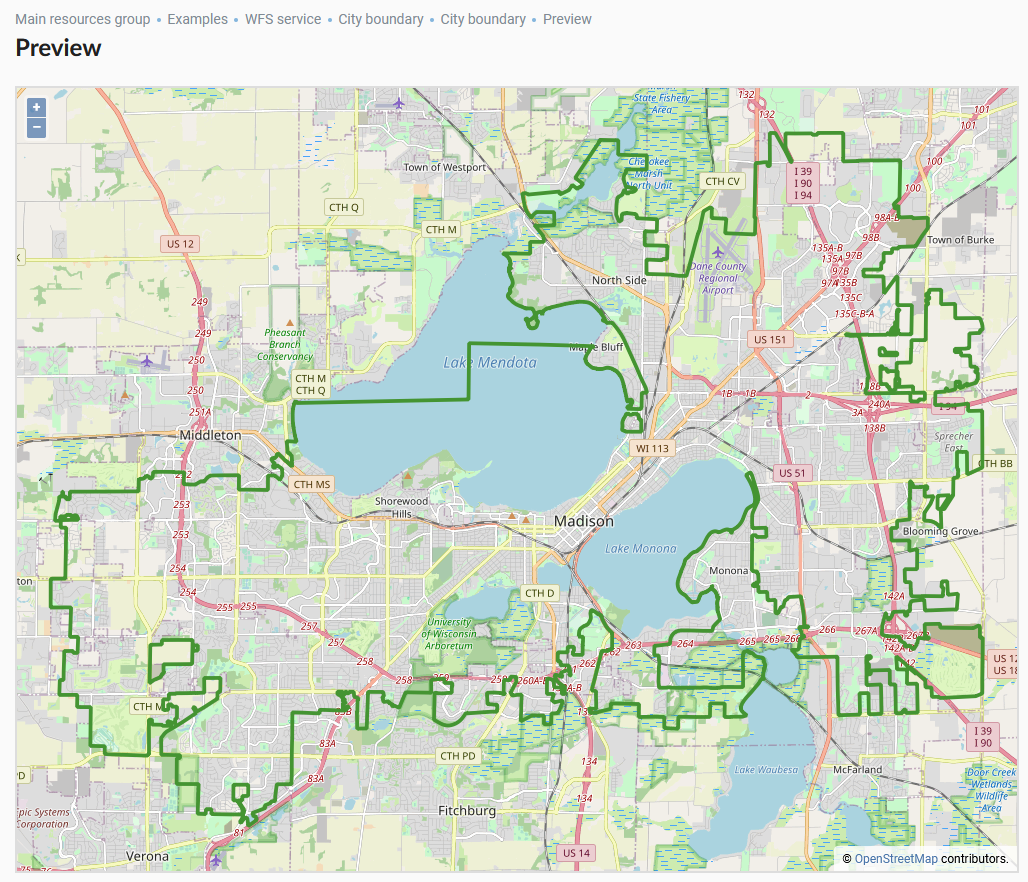
Pic. 7.30. Data preview in a separate tab
To preview a style, open the layer page and click on the eye icon next to the style subresource. The “Preview” action in the Extra tab on the right will display the preview of the resource itself, i.e. layer (Pic. 7.32.).
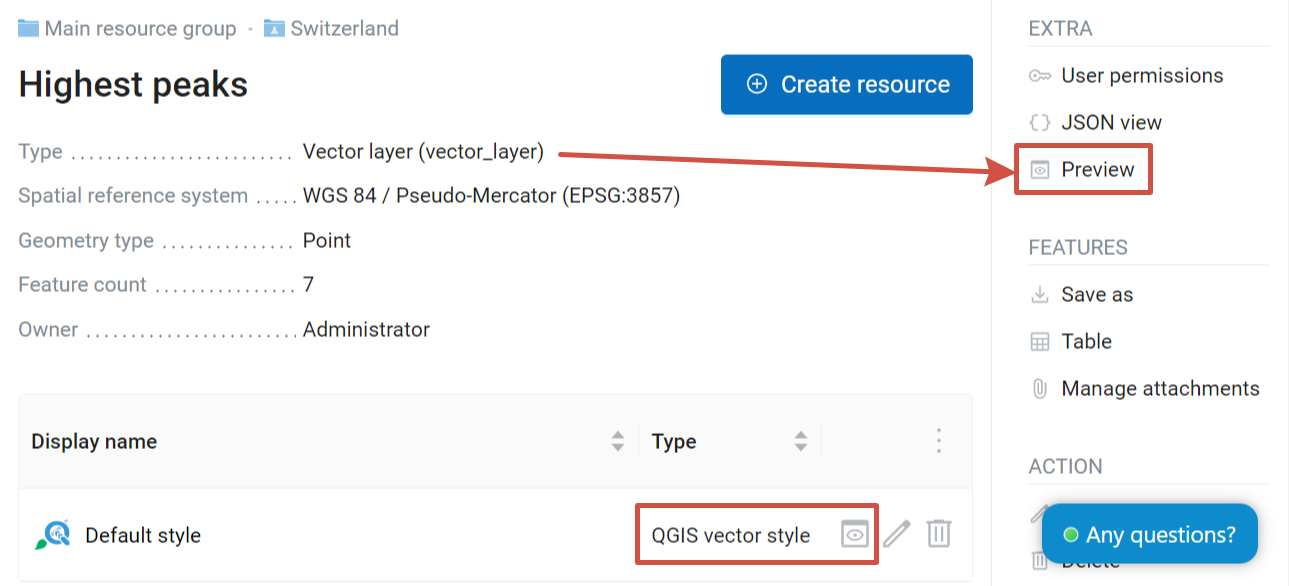
Pic. 7.31. Selecting Data Preview Function for the layer (top right) or its style (below)
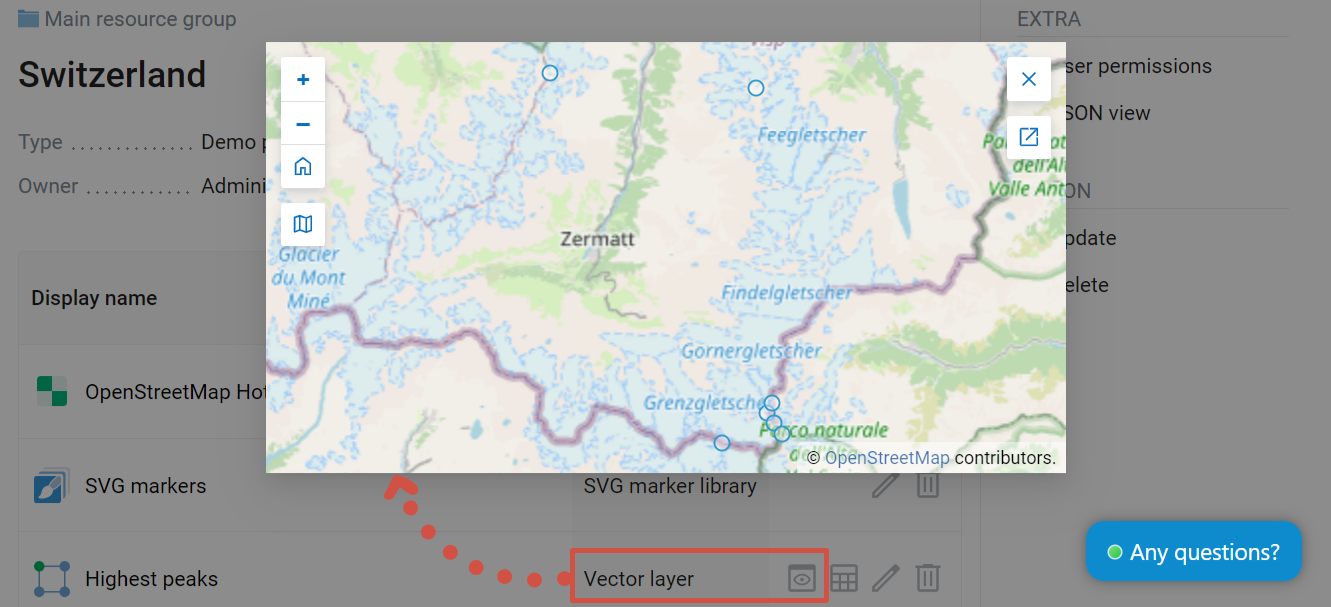
Pic. 7.32. Preview of a vector layer, features marked by default round markers
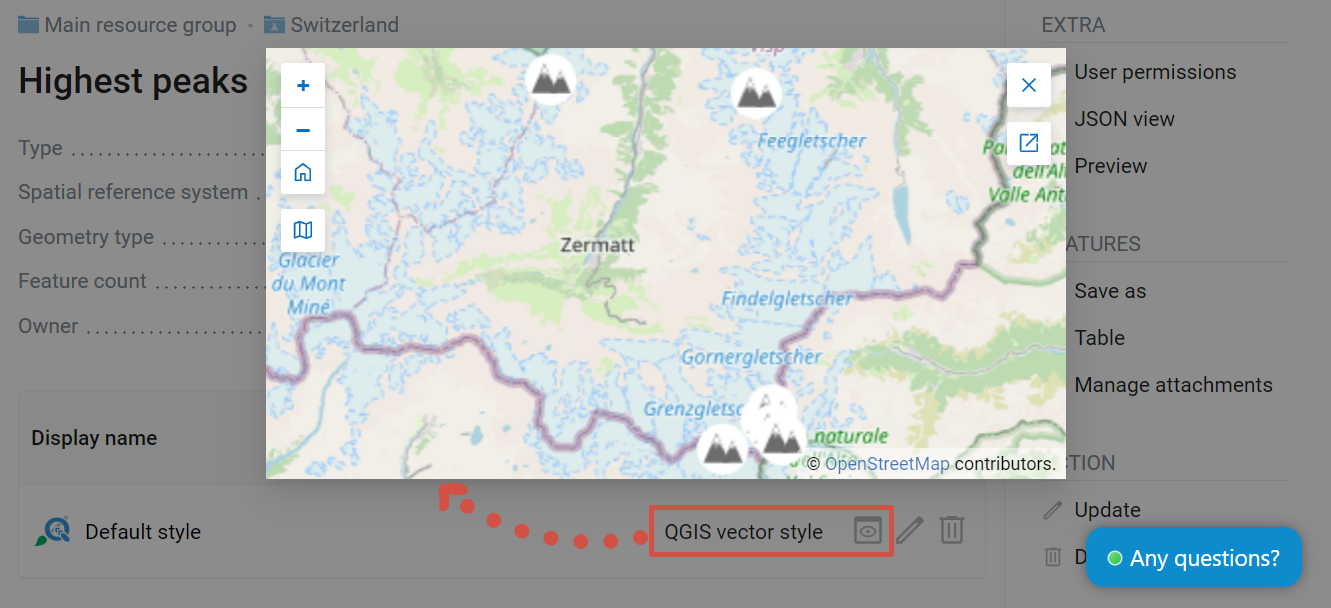
Pic. 7.33. Preview of a style, the same features marked by custom icons
7.4.3. Typical structure
With NextGIS Web application experience we recommend creating separate resource groups (folders) for:
Web Maps
Data layers
External connections
Such structure makes it easier to manage access permissions.
Typical structure
Main resource group
      Web Maps
              Master Web Map
              Test Web Map
      PostGIS connections
              PostGIS on server
      Data layers
              Base data
                      Borders
                      Infrastructure - linear features
                      Accounting area
              Thematic data
                      Results of measurements on accounting area
                      Results of measurements on accounting routes
                      Observation points for rare species
              Relief
                      ASTER DEM
                              DEM
                              Isolines
              Topographic data
                      Openstreetmap
                              Roads
                              Administrative borders
                              Hydrology
                              Railway stations
                              Railway roads
                              Landuse
                      1 : 100000
                              M-37-015
                              M-37-016
                              M-37-017
              Satellite imagery
                      Landsat-8
                      Ikonos