Account#
How to create account (NextGIS ID)#
Before you can start working with your Web GIS you need to create an account (NextGIS ID). NextGIS ID is required to access all NextGIS Services, including Web GIS service.
To sign up, use this link or press Sign in on the main page of the nextgis.com Web site (see Fig. 1.):
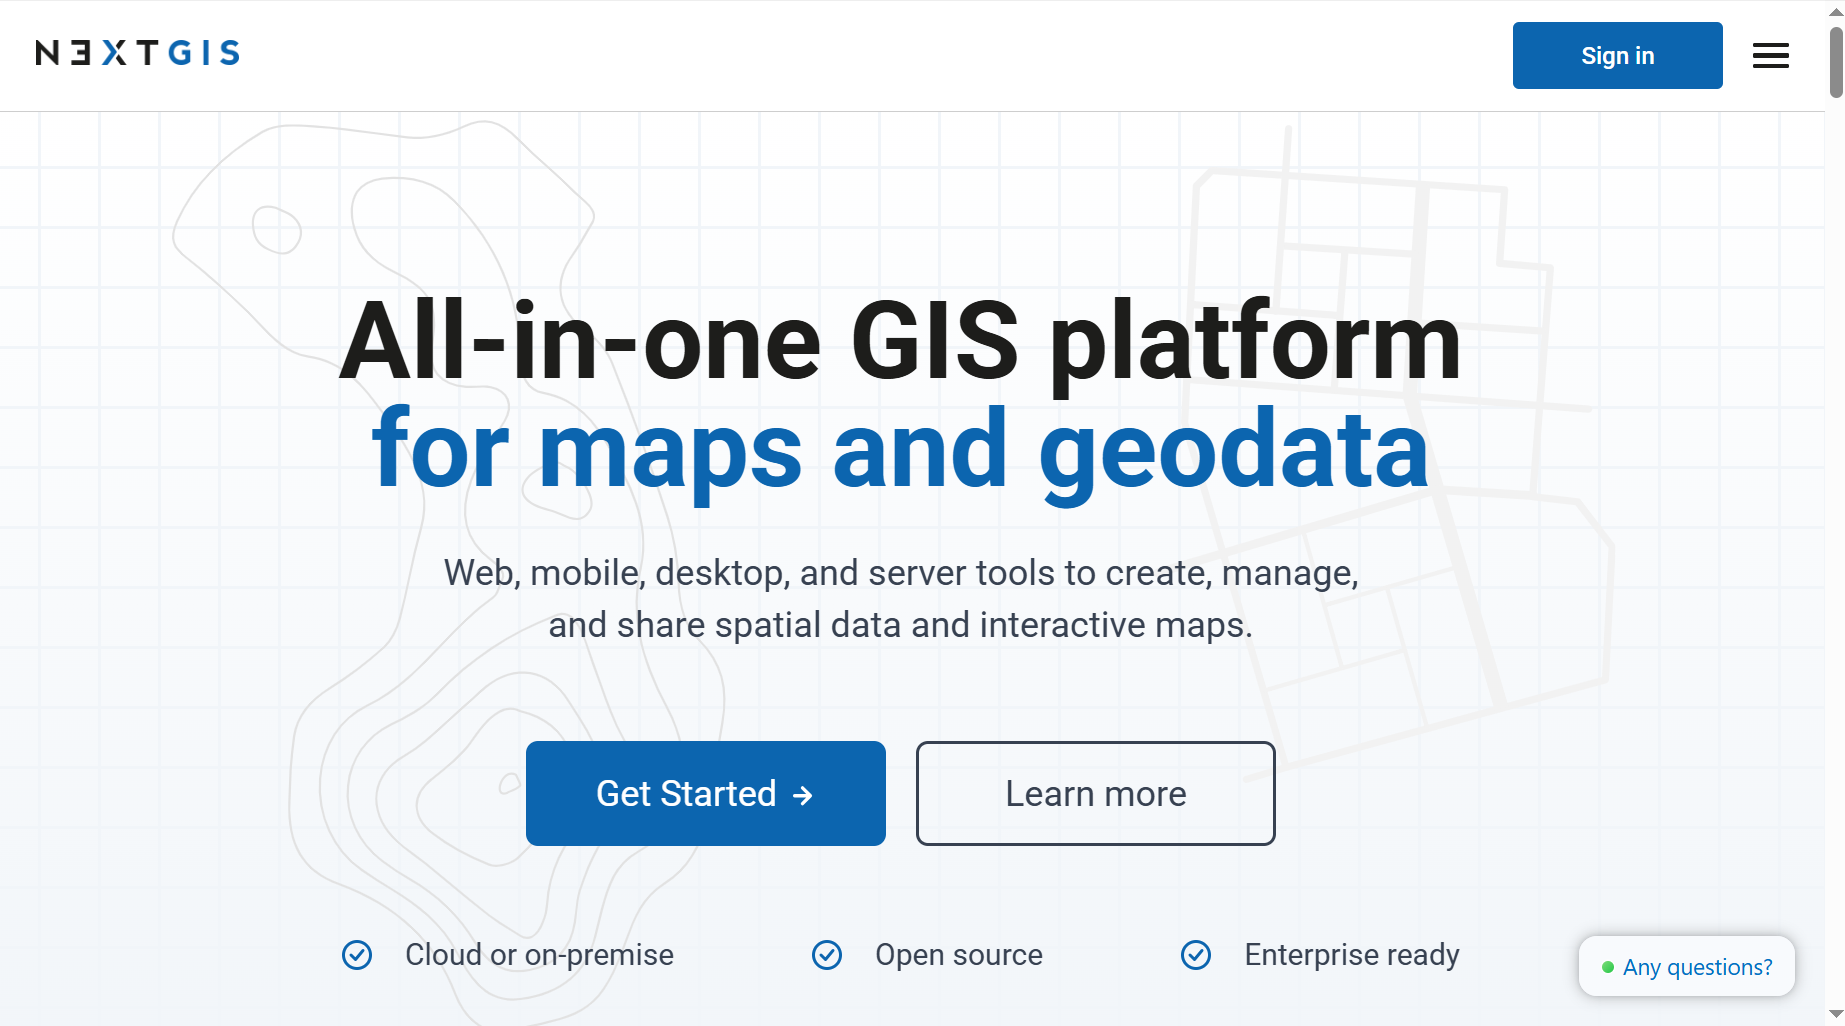
Fig. 1. Nextgis.com main page#
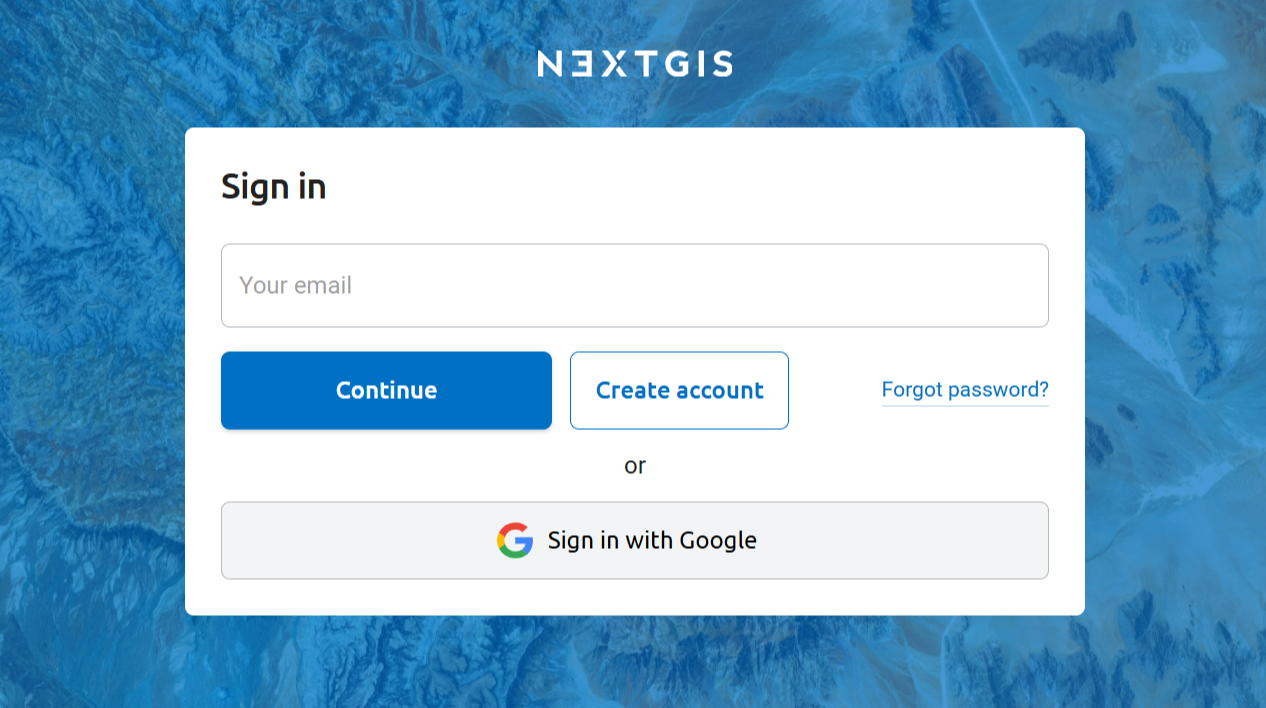
Fig. 2. Sign in page#
Press Create account and enter your email, it will be your login for NextGIS services.
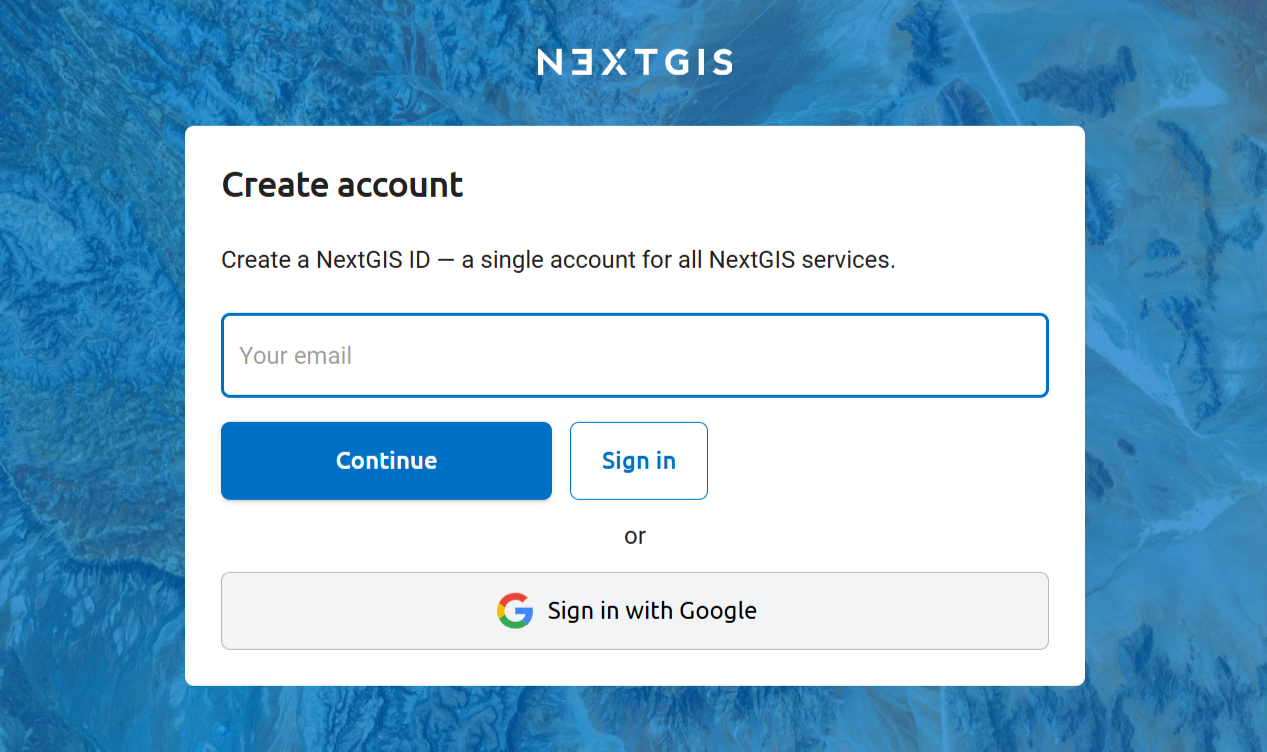
Fig. 3. Account creation: entering email#
Click Continue. An email verification code will be sent to the address you entered.
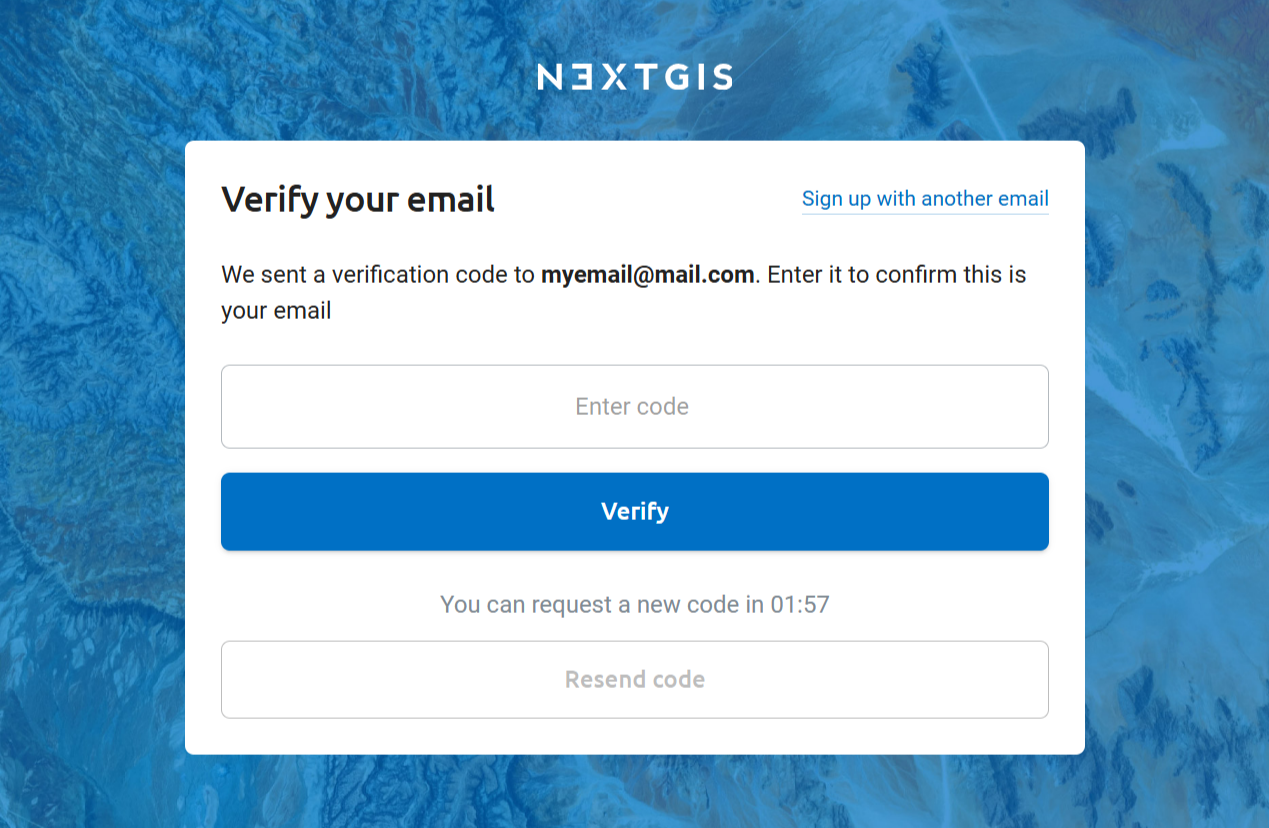
Fig. 4. Account creation: confirming email#
Enter the verification code and click Verify. You can request a new code after two minues. If you realise you’ve made a typo in the email address, click Sign up with another email.
After verifying your email enter the name that will be indicated in your profile and select a country from the dropdown list to see the correct information on available payment methods.
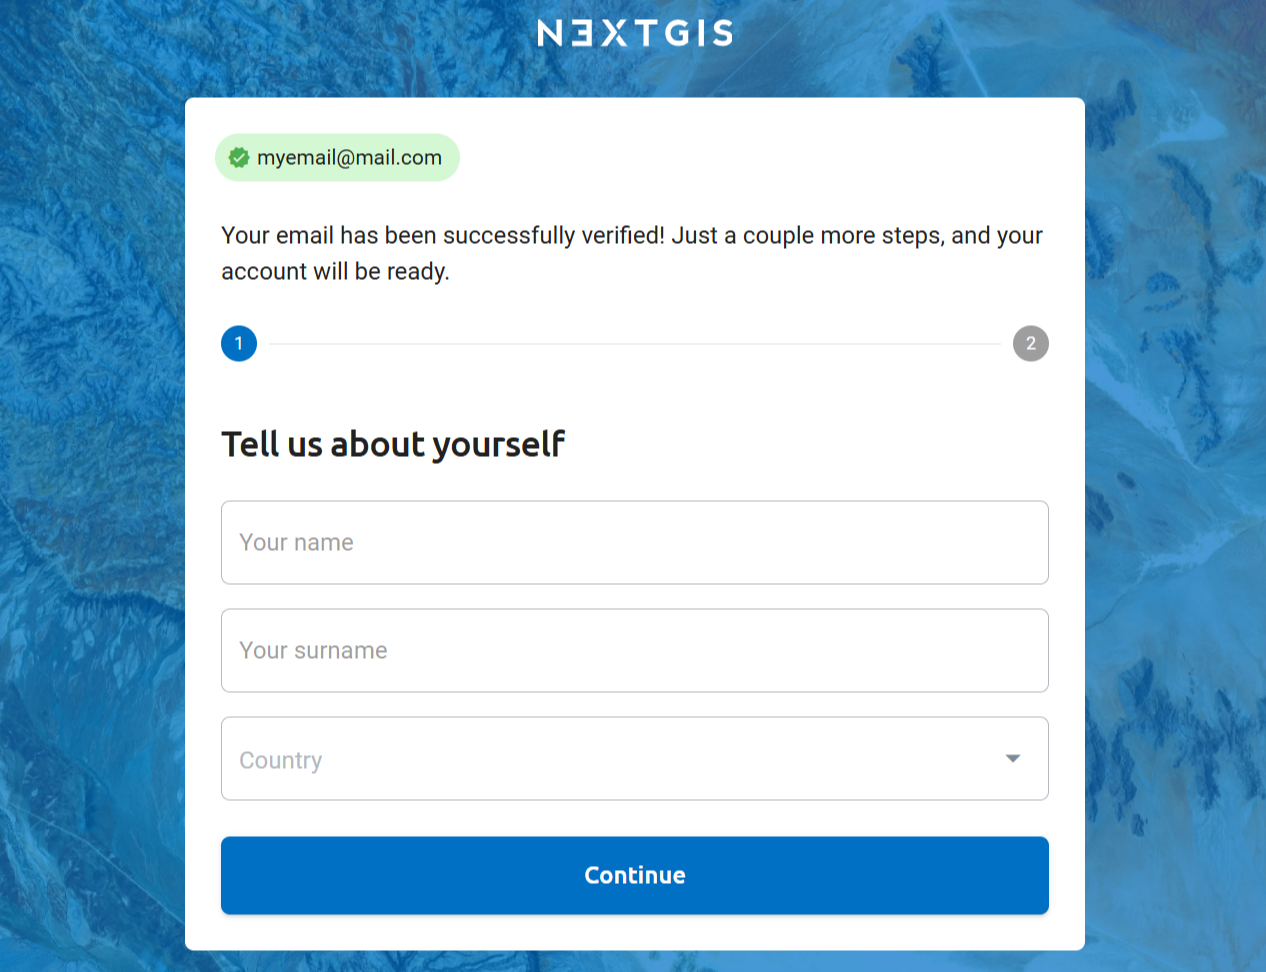
Fig. 5. Account creation: user info#
On the next step enter a password, confirm that you agree to Terms of Service and Privacy Policy and then click Create account to complete the process.
Password must be at least 8 characters long and include one lowercase letter, one uppercase letter, one number, and one of special characters: ! " # $ % & ' ( ) * + , - . / : ; < = > ? @ [ ] ^ ` { | } ~ _.
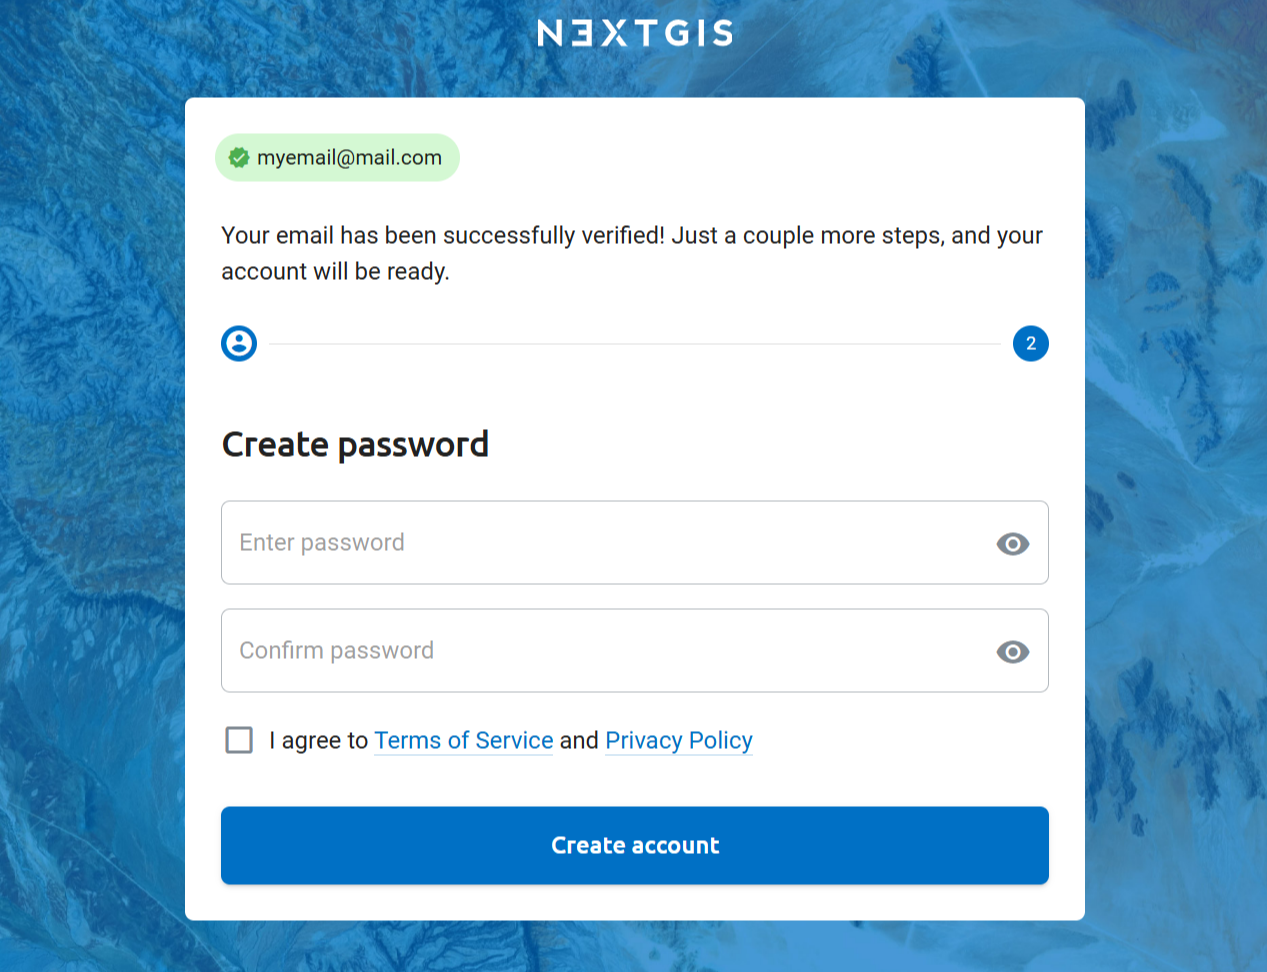
Fig. 6. Account creation: password#
Note
Also you can create a NextGIS ID by signing in with your Google account.
After clicking the Create account button you’ll be redirected to the page where you can create a Web GIS.
Warning
You will not be able to create Web GIS and access other NextGIS services until you confirm your email address.
To verify your email account click Create Web GIS button, then click Send the email again link in the “Please confirm your E-mail” window (see Fig. 7.). Check your email, you should receive a letter with an account confirmation link. When you receive the letter, click on the link to confirm your email address.
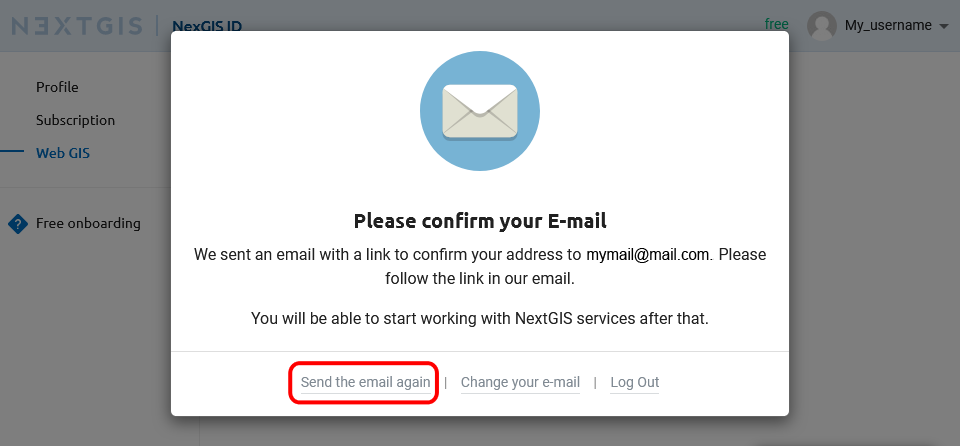
Fig. 7. “Please confirm your E-mail” window#
Sign-in via NextGIS ID#
NextGIS ID is used to log in to your account profile, your Web GIS, Toolbox and other NextGIS services (see full list below).
After selecting sign-in with NextGIS ID, you’ll be redirected to the following page:
Fig. 8. Signing in with NextGIS#
Enter the email address you used for creating your account and press Continue. On the next page enter the password and press Sign in.
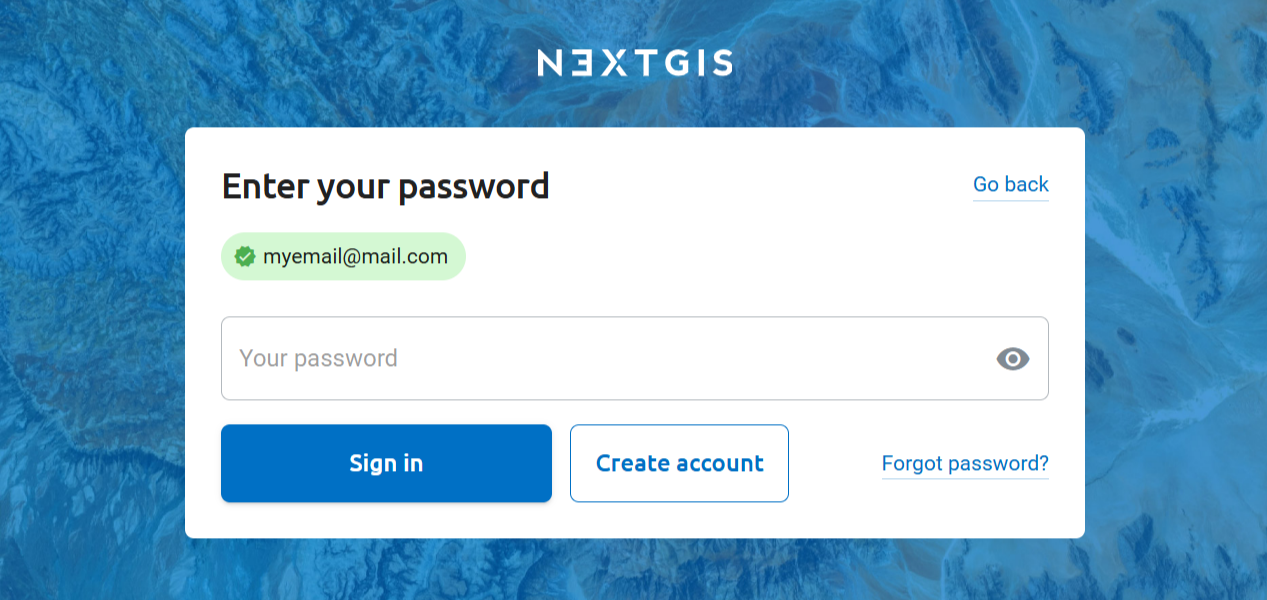
Fig. 9. Entering password#
The process of logging in varies depending on particular software and services, see Where can I use NextGIS ID.
Change or recover NextGIS ID password#
If you:
forgot your password;
want to set a different password;
have signed up with Google, but now want to use NextGIS Connect plugin
go to Password Recovery page.
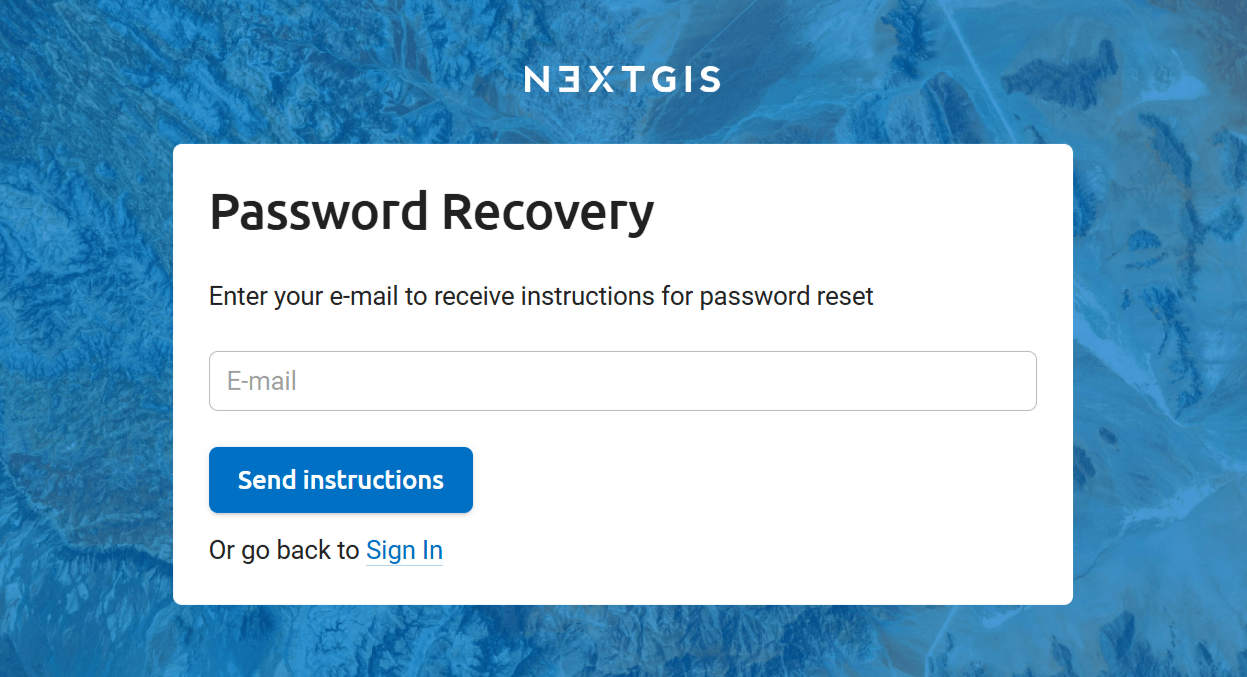
Fig. 10. Changing NextGIS ID password#
Enter the email address you used to create NextGIS ID. You’ll receive an email with further instructions.
My account#
After logging in to your account you can:
Modify your personal information;
Manage your subscription;
Create a Web GIS (after confirming your email address);
Download NextGIS software installers;
View the list of teams that you are a member of;
Manage your team (available on Premium);
Bind NGID on-premise identifier.
Profile#
You’ll find your profile on https://my.nextgis.com/profile.
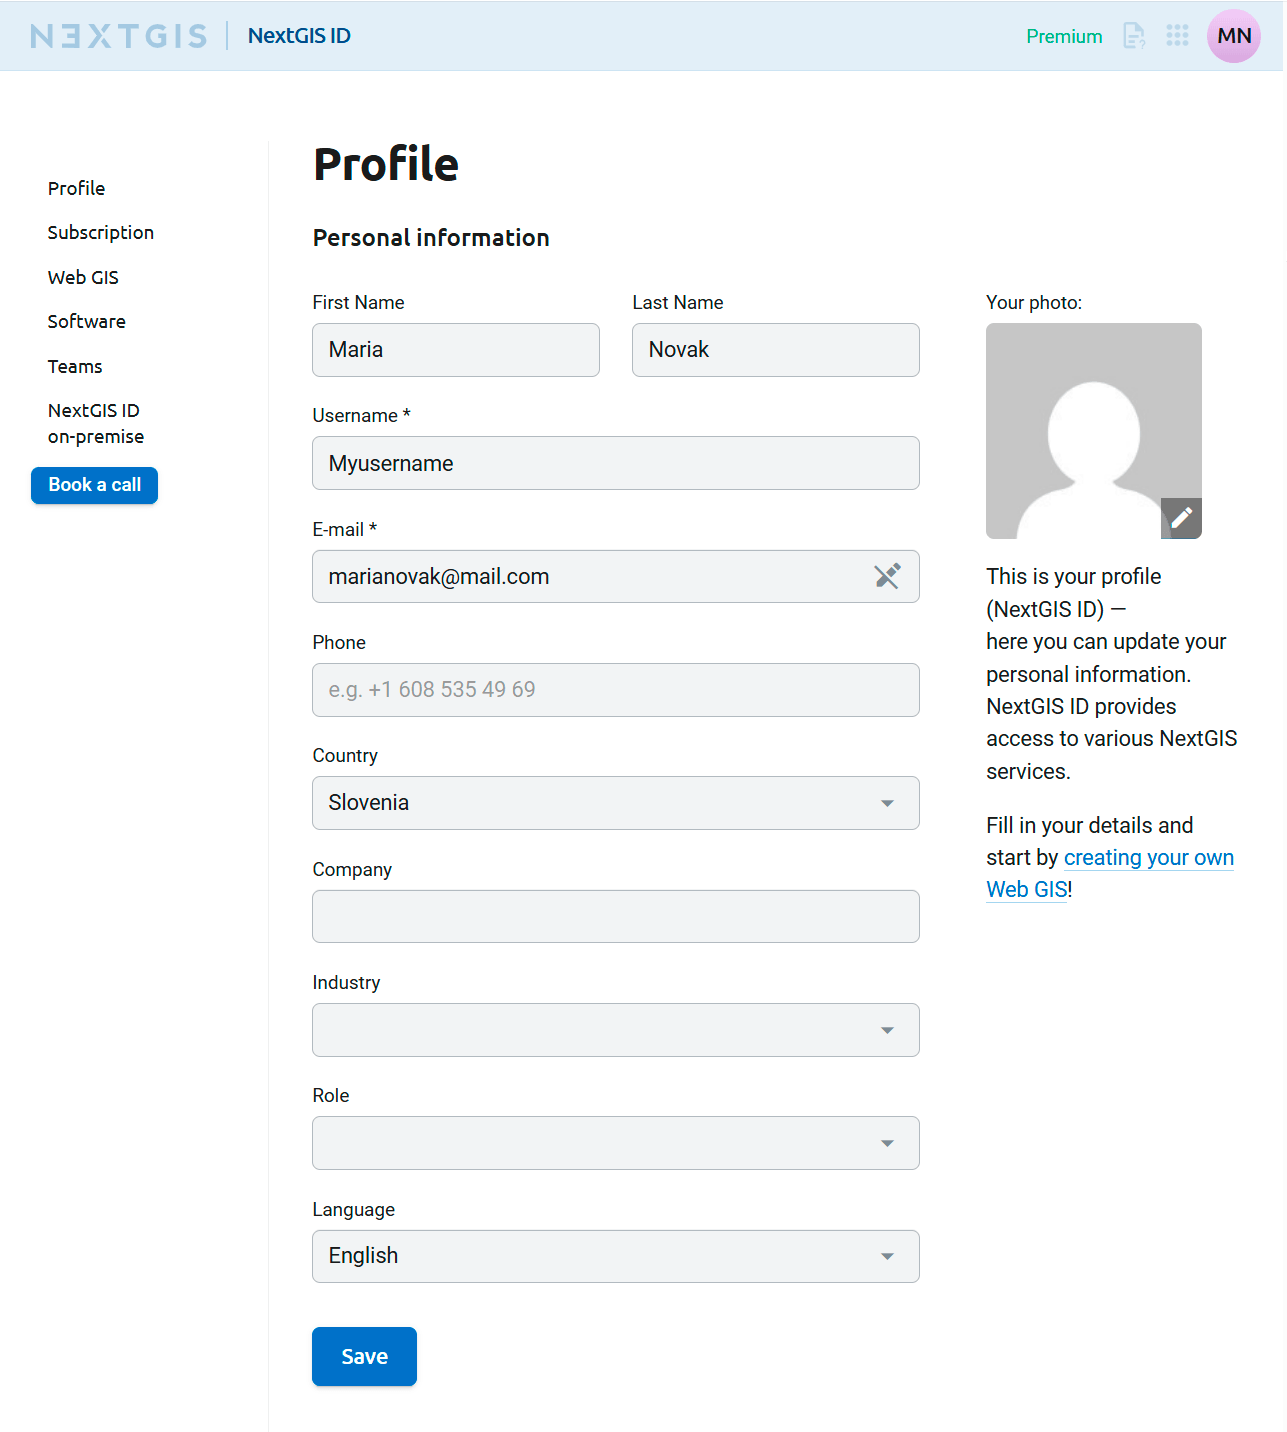
Fig. 11. Profile page at nextgis.com#
On the Profile page you can:
Change your username or enter name and surname to be displayed instead of it.
Add company and industry info and phone number.
Select language of the account interface. This setting affects only my.nextgis.com. If you want to choose the language of your Web GIS, go to the user menu of the Web GIS.
Add Telegram account to get notifications.
Export your account data as CSV files.
Delete NextGIS ID account and personal data associated with it.
Delete profile#
To delete your account, go to the Profile page and in the “Profile management” section select Delete profile.
Your account and personal data will be deleted.
Important
This action cannot be undone.
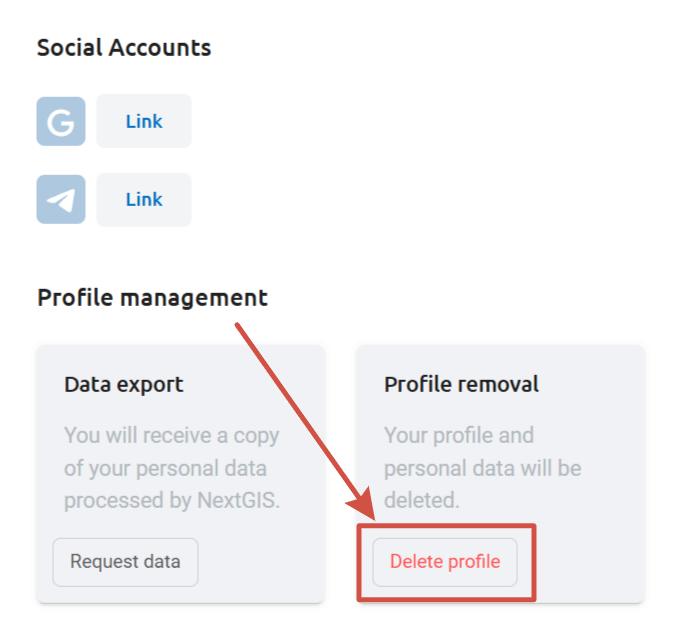
Fig. 12. Deleting account#
Get notifications in Telegram messenger#
Add Telegram account to get notifications about orders you made on NextGIS Data not just by email (where they may get into spam folder), but also in Telegram. You can also download the data directly from the messenger.
In your Profile go to the “Social Accounts” section and click Link by the Telegram logo. You’ll be redirected to the chat bot. Press Start to complete linking.
Software#
On the Software page of your account you can download online and offline installers for NextGIS mobile apps NextGIS Collector, NextGIS Mobile, NextGIS Tracker.
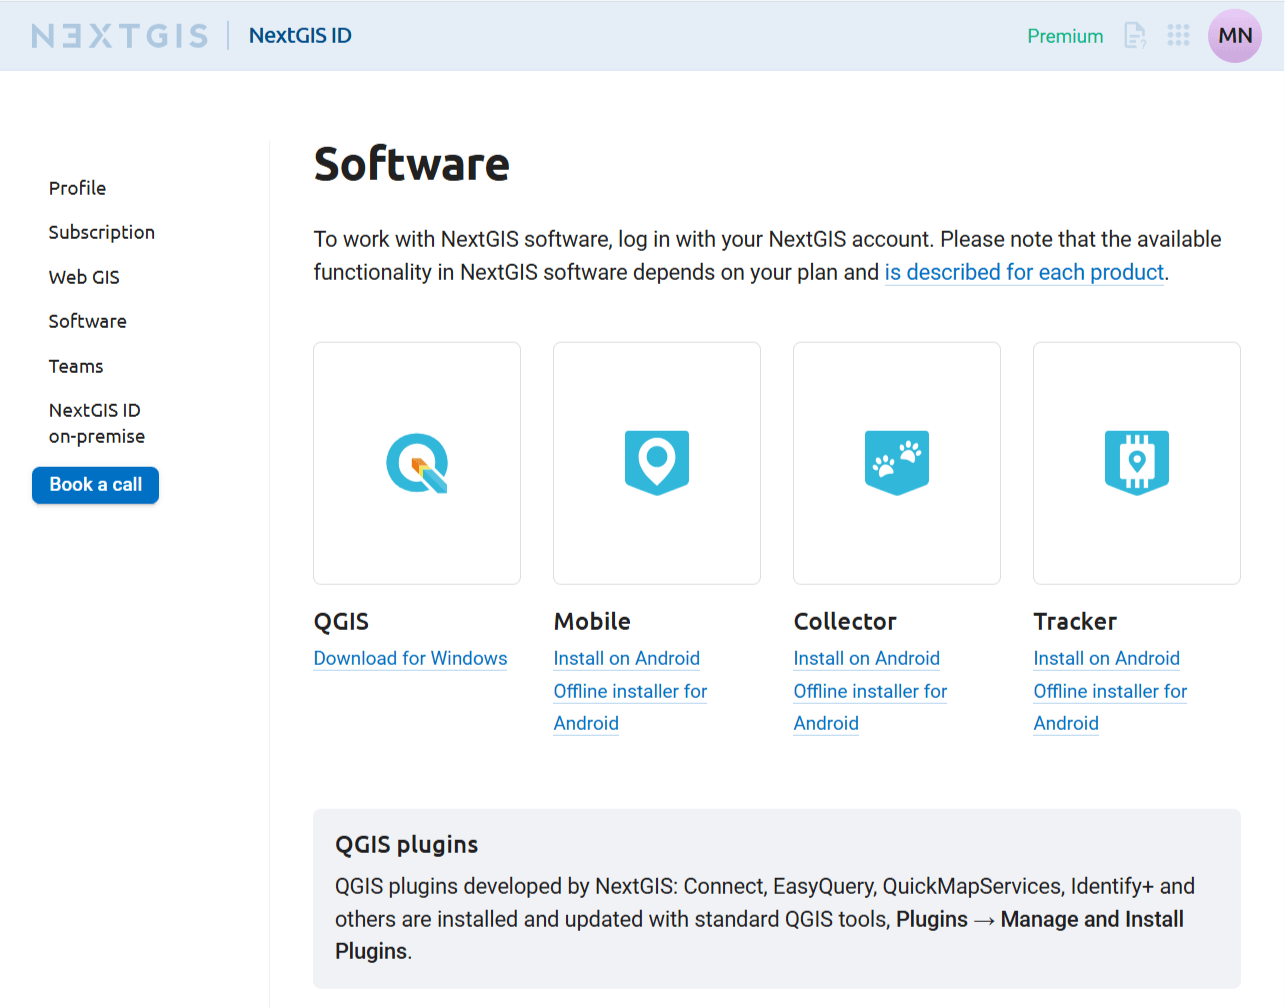
Fig. 13. Software download page#
Where can I use NextGIS ID#
Cloud services (For on-premise services use NextGIS ID on-premise)
Web GIS created on NextGIS Web
To create a Web GIS, go to your account.
You can use NGID to log in to your own Web GIS or the Web GIS of the team owner, if you are added to the team.
Download data ordered on NextGIS Data
Mobile apps
Desktop apps
QGIS plugins