Print a Web Map or save as image#
See also
Features of a layer can be exported as data in various formats.
Web GIS allows to print a Web Map or save it as a picture. To do it:
Go to the Properties window of Web Map from the relevant Resource group;
Select Web Map ‣ Display on the right side of Web GIS admin console;
In the opened web client, which allows to view and edit geodata, press the “Print map” button (see Fig. 534.).
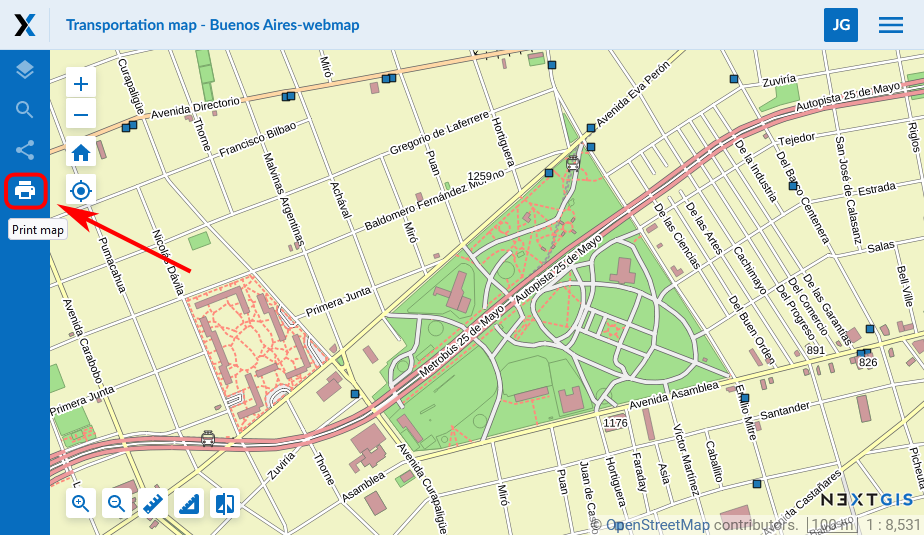
Fig. 534. “Print map” button#
In the opened window you can select the area you would like to print and set up printing parameters:
Paper format (A3, A4 or custom);
Margins;
Scale.
You can also add:
Legend (includes visible layers of expanded groups if their legend is expanded, it is set up in the Layers tab);
Title (can be edited, the default is the Web Map resource name);
North arrow;
Scale value;
Scale bar.
The size and placement of the title, the legend and the map itself can be changed.
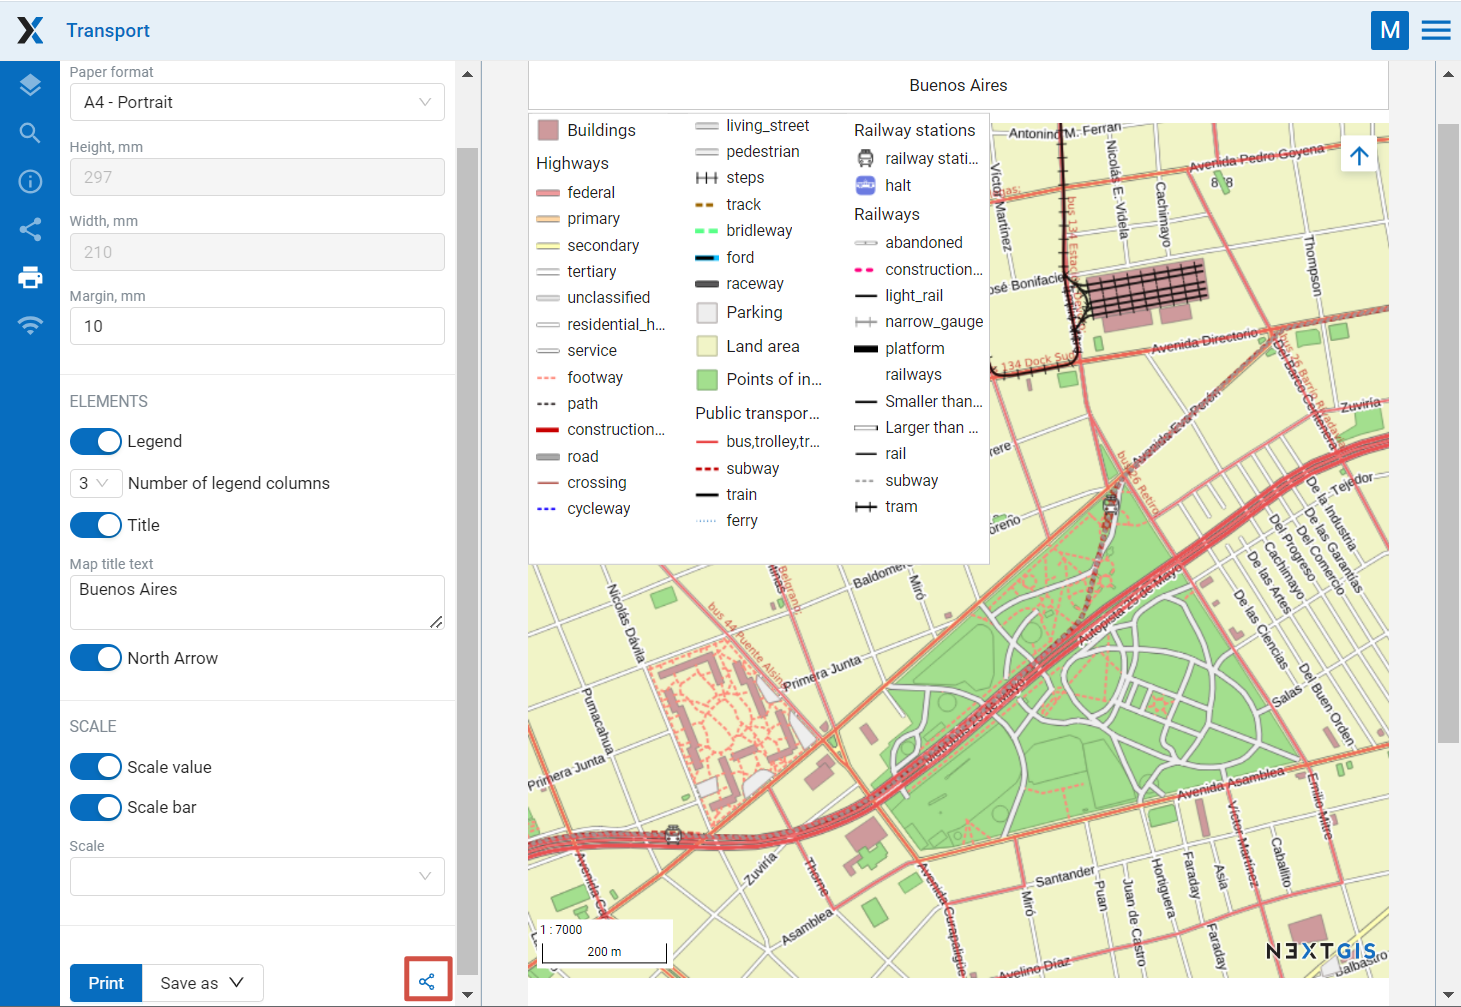
Fig. 535. Printing parameters#
After you set all parameters press Print.
You can also share the map prepared for printing with all the parameters. Click on the  symbol (marked in red on the Fig. 535.) to copy the link. Upon opening this link you’ll get the same setup and print the map as needed.
To save a map as a picture press Save as and choose a format from the list: JPEG, PNG, TIFF or PDF. Then uploading will begin automatically.
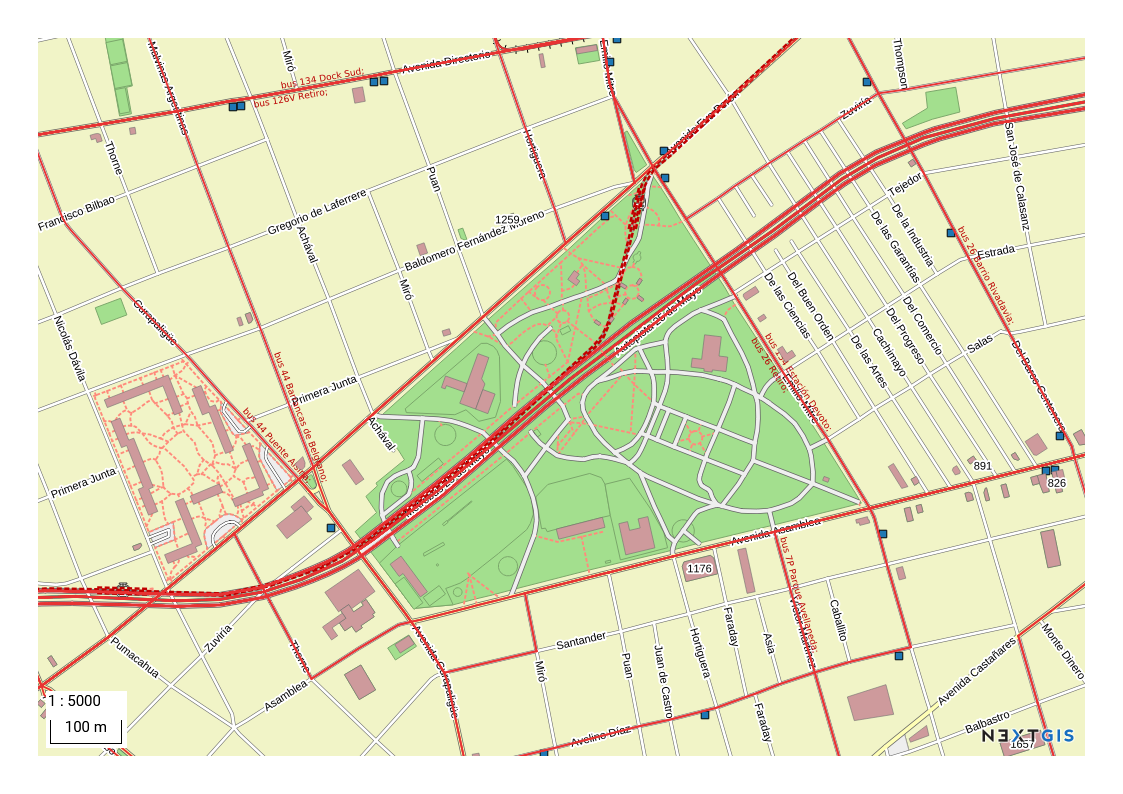
Fig. 536. Example of a Web Map saved as a PNG image#