Creating other types of resources#
Lookup table#
To create a lookup table navigate to the group, where you want to create it (root group or another). Press Create resource button and select Lookup table (see Fig. 411.).
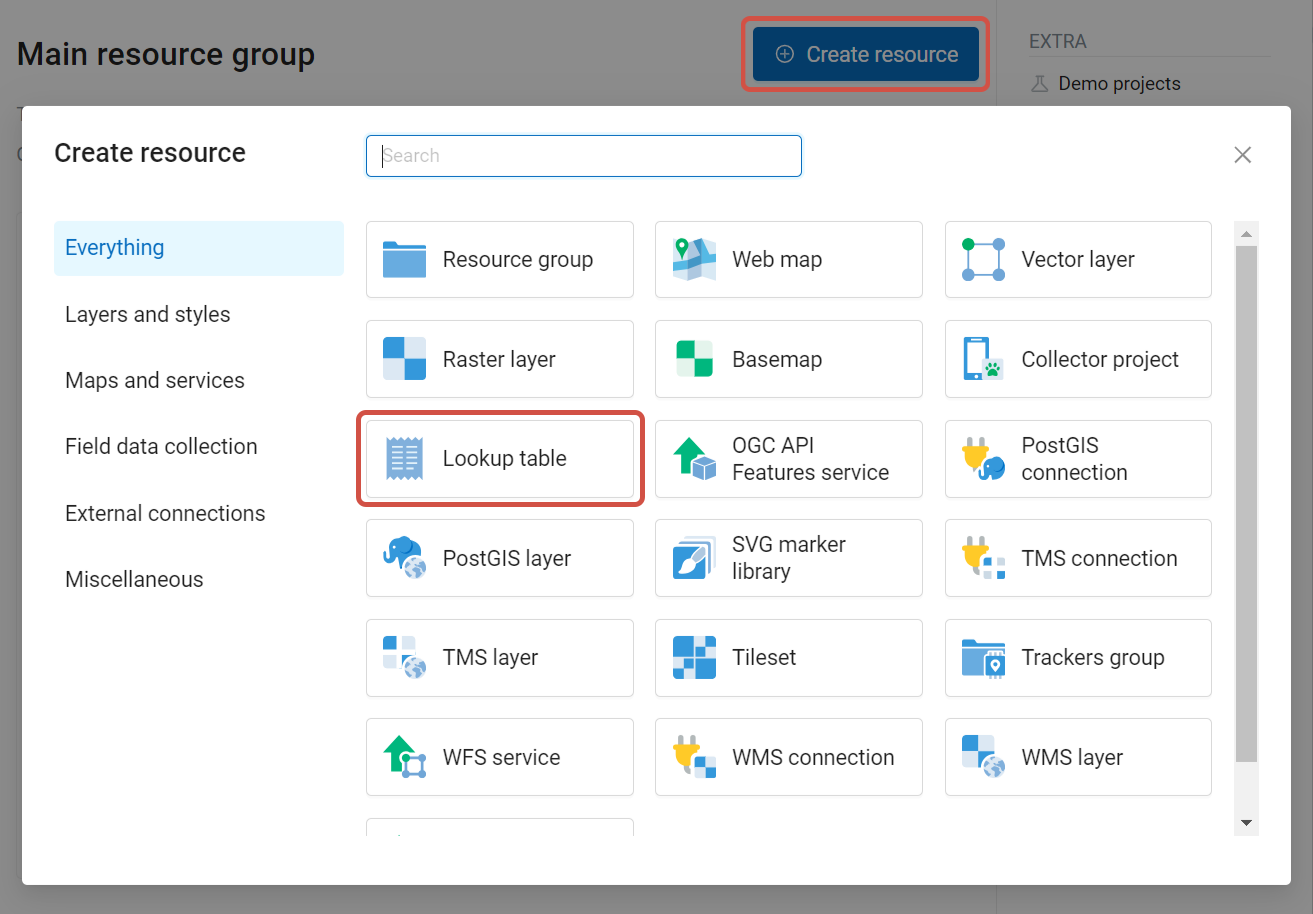
Fig. 411. Selecting “Lookup table” resource type#
In the opened dialog add data in the “value-label” format.
You can also import a pre-made lookup table from a CSV file. Click Import and select a CSV file.
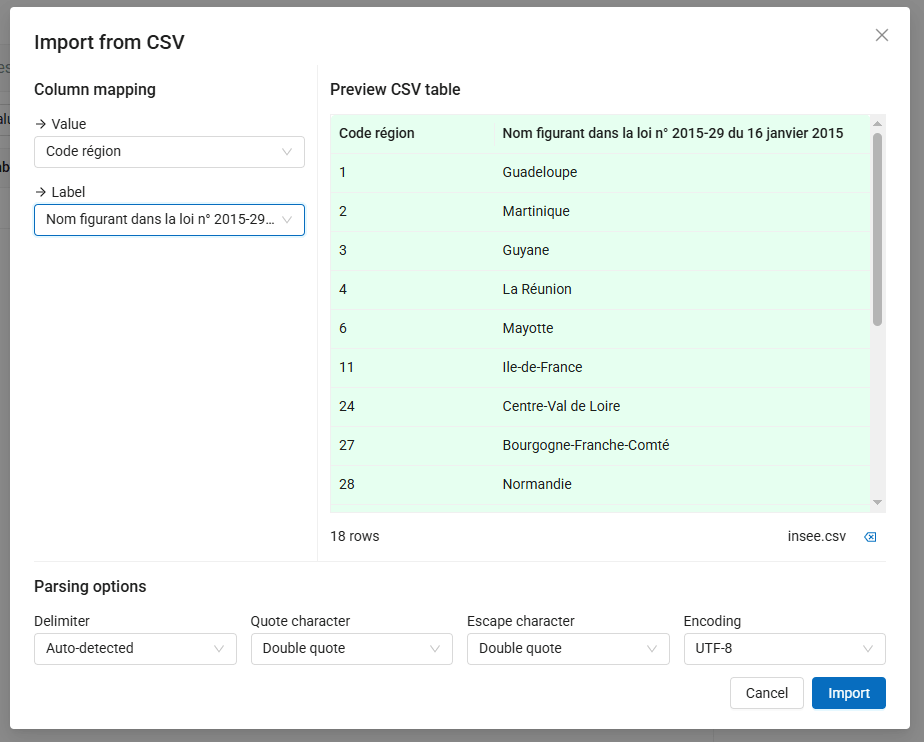
Fig. 412. Importing lookup table from file#
In the import dialog you can set up:
Fields for value and label;
Delimiter;
Quote character;
Escape character;
Encoding.
In the preview section you can see the resulting table and check if the parameters are set up correctly.
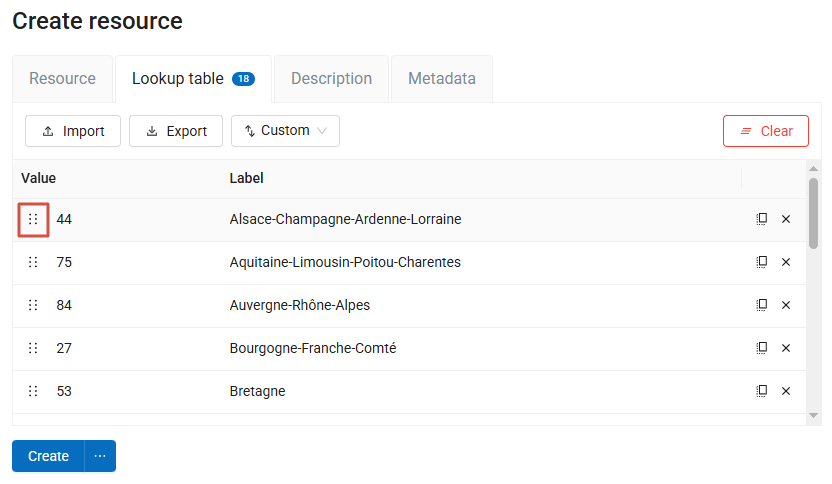
Fig. 413. Lookup table contents sorted by label, custom mode activated to allow manual sorting#
The entries can be sorted in a variety of ways:
By value, ascending (lower to higher);
By value, descending (higher to lower);
By label, ascending;
By label, descending;
Custom - drag the six dot icon on the left (Fig. 413.) to move the entry.
Numbers with separators are treated like decimals, i.e. “1.12” is before “1.7”. If you need to fix it, sort by value first, then switch to “Custom” and move the entries to the correct position.
On the “Resource” tab you can enter a display name. It will be displayed in the resource list and the Web Map layer tree. “Keyname” field is optional.
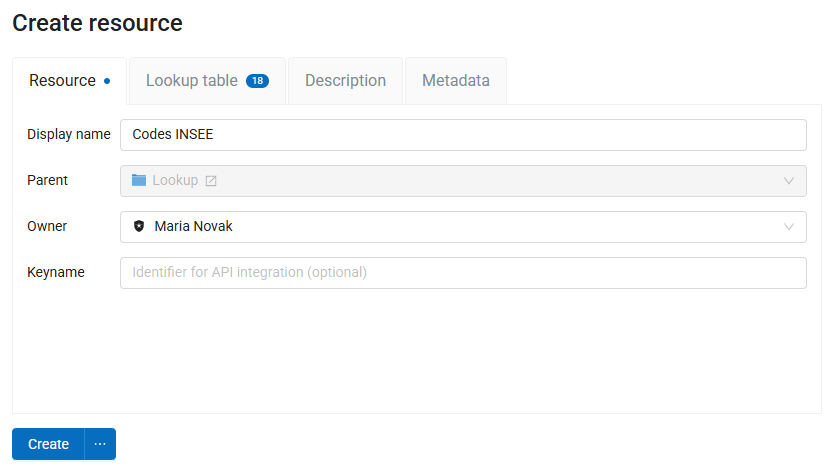
Fig. 414. Lookup table name#
You can also add resource description and metadata on the corresponding tabs. Metadata is used in external apps working with API.
Then click Save. The window will then look as on Fig. 415.
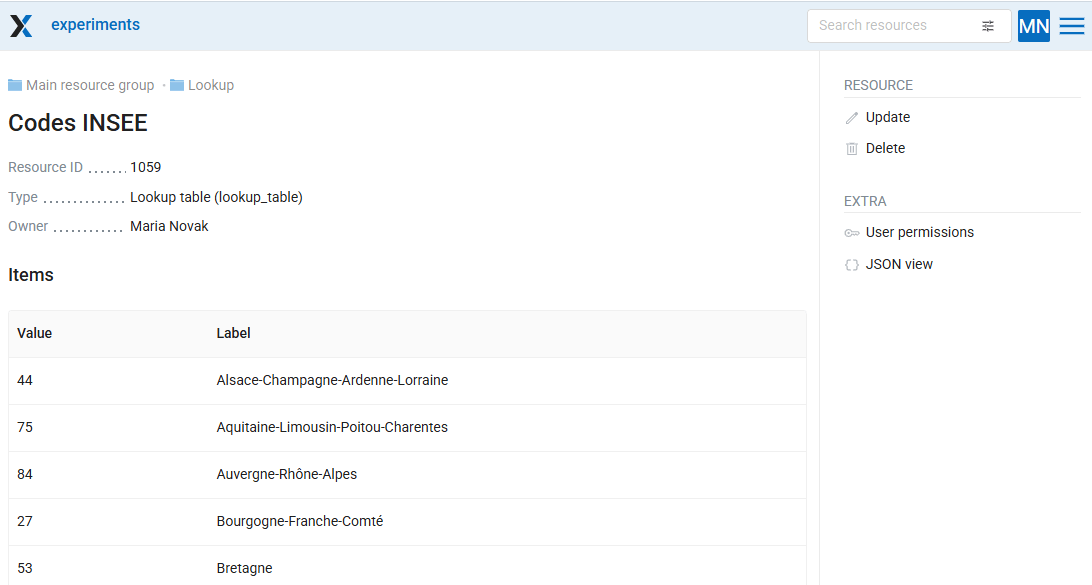
Fig. 415. Newly created lookup table#
To change anything in a lookup table click Update in the “Action” pane. The resource update dialog will open. Switch to “Lookup table” tab where you can change the table’s contents:
add a new value-label pair
change a current value-label pair
delete a value-label pair
A lookup table can be exported to a CSV file. It comes in handy if you want to use to create a data collection form.
You can also link a connect a lookup table to a vector layer field, This way while editing the layer you can choose attribute labels from the list.
See how to work with lookup tables in our video:
Watch on youtube.
File bucket#
Important
It is a special type of resource available in Extended edition of NextGIS on-premise. It allows users to create a storage space for any types of files.
On the Resource tab enter a name for the file bucket. It will be displayed in the administrator interface. “Keyname” field is optional.
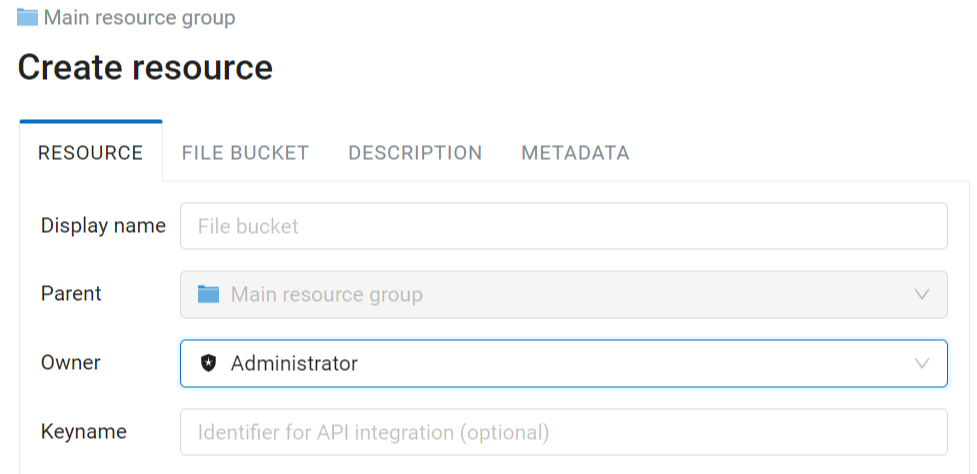
Fig. 416. File bucket name#
In the File bucket tab select files or a ZIP archive to extract files from.
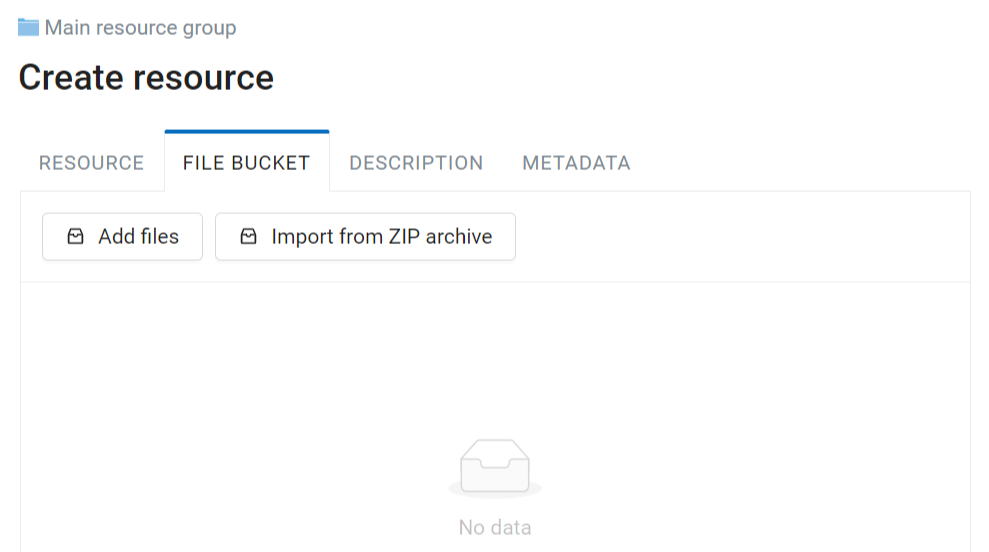
Fig. 417. Uploading files to bucket#
The “Description” and “Metadata” of the resource can be configured on the corresponding tabs.
After a file bucket is created, its contents can be modified. You can add and delete individual files. If you select a new ZIP archive, the files extracted from it will replace all files added before.
Files stored in the bucket can be viewed in browser (if the file type allows it), saved one-by-one from the context menu or exported all at once as a ZIP archive.
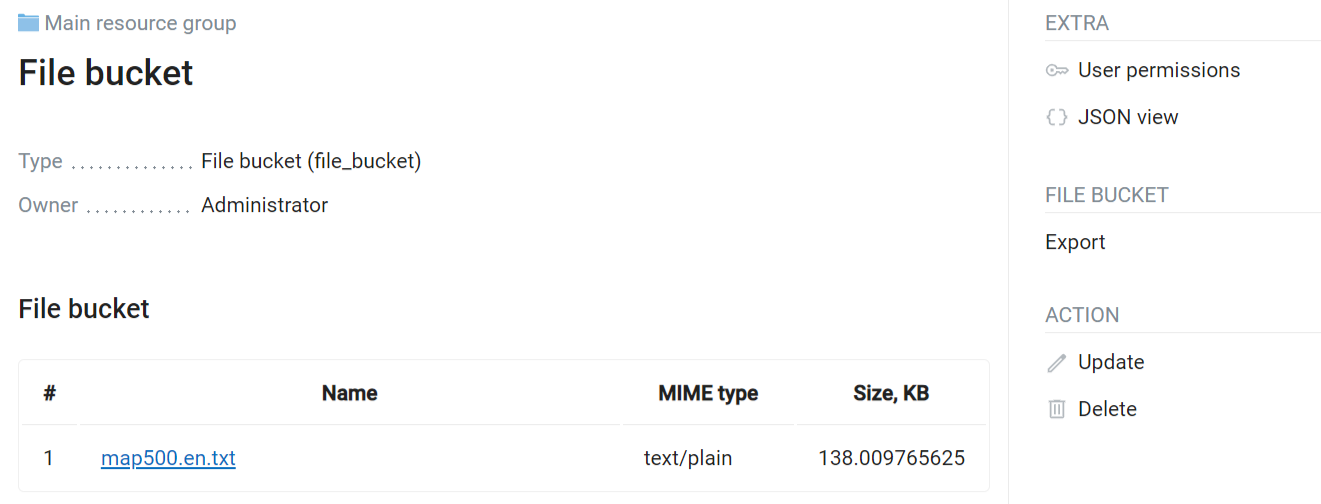
Fig. 418. Resource page of a File bucket with the list of included files#