Setting up#
After the app is installed to your device, you need to set it up to begin track recording.
Track recording settings#
When you open the app for the first time, give the following permissions:
allow NextGIS Tracker to access location.
If you see the dialog shown on Fig. 1081., select Precise and While using app.
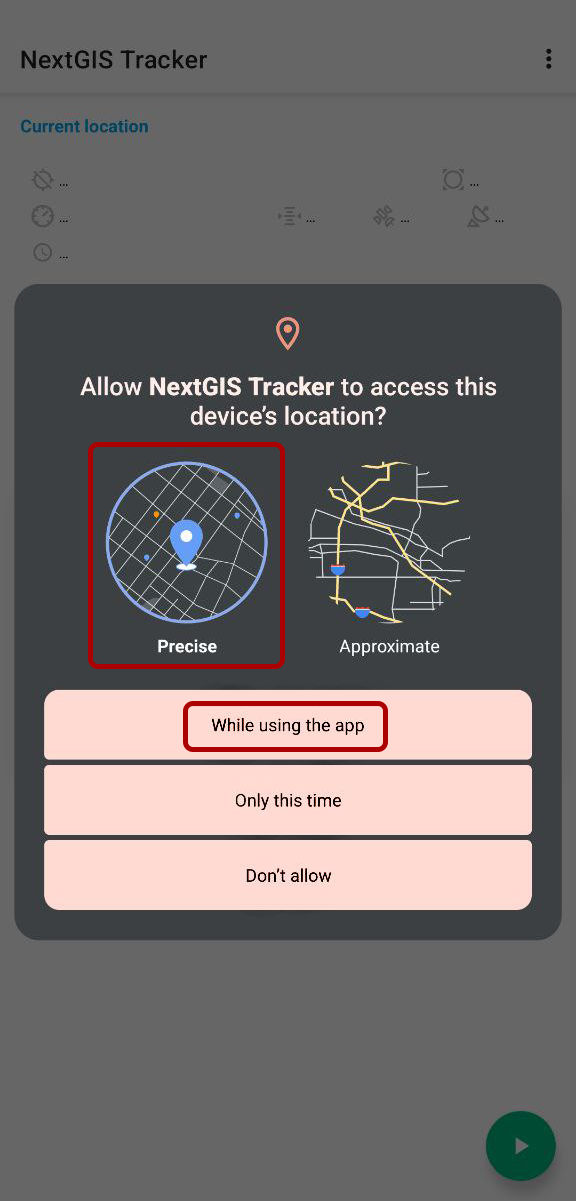
Fig. 1081. Allow access to location#
in the newer Android version you also need to allow notifications from NextGIS Tracker.
Setting up sending tracks to Web GIS#
To upload tracks to your Web GIS (cloud-based or on-premise), set up synchronization.
In the top bar turn on Sync with the cloud switch (see Fig. 1082.), then enter your Web GIS credentials and save, as shown on Fig. 1083..
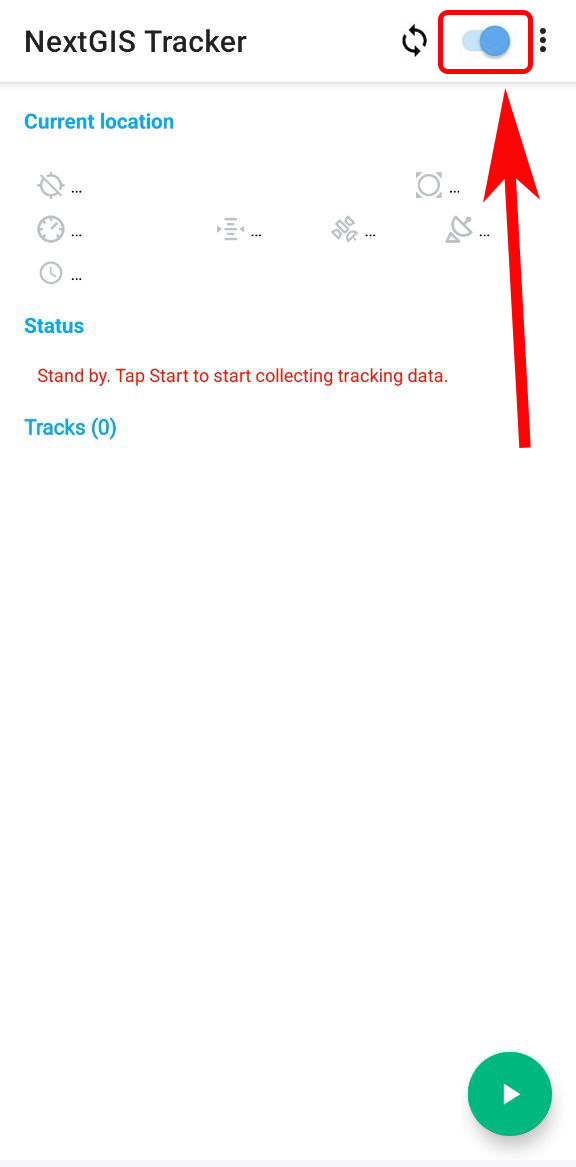
Fig. 1082. Turning on synchronization#
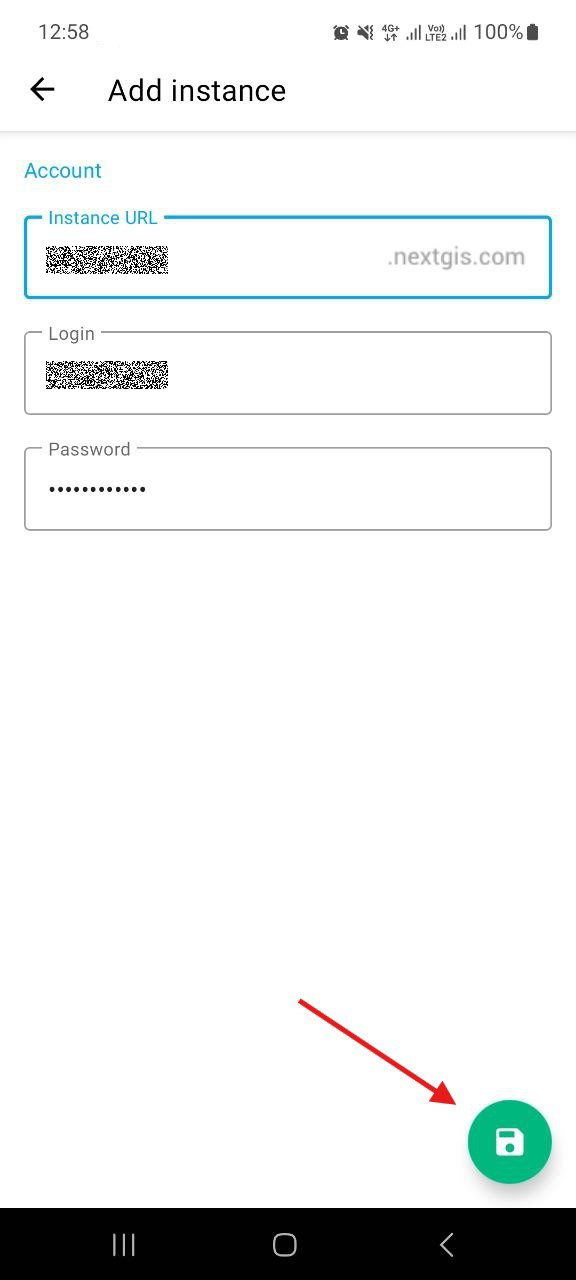
Fig. 1083. Entering Web GIS URL, login and password#
When the settings are saved, you’ll get a notification saying “Tracker is created”. Under the “Sync” slider you’ll see a message: “Automatically send tracking information to Web GIS URL”, as shown on Fig. 1084..
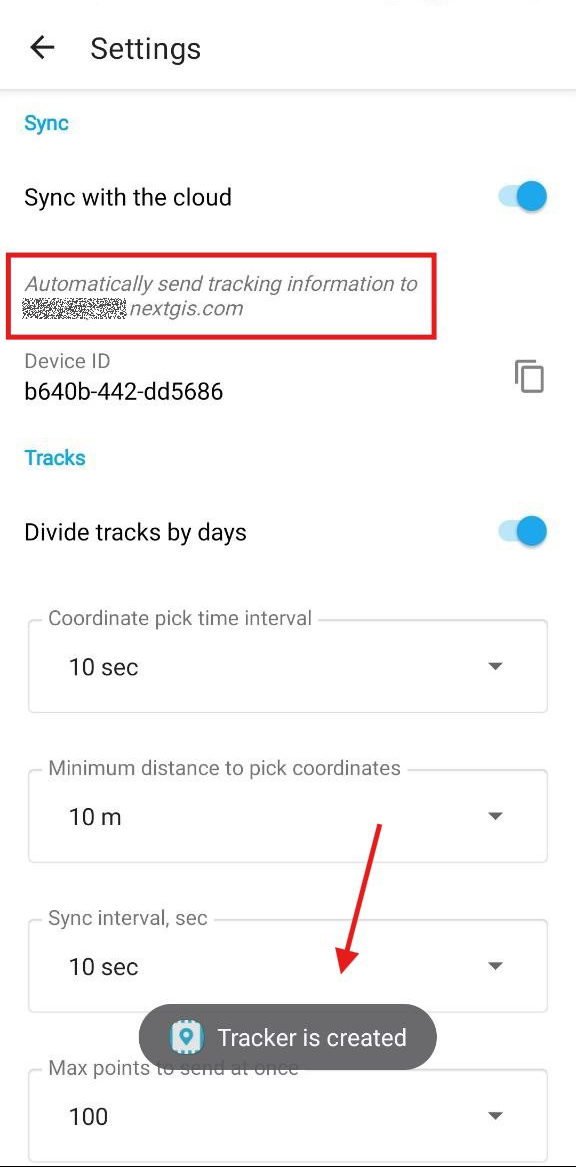
Fig. 1084. Synchronization with Web GIS is enabled#