Settings#
Profile#
Profile section contains user information. It is devided into two tabs: My profile and My API keys.
My profile tab has the following settings:
Login
Password (can be modified after you log in for the first time)
Username
E-mail
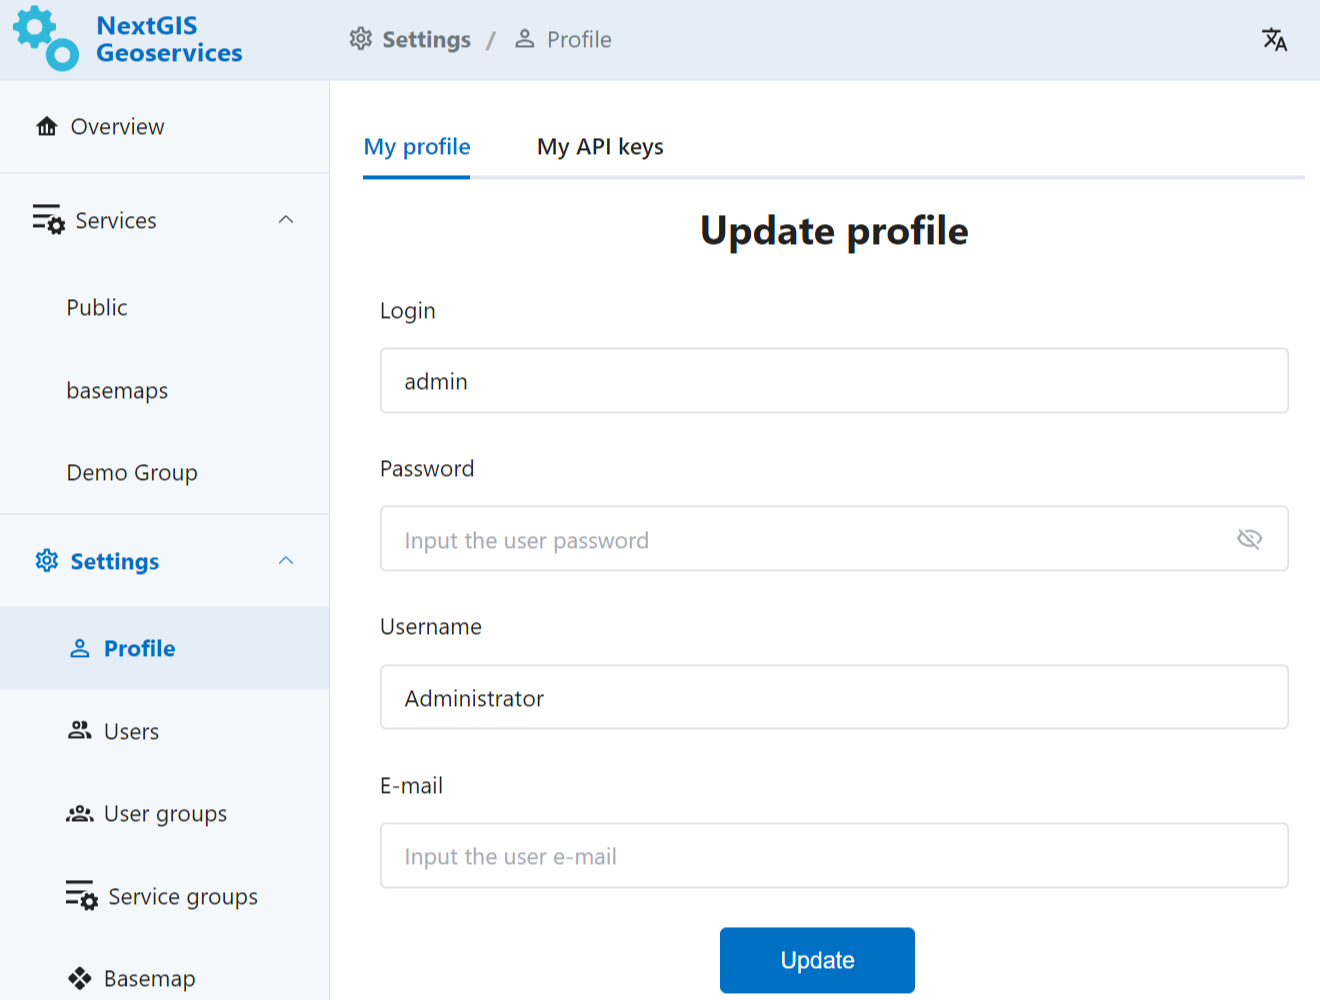
Fig. 754. My profile section in NextGIS GeoServices on-premise#
My API keys are used for integration with other NextGIS services and external applications. For instance, you’ll need an API key to work In this section Administrator can create and delete API keys.
While creating an API key, Administrator can set an expiration date for it. Other API key settings include extent boundary, scale limits and origins.
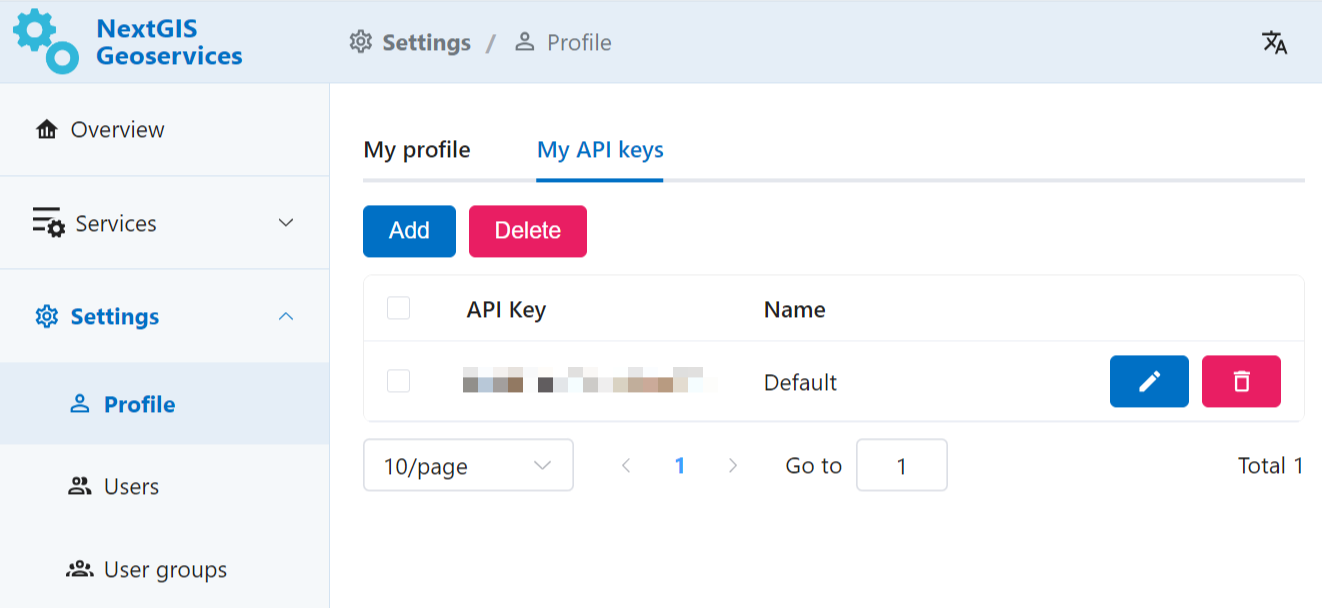
Fig. 755. My API keys section in NextGIS GeoServices on-premise#
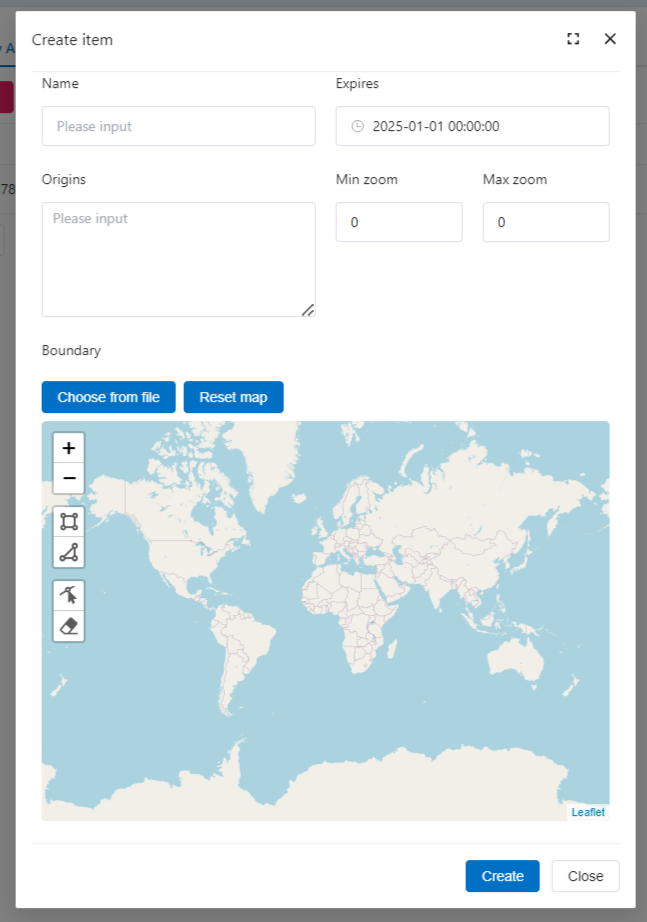
Fig. 756. Creating a new API key#
Users and user groups#
Available settings depend on user access rights.
Administrator has full access and can create users, user groups, add users to the groups, delete and modify users and groups.
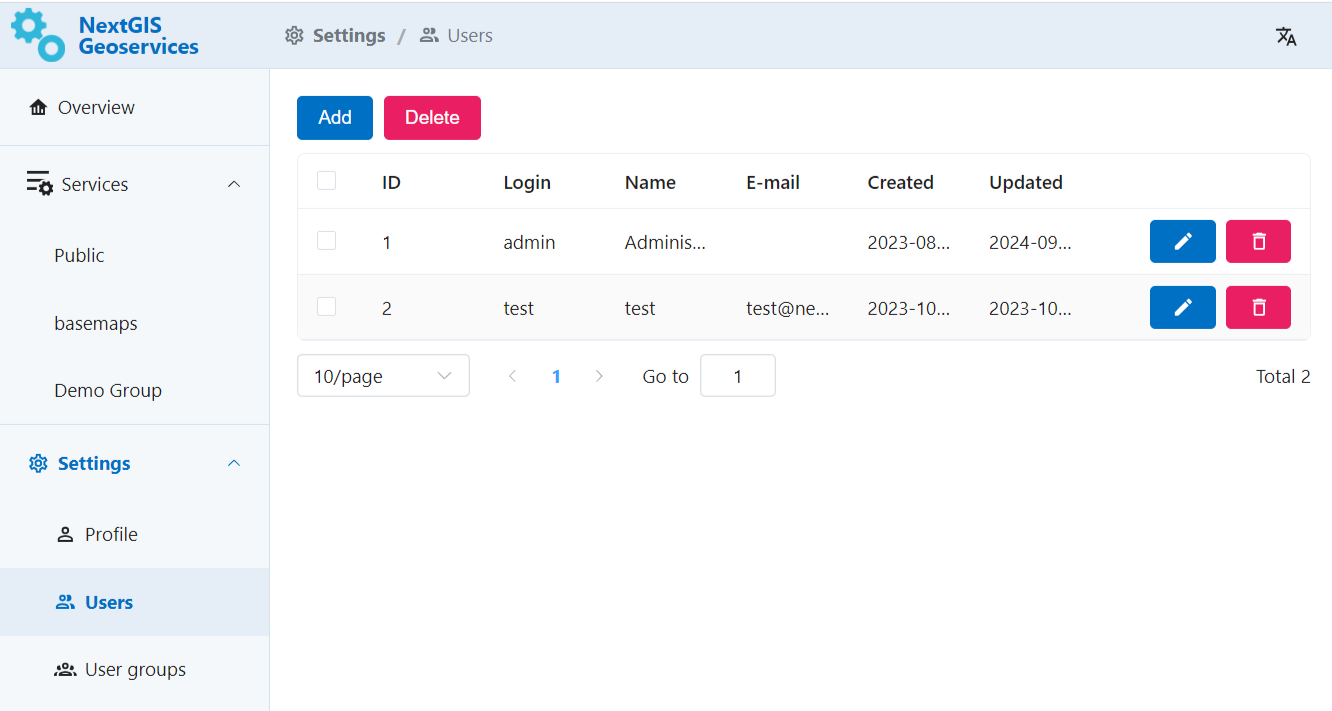
Fig. 757. Creating and deleting user in NextGIS GeoServices on-premise#
To create a new user press Add and fill the following fields:
Login
Password
Username
E-mail
Group to which the new user will be added (optional)
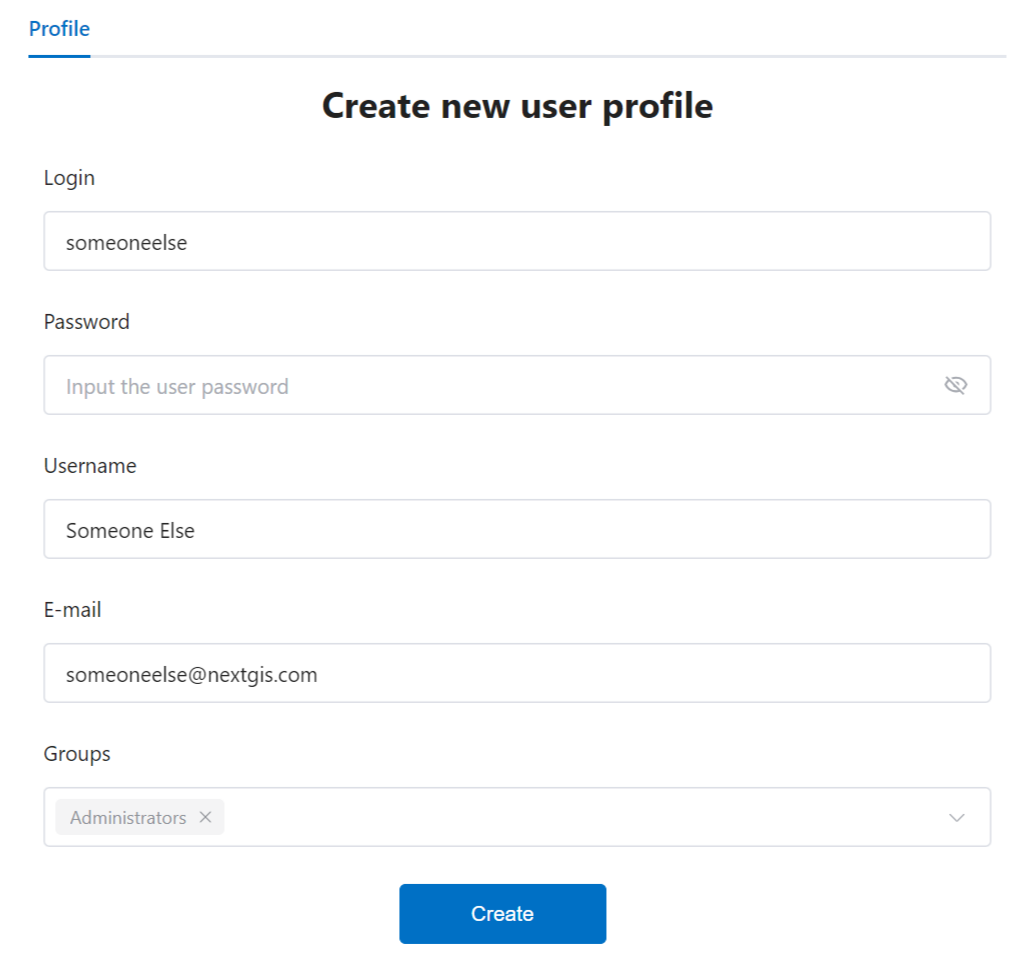
Fig. 758. Creating new user in NextGIS GeoServices on-premise#
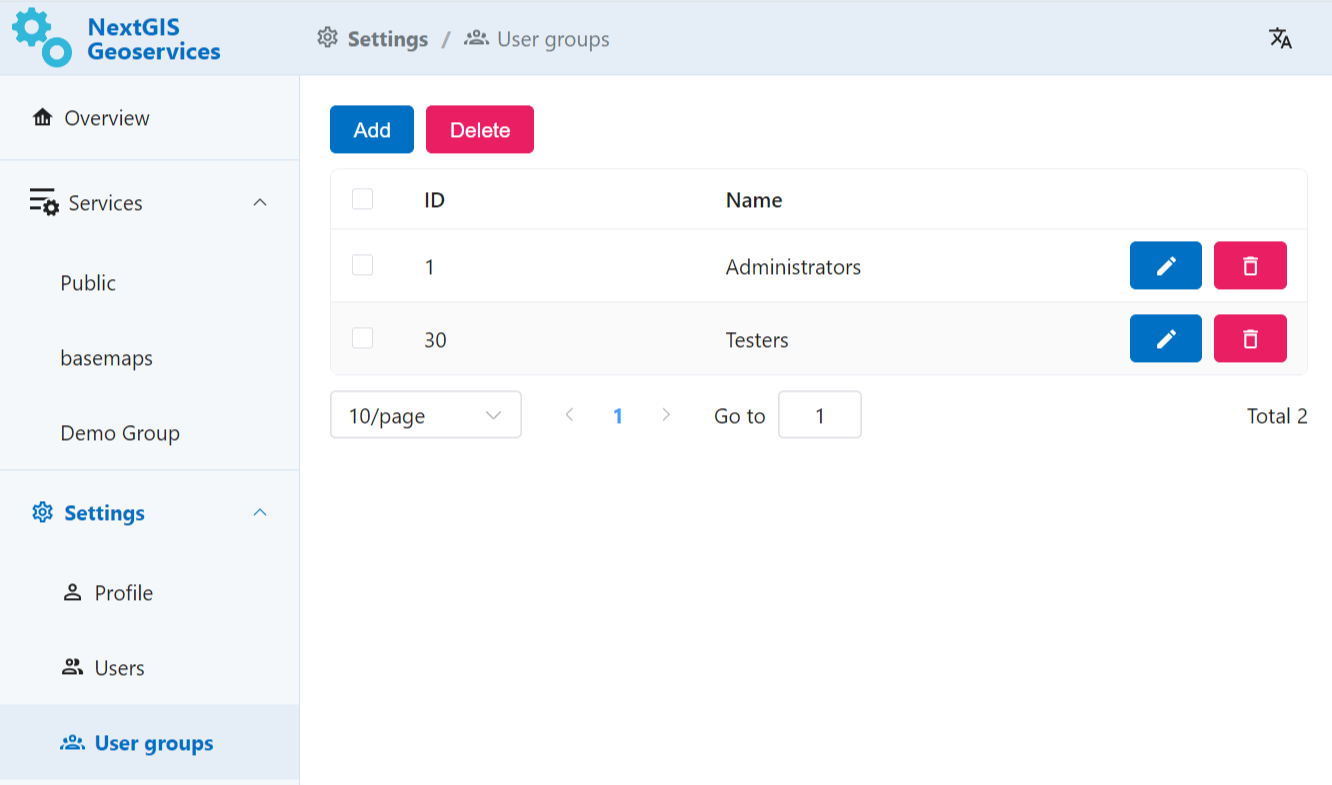
Fig. 759. List of user groups in NextGIS GeoServices on-premise#
To create a User group, in the list of groups press Add. Enter the name for the group. You can select users to be included in the group from a dropdown menu.
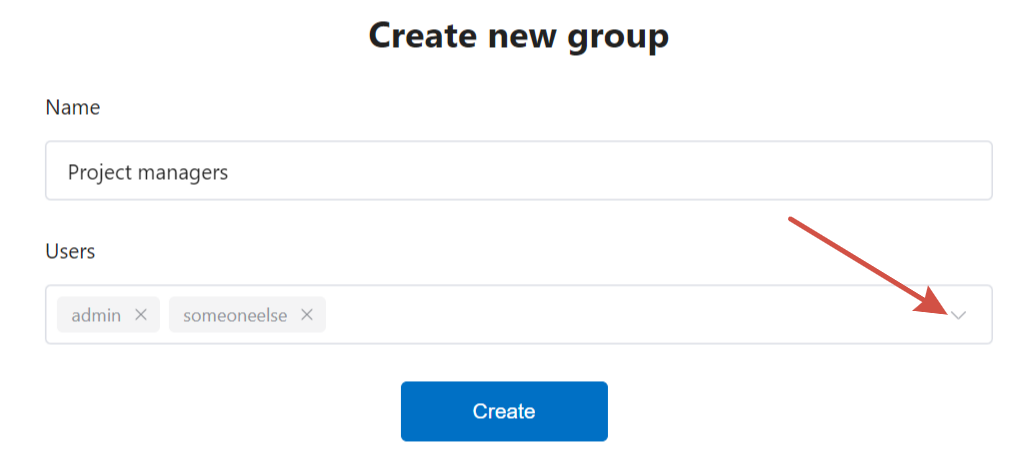
Fig. 760. Creating user group in NextGIS GeoServices on-premise#
Basemap#
In this section you can upload data that will be used for basemap services.
You can upload a PBF file (you can order on NextGIS Data). Upload progress is displayed on the same tab.
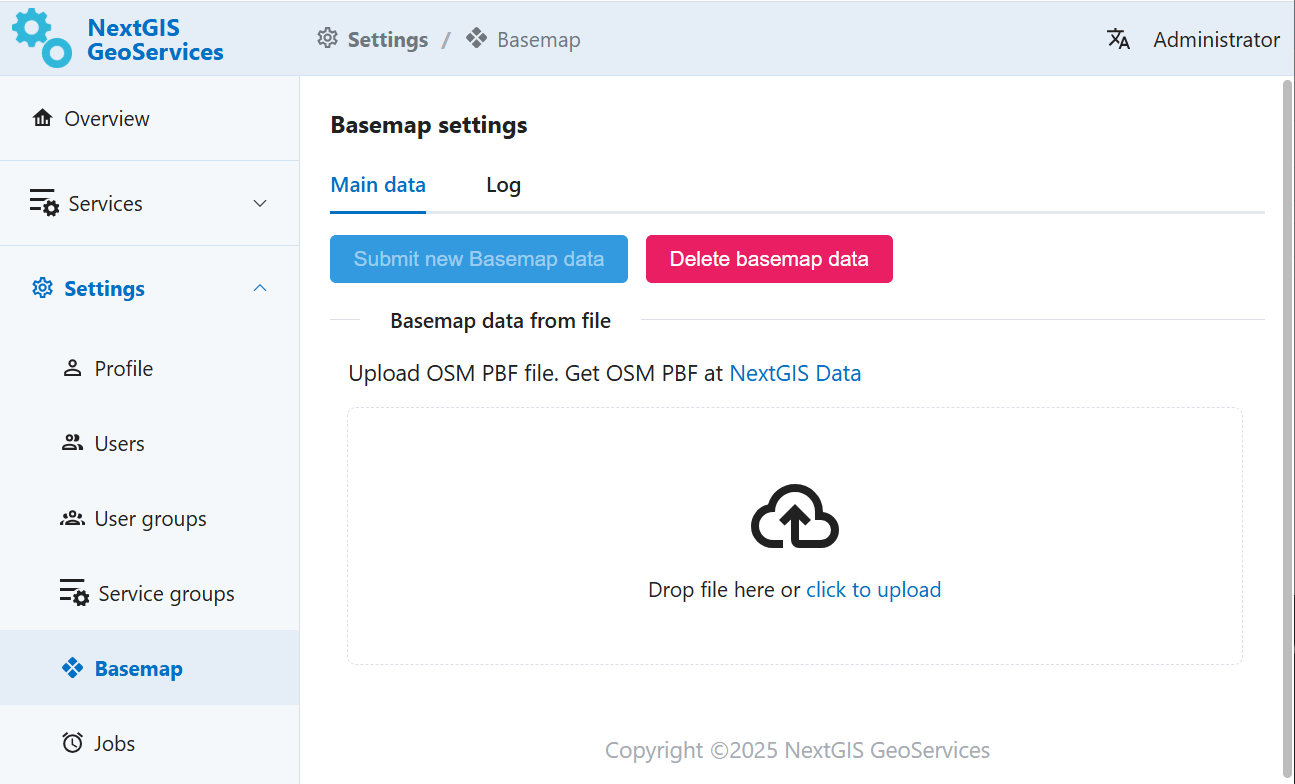
Fig. 761. Uploading data for basemap services#
When the files are uploaded, press Submit new basemap data on the top of the page.
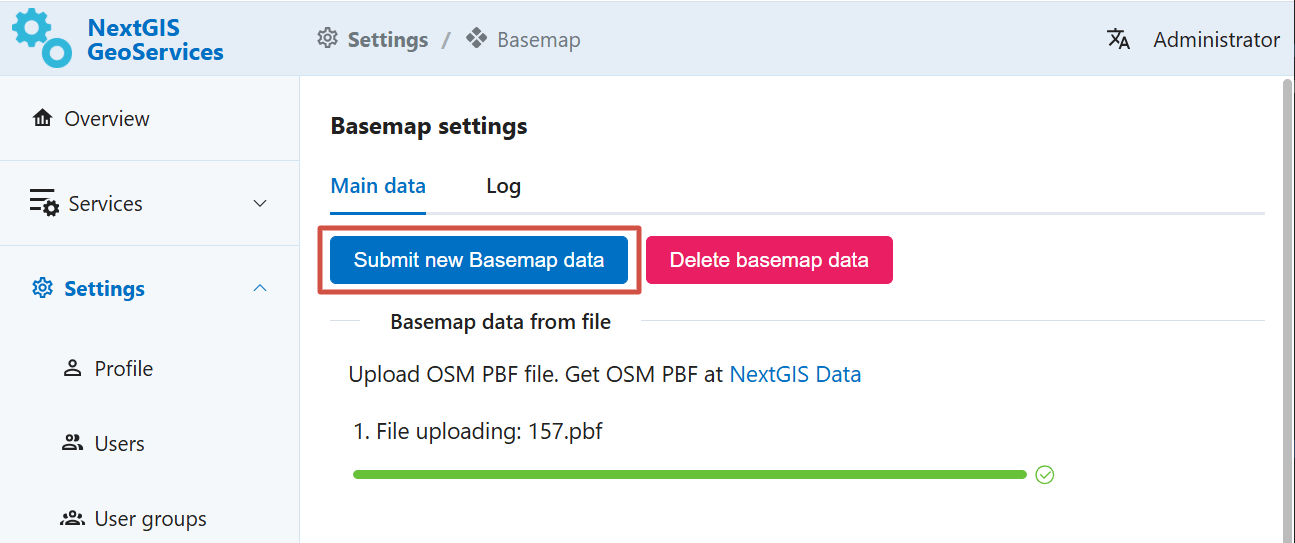
Fig. 762. Submitting new Basemap data#
When the process is finished, it will be marked by a green dot in the Log .
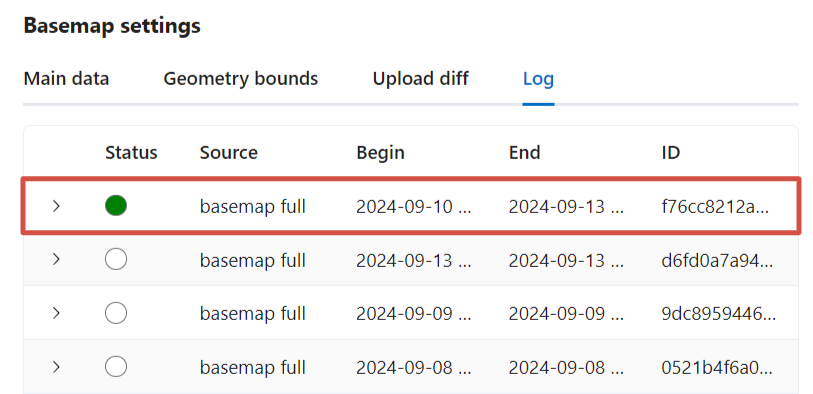
Fig. 763. Upload progress status in the Log tab#
Default basemap that you configured can be found in the Public service group. Use the link for the tile service XYZ to add it to external software such as NextGIS Web or QGIS.
You can use the basemap data to create more services.
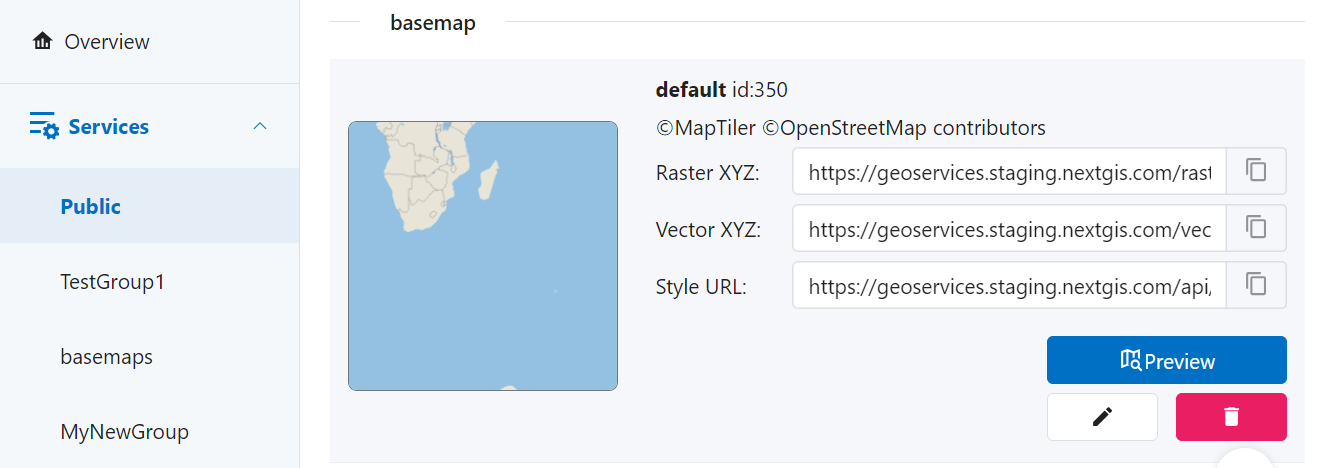
Fig. 764. Link to be used in external apps#
Log#
The log registers data processing history and other actions performed by the app. Log entries include status, process source, beginning and end times, task ID and messages.
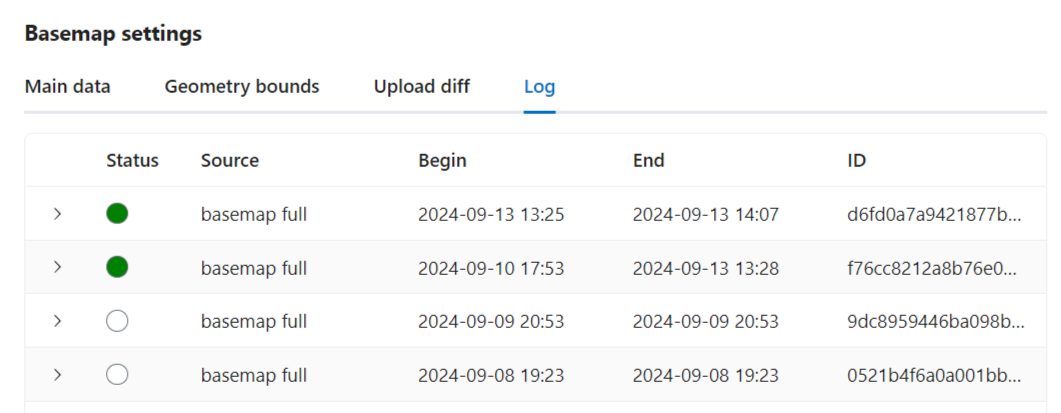
Fig. 765. Log tab in NextGIS GeoServices on-premise#
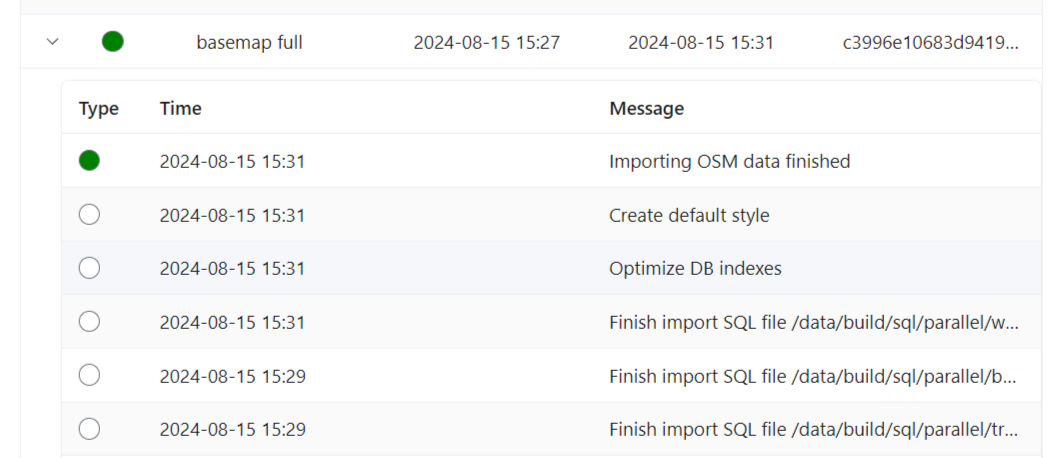
Fig. 766. Messages for a process in the log#
Storage#
In this section you can see the size of the cache stored in S3.
To start estimation process, click Estimate storage. Beside this button you’ll see the date and time of the last estimation.
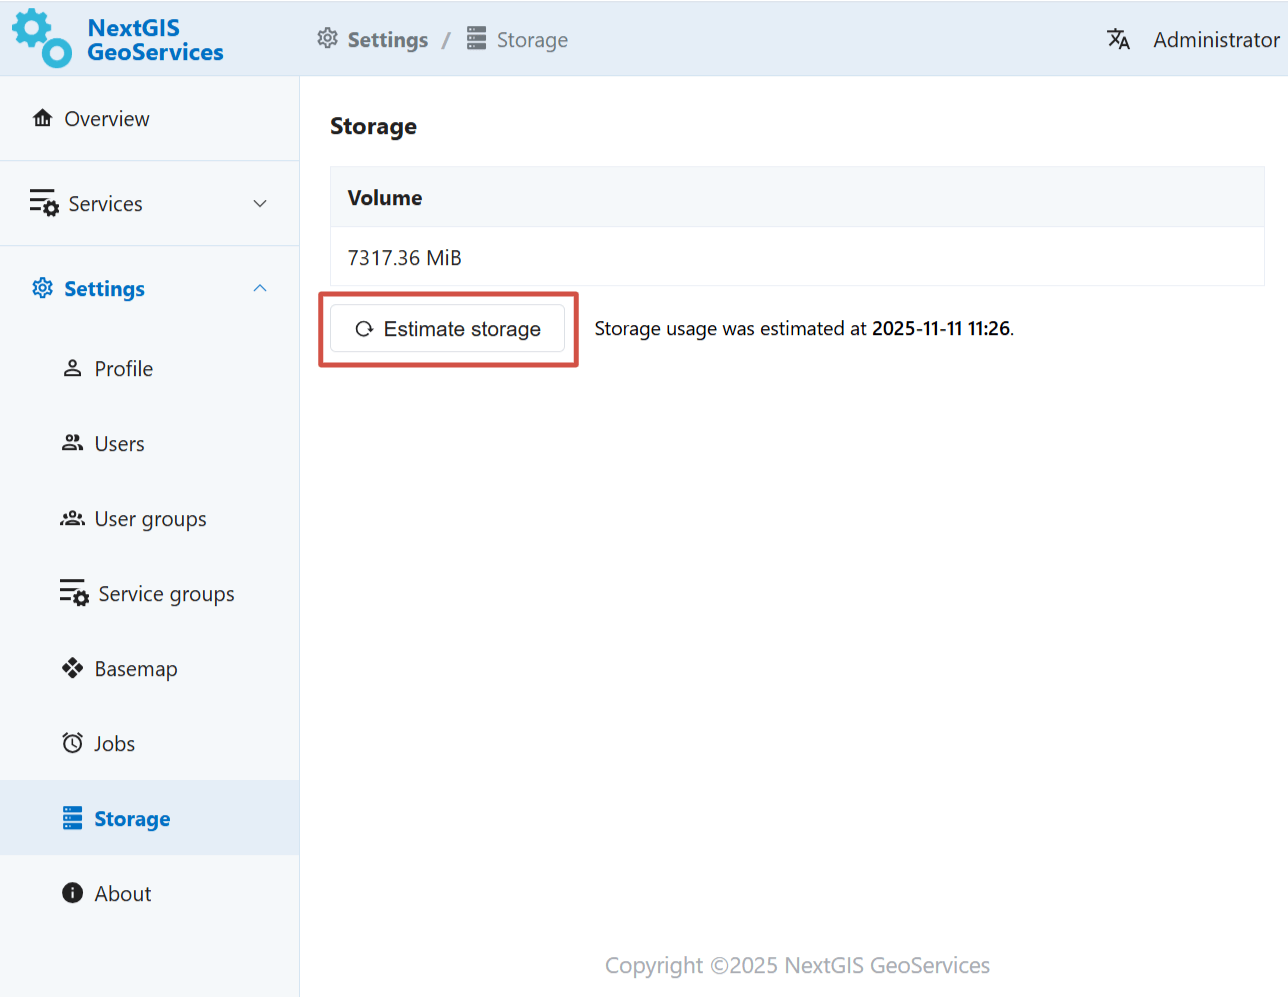
Fig. 767. Overall storage usage#
Storage usage is estimated for all the cache combined as well as for individual services. To view the storage used by a particular service, open its preview.
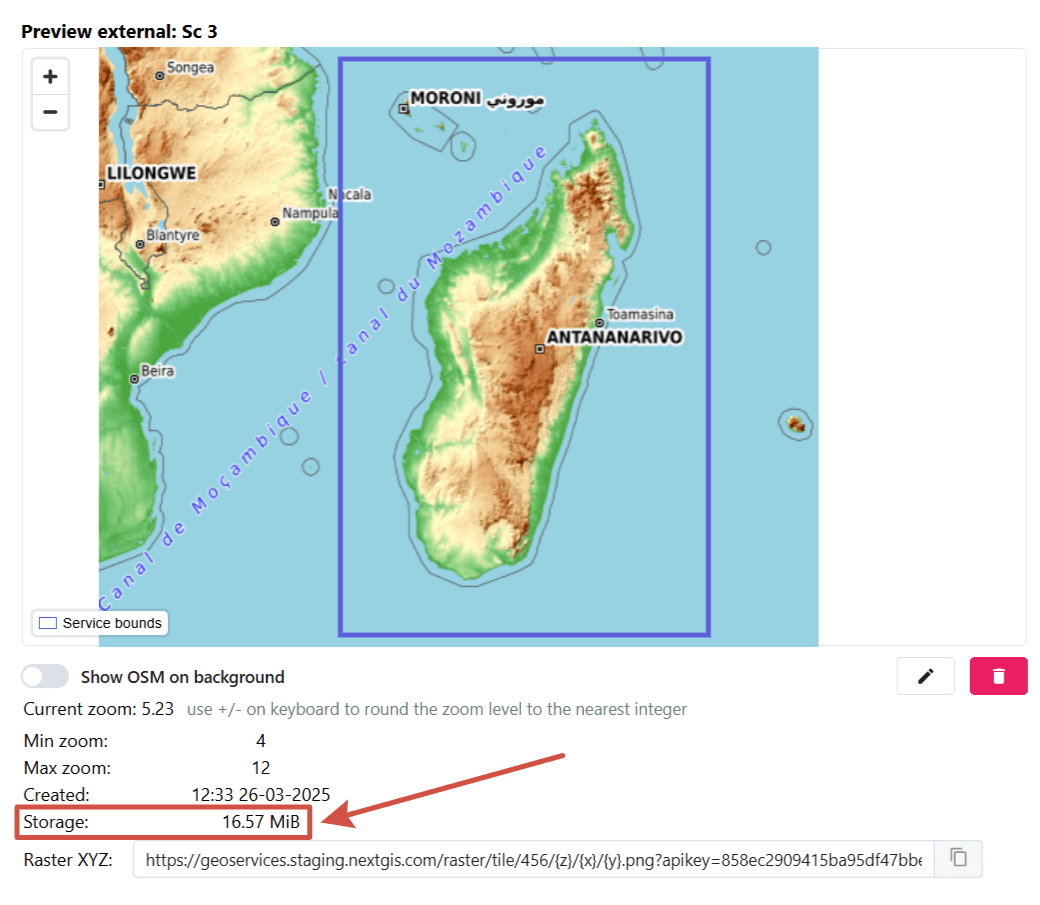
Fig. 768. Cache size of a service#
About#
This section has information on the current versions of the components.
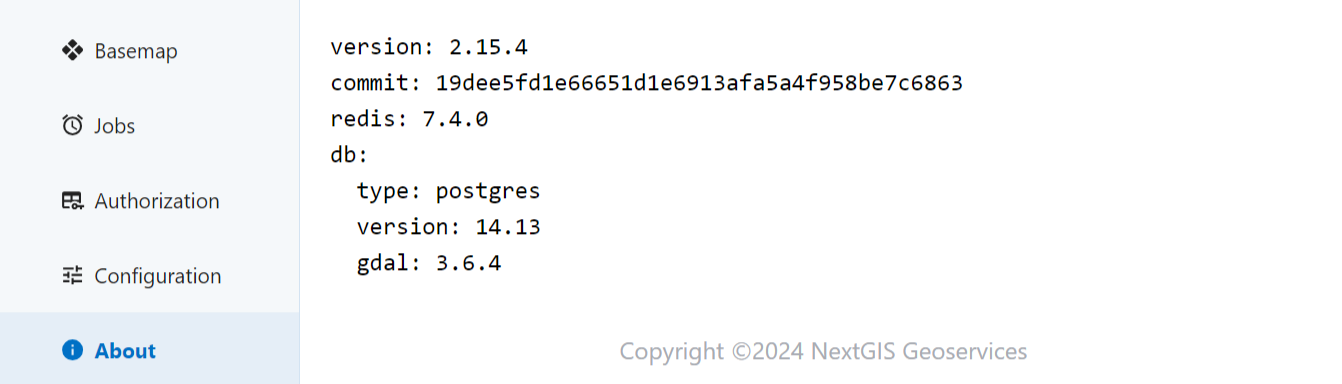
Fig. 769. Component version info in NextGIS GeoServices on-premise#