How to upload data#
Where to get the data?
Access geodata for any place on Earth on NextGIS Data
Raster and vector geodata are uploaded to Web GIS by creating Raster layer and Vector layer resources respectively.
Note
The size limit for uploaded files depends on the selected plan. For Premium - 50 GiB, for Free - 5 GiB and Mini - 10 GiB.
Quick preview#
To quickly view the downloaded data - click on the Preview button on the right menu in the Additional section.
Note
For vector data, previews are available for both the layer and the style. For rasters - for style only. For TMS and WFS layers, preview is also available.
The preview function in the frontend is described here
Raster data#
Input data requirements#
Supported format: GeoTIFF
Inputs must be geographically referenced and have correctly set CRS description as GeoTIFF metadata.
Creating raster layer#
Open the Resource group where you want to create a data layer (by default the main page of Web GIS has Main resource group displayed);
Press Create resource and select Raster layer;
In the opened dialog, go to Resource tab and type a name for the new layer in the field Display name. Then go to Raster layer tab and select a file with raster geodata;
Press Create button. If Raster layer is created successfully, you’ll see its name in Child resources pane of the relevant Resource group.
If you plan to add this raster to QGIS directly from your Web GIS, turn on Upload as Cloud Optimized GeoTIFF (COG) checkbox.
Important
If you plan to display the Raster layer on a Web Map or publish it using WMS protocol, you need to create a Style for it first.

Fig. 42. Selection of “Raster layer” resource type#

Fig. 43. Raster file upload tab#

Fig. 44. Naming the raster layer and finishing the creation process#
Read more about upload of raster geodata to Web GIS here.
See also
If you need to upload large rasters, here’s how to calculate if you have enough storage
Vector data#
Input data requirements#
Supported formats: ESRI Shapefile (zip-archived, no sub-folders, no sub-archives, one zip - one layer), GeoPackage, GeoJSON, GML, KML, CSV or XLSX. For CSV and XLSX only points are supported, coordinates must be in lat and lon columns.
Use NextGIS Connect if you need to upload data in other formats.
Warning
Avoid using Unicode symbols in data field names. While such data can be uploaded, you may experience problems working with it via WFS, in NextGIS Mobile or visualization (especially if styles are using such fields). Use plain Latin for field names and set up field aliases to show Unicode names.
Creating vector layer#
Open Resource group where you want to create a data layer (by default from the main page of Web GIS you can access Main resource group);
Press Create resource and select Vector layer;
In the opened dialog, go to Vector layer tab and select a file with vector geodata or select geometry type for an empty vector layer;
Then in Resource tab type a name for the new layer in the field Display name.
Press Create button. If Vector layer is created successfully, you’ll see its name in Child resources pane of the relevant Resource group.
Important
If you plan to display Vector layer on a Web Map or publish it using WMS protocol you need to add a Style for it first.
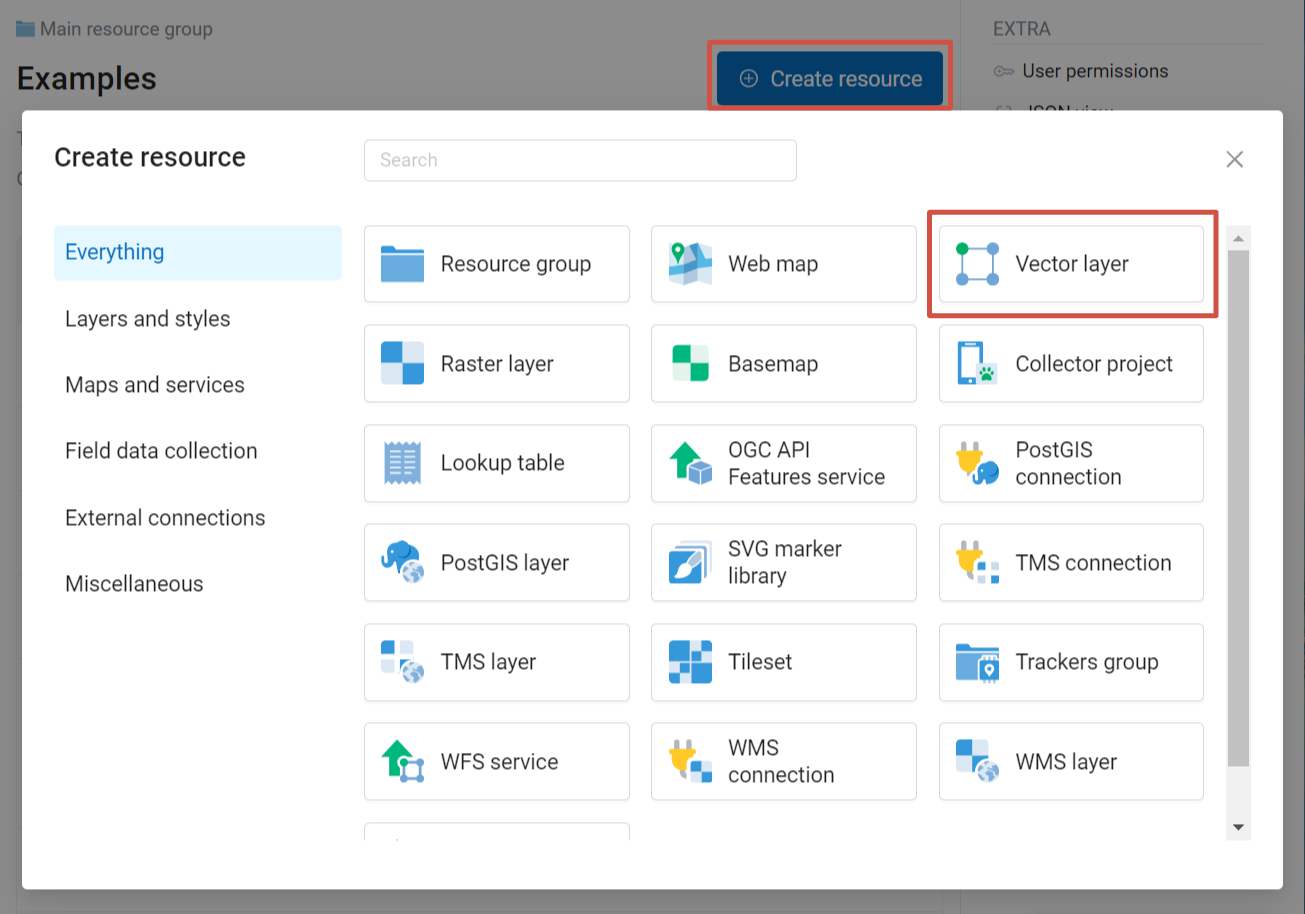
Fig. 45. Selection of “Vector layer” resource type#
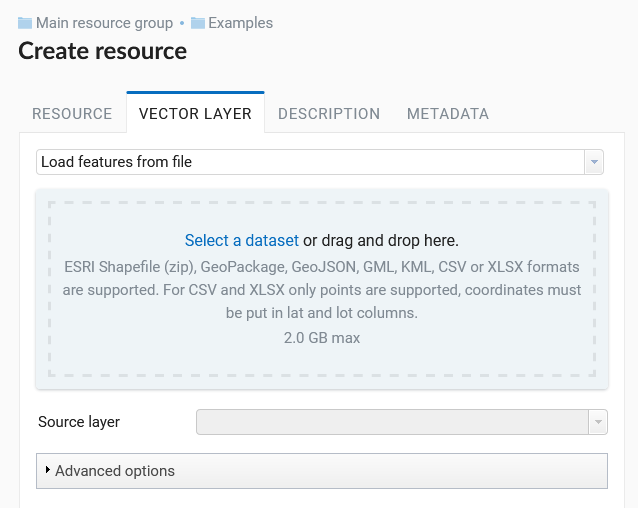
Fig. 46. Vector file upload tab#
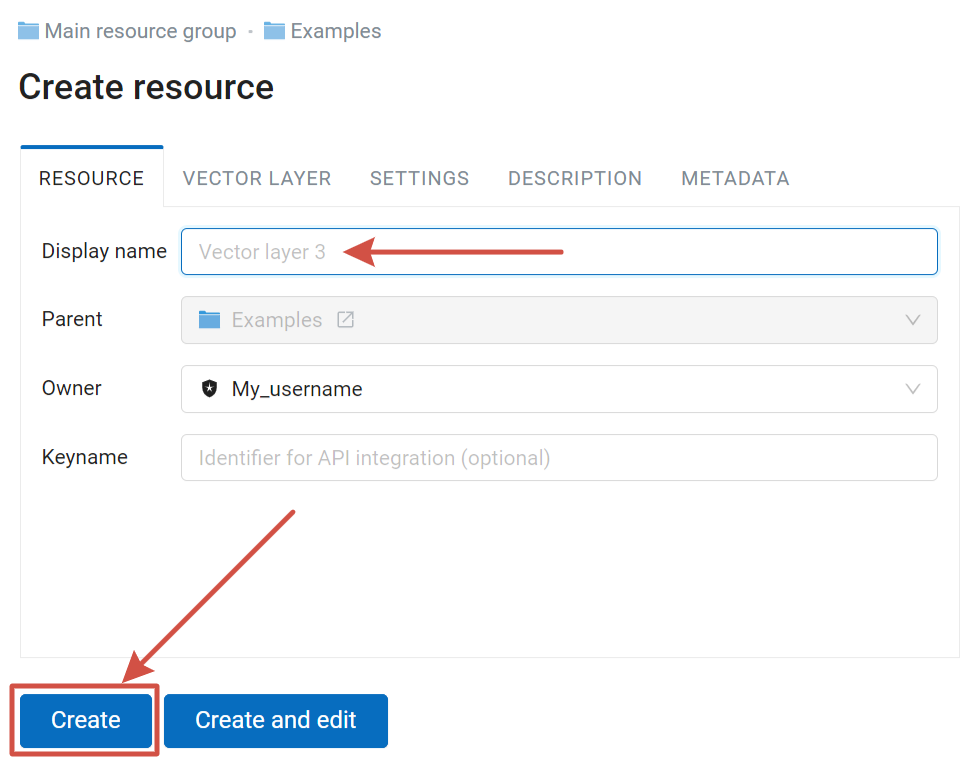
Fig. 47. Naming the vector layer and finishing the creation process#
Web GIS can process multy-layer datasets. If an archive contains several layers, then after it is uploaded, you will be asked to select which layer will be used for creating Vector layer resource.
Read more about upload of vector geodata to Web GIS here.
Note
You can also upload raster and vector geodata to Web GIS with QGIS.