Installation#
To download NextGIS Connect plugin, from the main menu open Plugins ‣ Manage and install plugins. Start typing the name of the plugin in the search bar, select it in the list and press Install.
NextGIS Connect plugin is a part of NextGIS QGIS distributive and is ready to go right after installation of desktop app.
If you need to check the version of the plugin or update it, go to Plugins‣ Manage and install plugins ‣ NextGIS Connect.
Note
Qt6 compatible
When the plugin is installed, its icon appears in the toolbar:
Click on the icon to open NextGIS Connect panel. More about Connect panel.

Fig. 827. NextGIS Connect panel#
First you need to create a connection to Web GIS.
Create a connection#
To create a connection you need to know the address of your Web GIS. The address for your own Web GIS can be found at https://my.nextgis.com/webgis
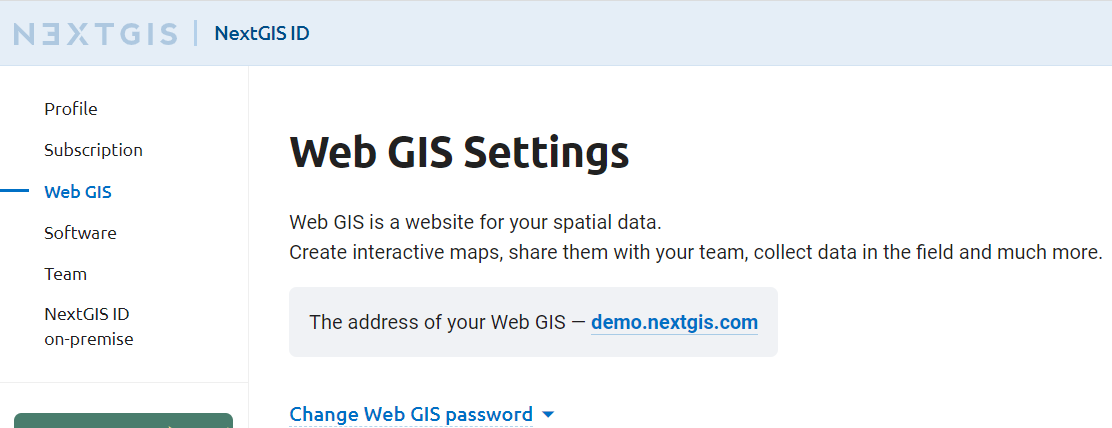
Fig. 828. Web GIS address#
Click on Settings button in NextGIS Connect panel.
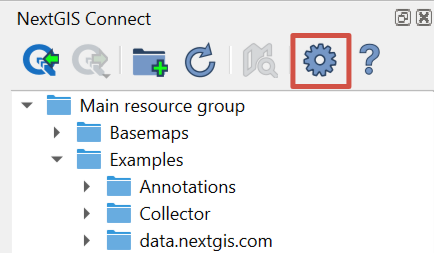
Fig. 829. Opening Settings menu#
In the pop-up window press New and fill in the fields:
URL – address of the target Web GIS.
Name – connection id, how it will be shown in the list of connections.
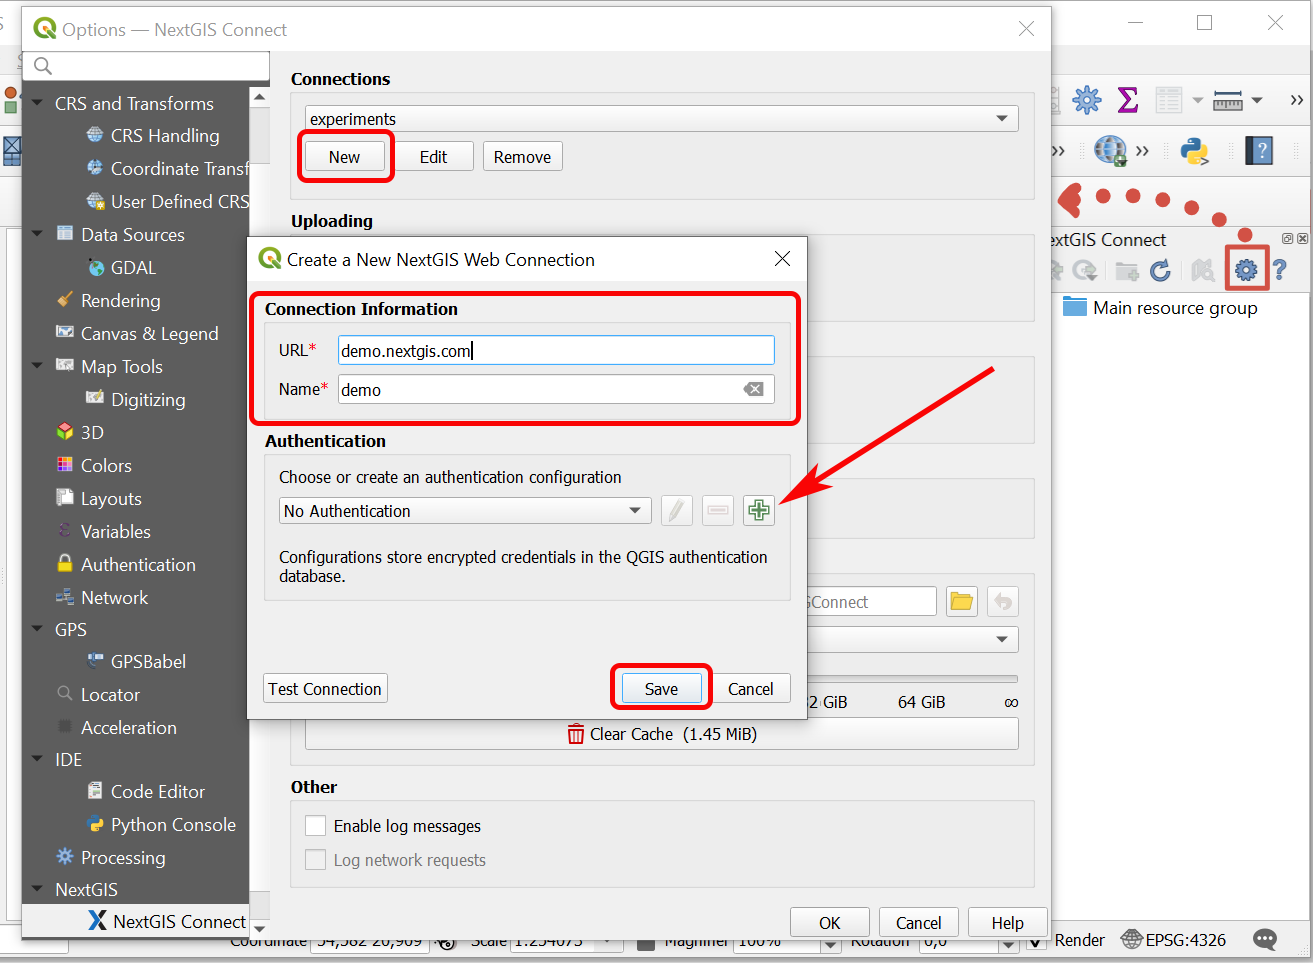
Fig. 830. Adding new connection#
Next, in the Authentication section, choose how you wish to log in to the Web GIS:
The default setting, “No Authentication” (= as a Guest) can be used if you don’t need to perform actions that a Guest has no permissions for;
select a previously created one (the list includes configuration name, user name and authentication type).
Note
For instance, only the Web GIS owner and the team members can create and delete resources.
Make sure that the correct configuration is selected. To check if the credentials are correct, press Test Connection.
If guest or user chosen for authentication does not have access at least to the Main resource group of the Web GIS, an error message will appear. Select a different authentication configuration or contact the administrator of the Web GIS to get access permission.
Next press Save in the connection creating dialog (Fig. 830.).
Click OK.
The connection selected in the “Connections” dropdown menu of the Settings dialog will become active after the dialog is closed.
Add a new configuration#
Important
If you used Google account to log in to NextGIS services, you need to create an additional password for the Connect module. Go to this page and follow the instructions. After creating this password, you can still sign in with Google on web-based NextGIS services.
Press the button with a green plus in the Connection dialog (Fig. 830.).
The “Authentication” dialog will pop up.
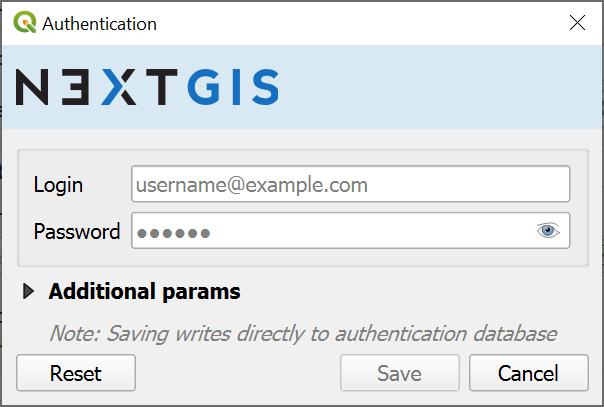
Fig. 831. Adding authentication configuration#
Enter Username (email used for registration) and Password of your NextGIS ID;
Press Save.
Then proceed with checking the connection and finilize creating the connection as described above.
Keycloak authentication in NextGIS QGIS#
Desktop app NextGIS QGIS, NextGIS Web, and NextGIS Connect which serves as a link between them handle geoinformation systems that use Keycloak authorization.
This option is relevant for corporate users who have a Web GIS deployed on-premise.