How to create map styles for data visualization#
Style is a special type of resource necessary to visualize geodata on Web Map or with WMS service When displaying a data layer on a Web Map or publishing it using WMS protocol, you actually use its style which describes how geodata is visually presented on a map.
The only exception are WMS layers and TMS layers which don’t need you to create Styles, because the information about their visualization is passed to Web GIS from the external server.
Web GIS supports several types of Styles.
For Vector and PostGIS layers you can create MapServer style or QGIS vector style.
For Raster layers you can create Raster style or QGIS raster style.
To create a default QGIS style, just press the blue button on the resource page of the layer.
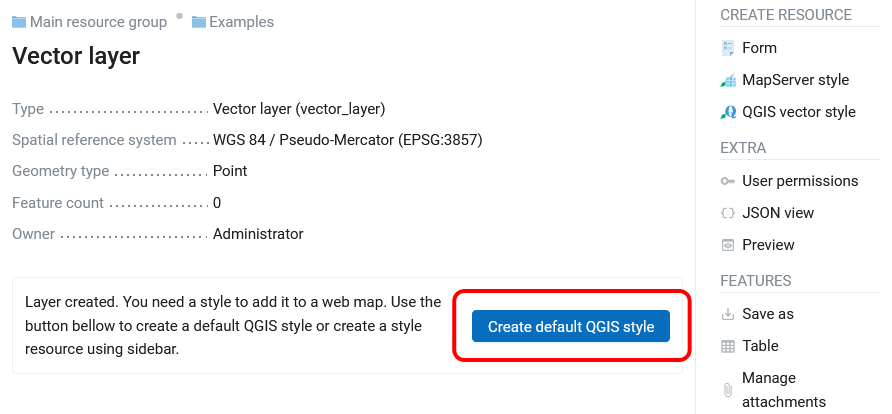
Fig. 45. Creating default QGIS style#
QGIS style#
Open the Properties page of the layer for which you want to create a style;
Press Create resource and select QGIS style;
In the opened dialog, Go to QGIS style tab and upload a file in QML format created with QGIS;
Press Create button. If Style is created successfully, you’ll see its name in Child resources pane of the relevant layer.
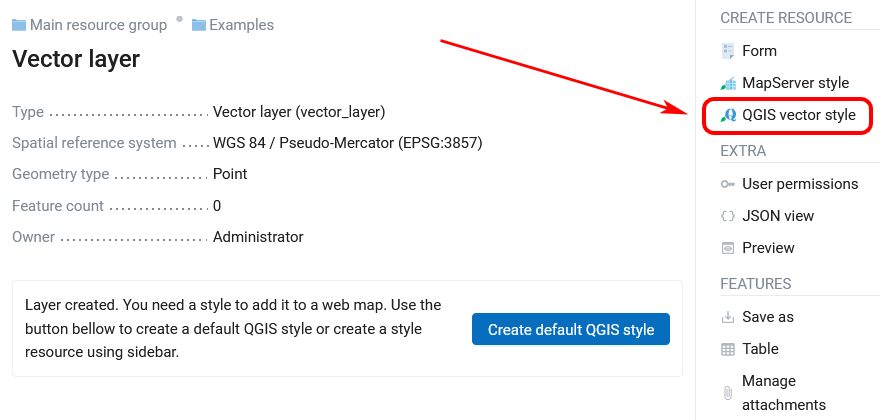
Fig. 46. Selecting QGIS style#

Fig. 47. Uploading QML file#
You can type a custom name for the new style in the field Display name of the Resource tab.
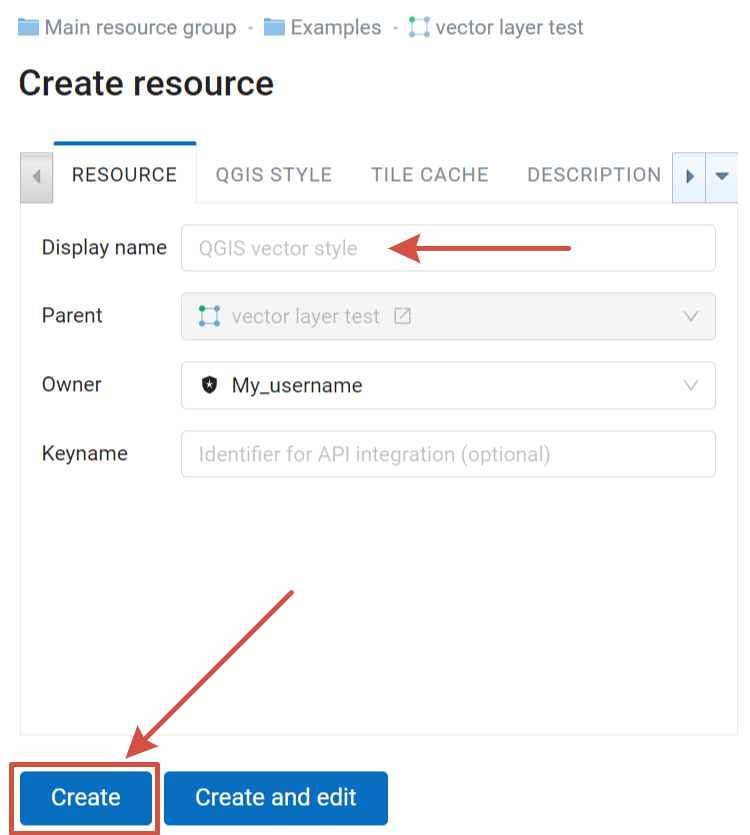
Fig. 48. Display name field of a QGIS style#
Simple vector styles can be edited directly from NextGIS Web (more about it here).
Note
For Vector layers uploaded to Web GIS with desktop app QGIS a QGIS style is created automatically.
MapServer style#
Open the Properties page of a Vector layer or PostGIS layer for which you want to create a style;
Press Create resource and select MapServer style;
Press Create button. If Style is created successfully, you’ll see its name in the Child resources pane of the relevant Vector layer or PostGIS layer.
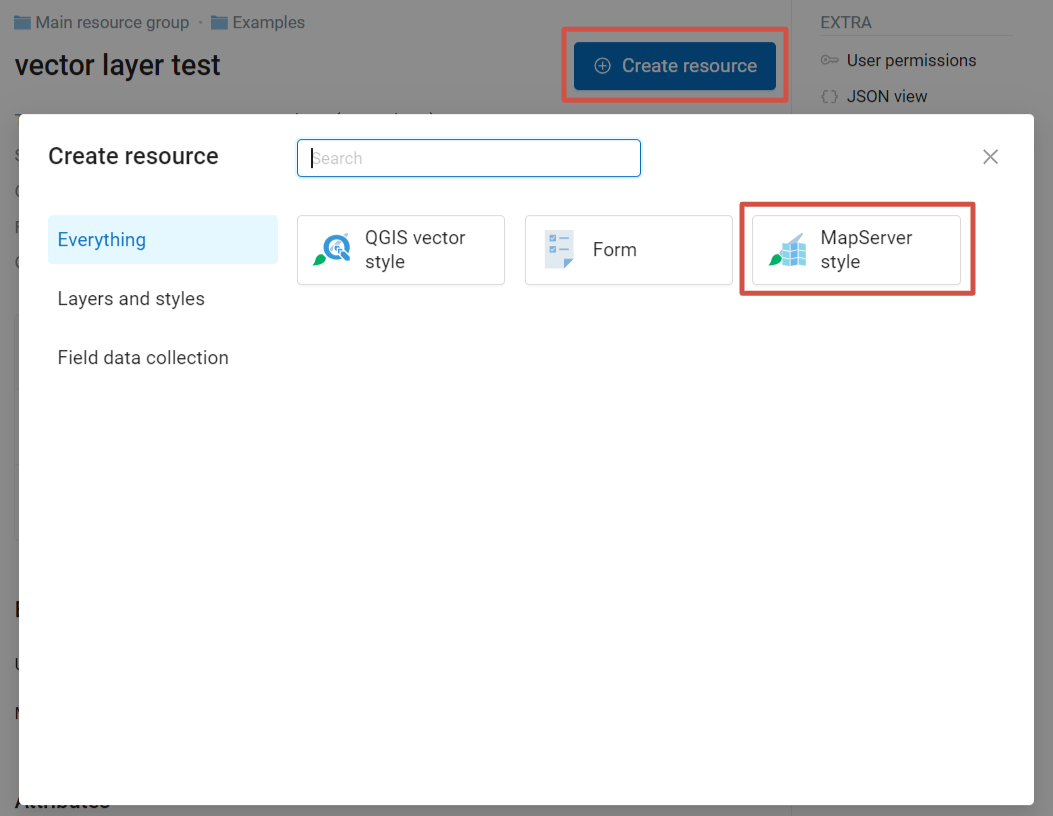
Fig. 49. Selecting MapServer style#
You can type a custom display name for the new style in the Resource tab and edit style parameters in the MapServer style tab.
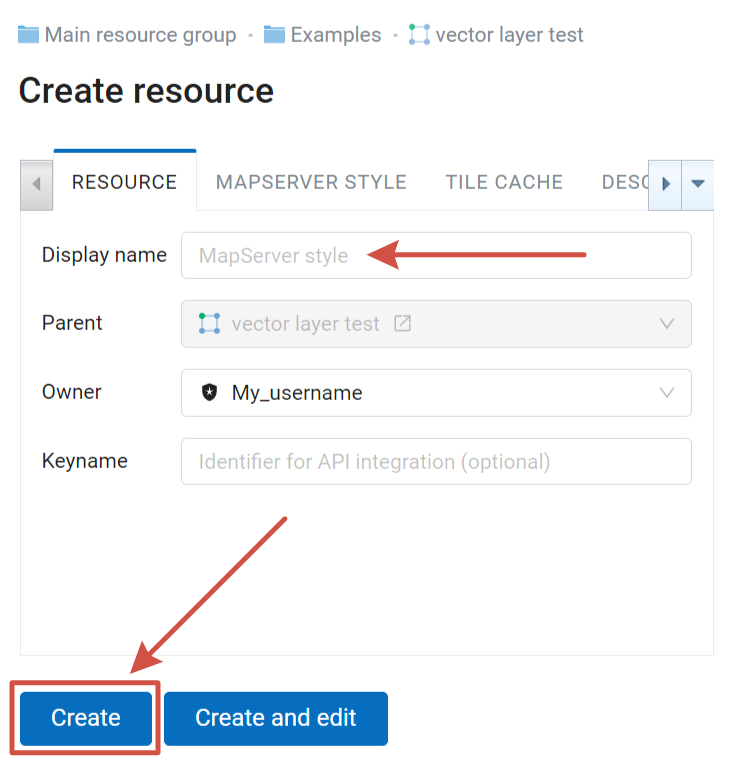
Fig. 50. Display name field of a MapServer style#
Raster style#
Open the Properties page of Raster layer for which you want to create a style;
Press Create resource and select Raster style;
Press Create button. If Style is created successfully, you’ll see its name in Child resources pane of the relevant Raster layer.
Note
For Raster layers uploaded to Web GIS with desktop app QGIS a Raster style is created automatically.

Fig. 51. Selecting “Raster style”#
You can type a custom name for the new style in the field Display name of the Resource tab.
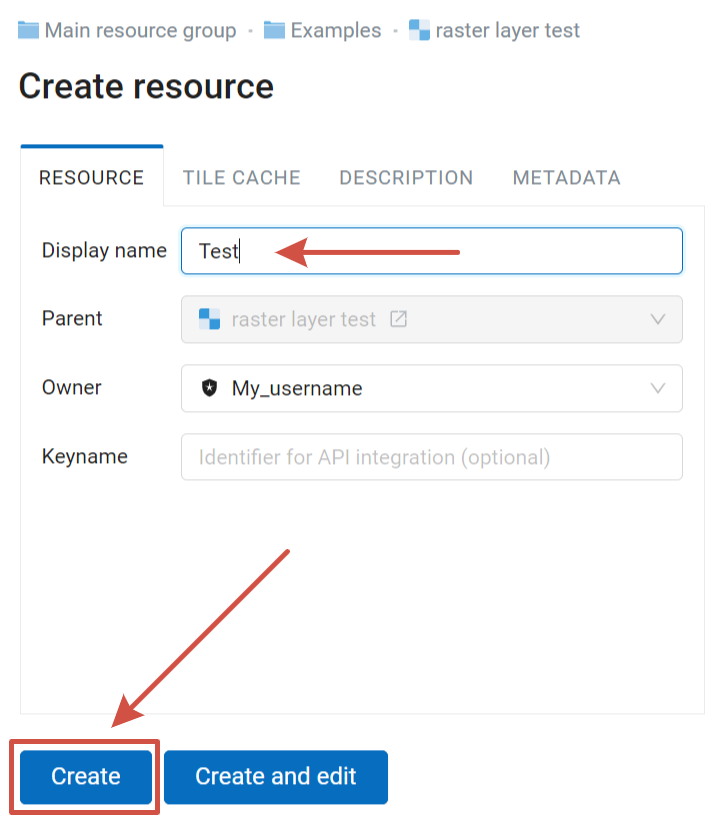
Fig. 52. Creating Raster style with a custom name#
Read more on how to create and edit Styles here.