Settings dialogue#
Depending on the screen size Settings dialogue can fit into one or two panels. Settings dialogue is shown on Fig. 905. (one panel mode).
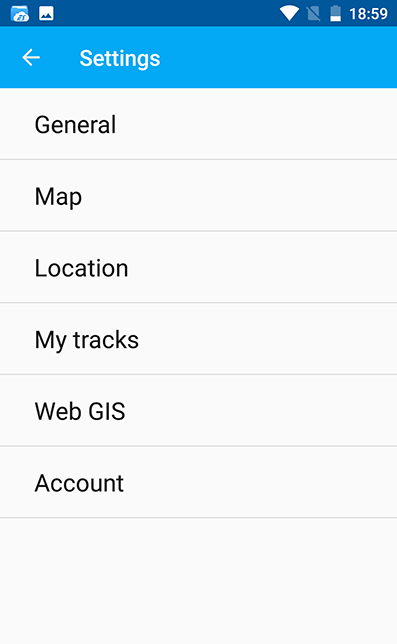
Fig. 905. Settings#
There are following Settings on the main panel:
General#
“General” settings allow to change basic settings of the map (see Fig. 906.).
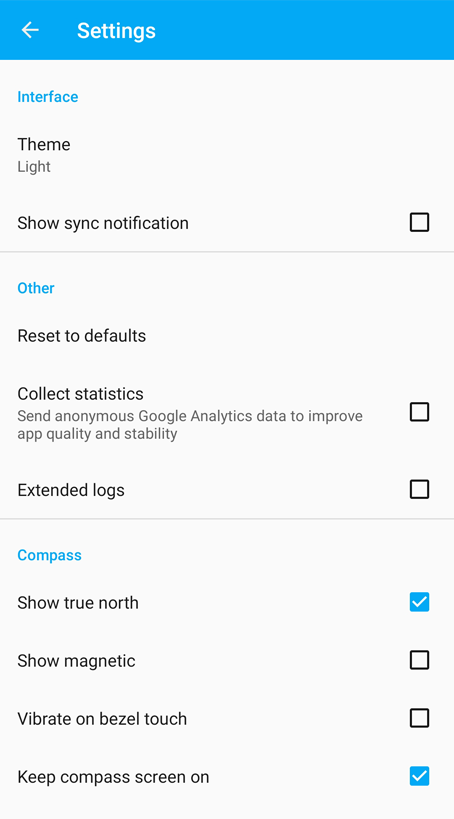
Fig. 906. General settings#
Here you can select the theme (Light or Dark) and tune up compass settings.
Map#
“Map” settings allow to change basic settings of the map (see Fig. 907.).
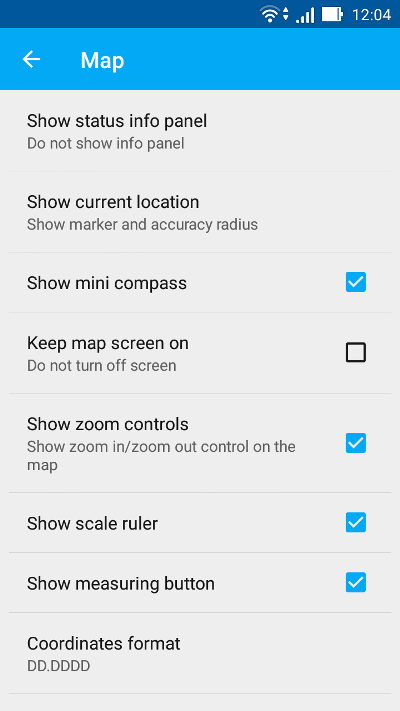
Fig. 907. Map settings#
Map settings include:
Show/hide Status info panel
The way current location is displayed (show current location, show marker, how marker & accuracy radius)
Show mini compass
Keep map screen on - works only on the map screen
Show/hide zoom control buttons on the map
Measurement system
Show scale ruler
Show zoom level
Show measuring button
Coordinates format (for coordinates in Status bar and other dialogs and screens)
Decimal places
Map background (light, dark, neutral)
Map path (here you can specify a path where map and layers data will be stored)
Note
For devices with several SD cards and Android 4.4 and higher, map path not on the main SD card can only be specified in the application home directory and its subdirectories (for example: Android/data/com.nextgis.mobile). This is also true for some devices without root access. Read-only folders won’t show up in path selection dialog.
Restore layers#
Sometimes in case of memory malfunction, problems with writing data etc the synchronization between the layer on the map and in the app’s memory may break.
To restore a broken layer open Settings –> Map and click Restore broken layers.
Select a layer you want to restore.
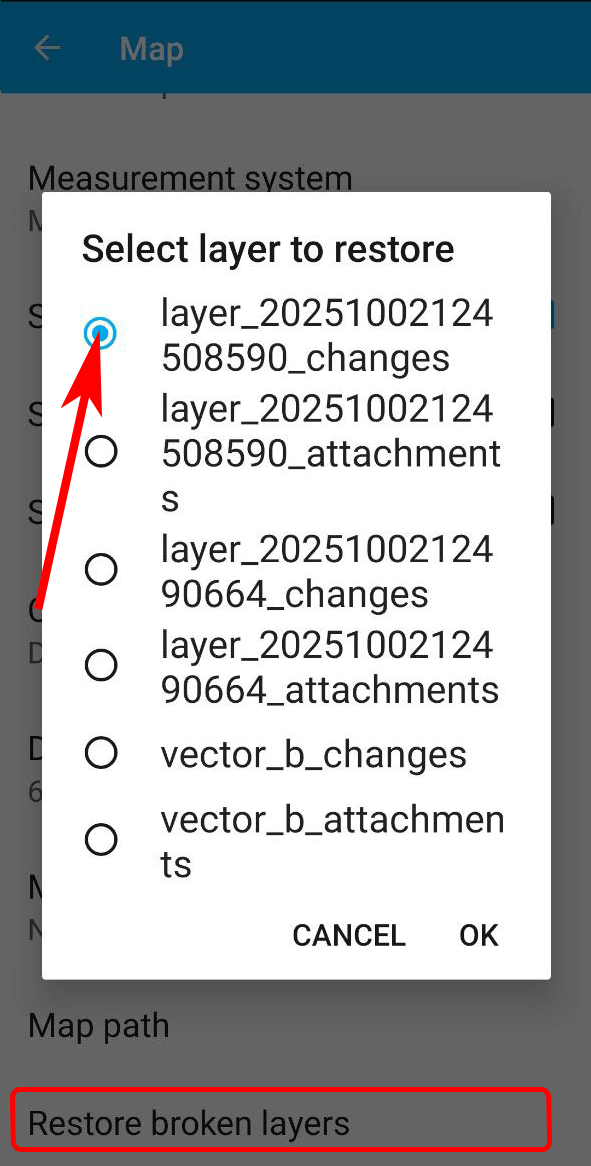
Fig. 908. Choosing layer to restore#
In this menu you’ll see the names of the local files in your device memory. The standard vector layers created during the installation of the app are:
Points - vector_a
Lines - vector_b
Polygons - vector_c
To see the name of the file corresponding to another layer, open its context menu (three dots), go to Settings. On the General tab you’ll find the full path to the file.
Location#
“Location” settings offer a few location specific settings (see Fig. 909.).
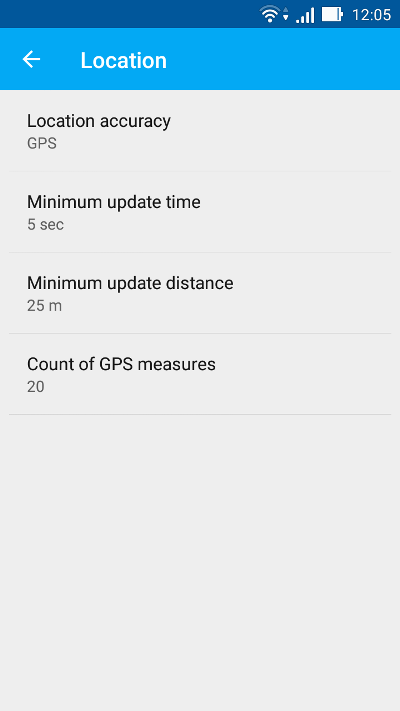
Fig. 909. Location settings#
Location settings include:
Coordinate source (mobile networks/Wi-Fi + GPS, Other networks or only GPS)
Minimum update time
Minimum update distance
Count of GPS fixes
My tracks#
“Tracks” settings are similar to the location settings, but they are applied only for track recording.
Check “Send location to server” if you want to view tracks on a Web Map or save them to a vector layer. In this settings page you can also check your UID (you’ll need it to create a tracker in Web GIS). More about tracking.
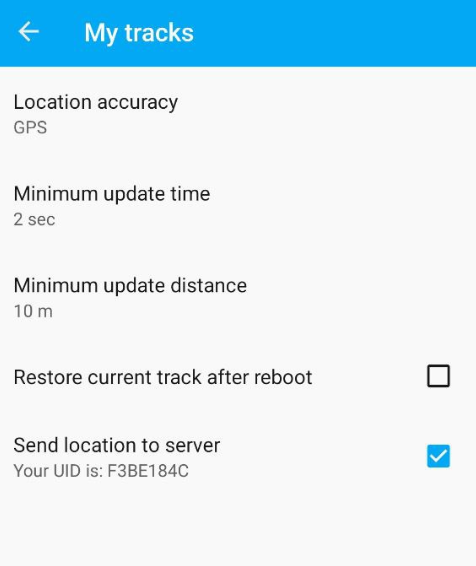
Fig. 910. My tracks settings#
Note
If you set value of the minimum update distance at more than 5 m, the operating system will start to smooth the track (remove outliers).