Installation
NextGIS QGIS is installed with the aid of a universal installer. You can download installer for your OS using this link.
Note
Installer not requiring Internet connection is only available for users on Mini and Premium subscription plans.
Installation process
The installes is a step-by-step wizard. The first page (see ngqgis_installPage01) welcomes you to the installation process.
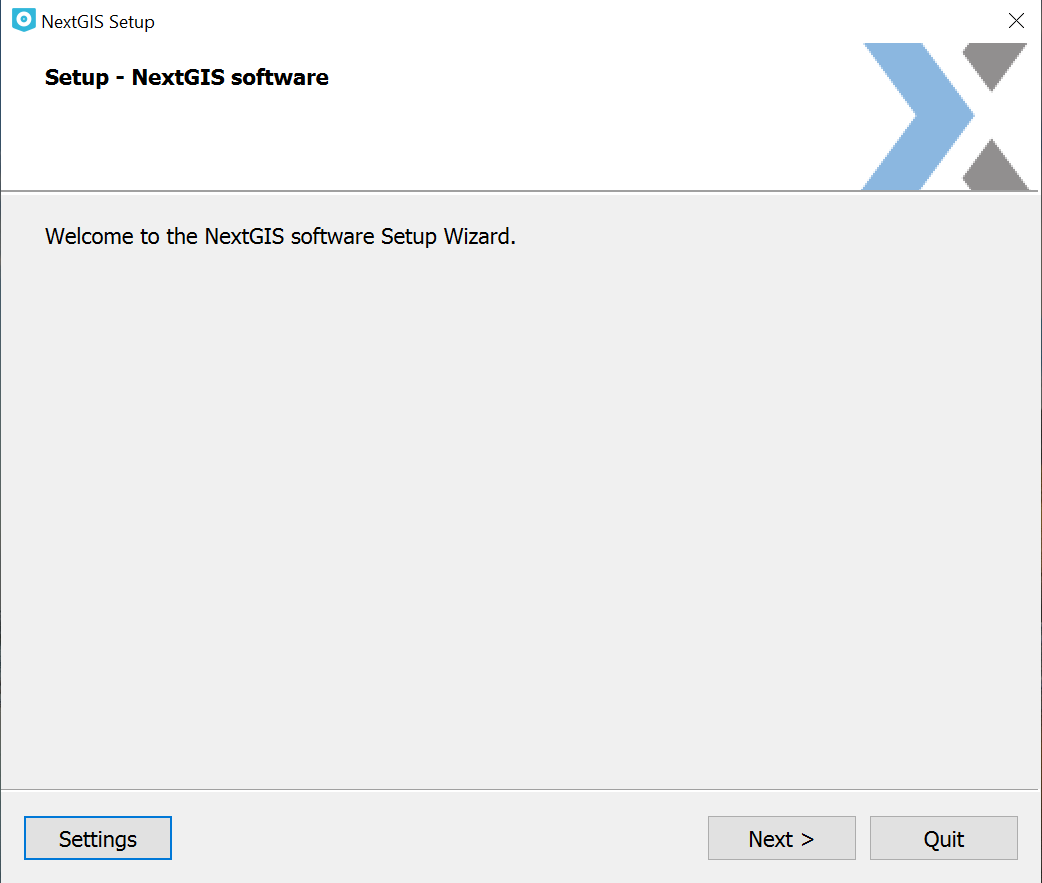
Installation wizard initial page
On the next page (see ngqgis_installPage02) select the target folder for the program. We recommend using the default path suggested by the wizard.
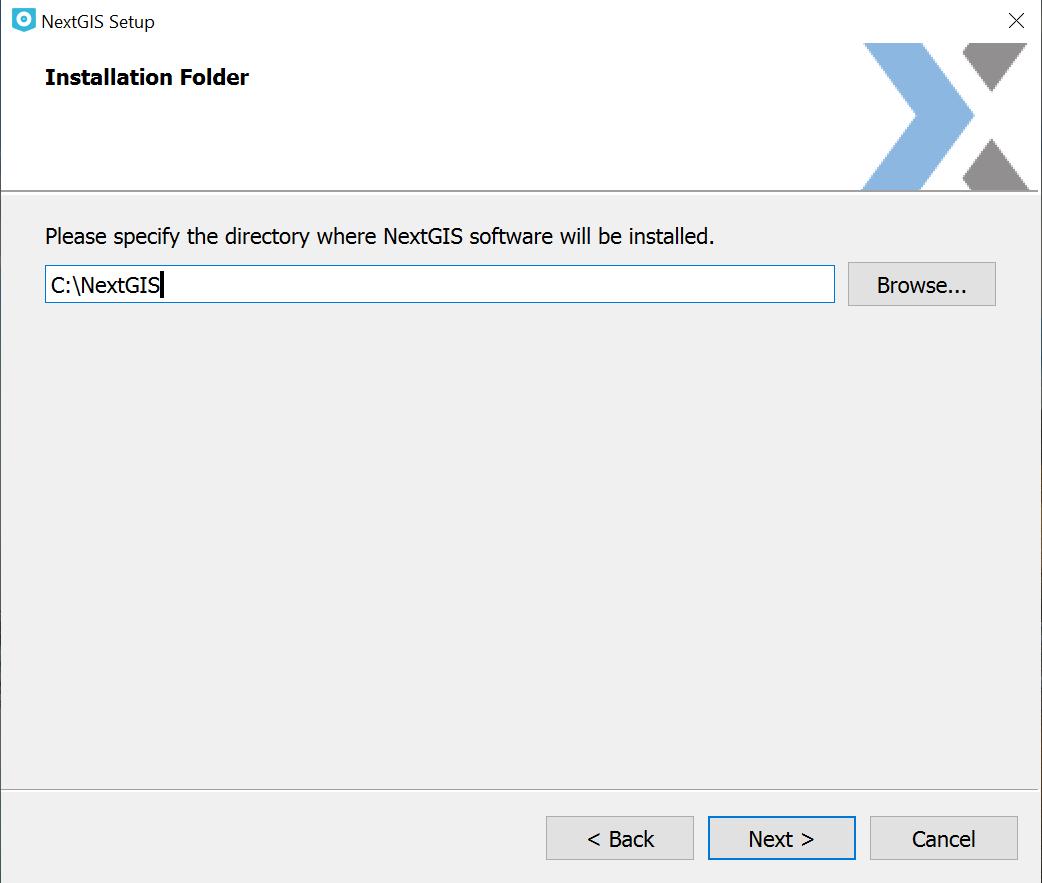
Selecting target folder
On the third page (see ngqgis_installPage03) you can unmark the components you don’t need.
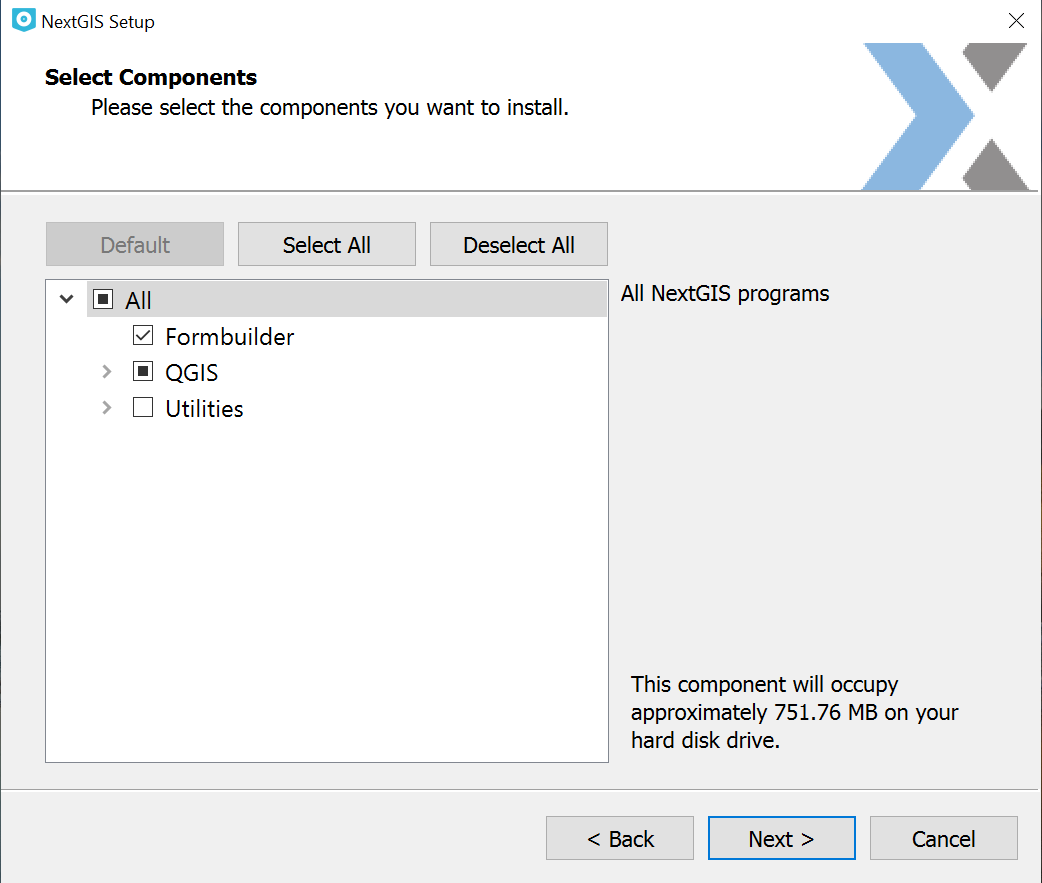
Selecting components
On the fourth page (see ngqgis_installPage04) you need to read the License Agreements and agree to them.
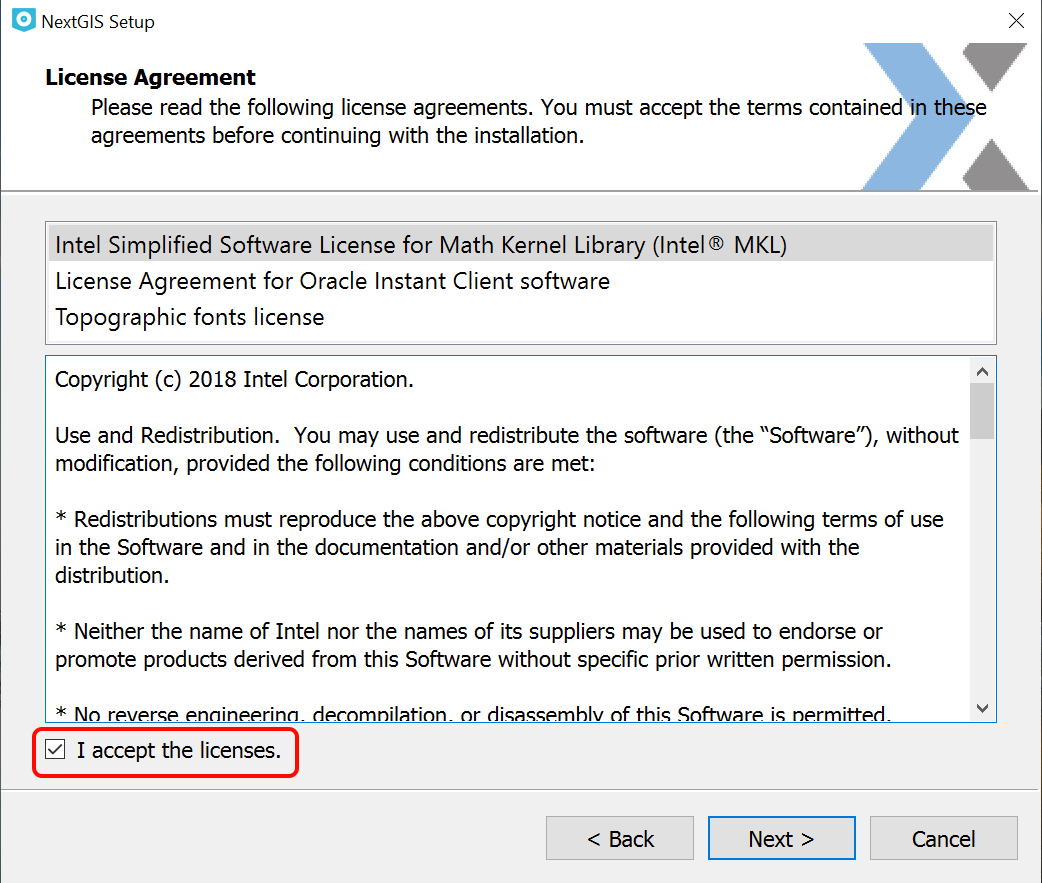
License Agreements page
On the fifth page (see ngqgis_installPage05) select a name for the Start menu folder.
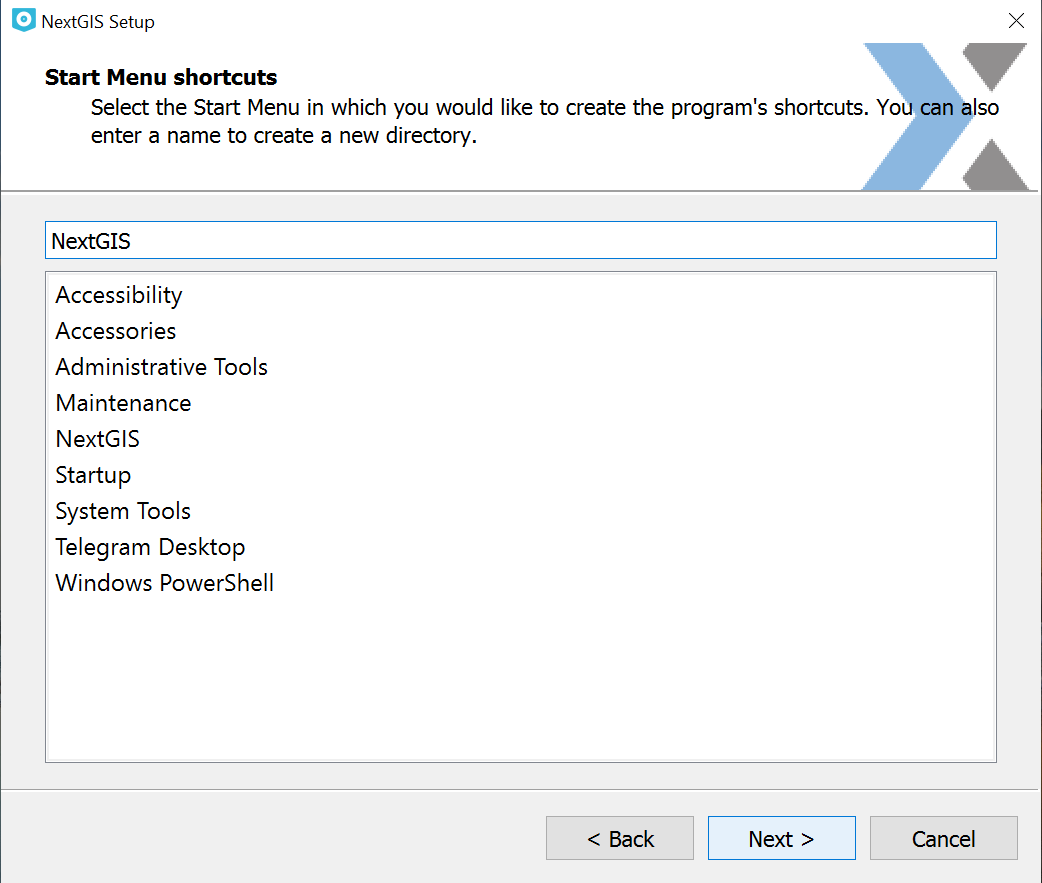
Folder for the Start menu
The sixth page (see ngqgis_installPage06) is the message that the installation process is ready to start.
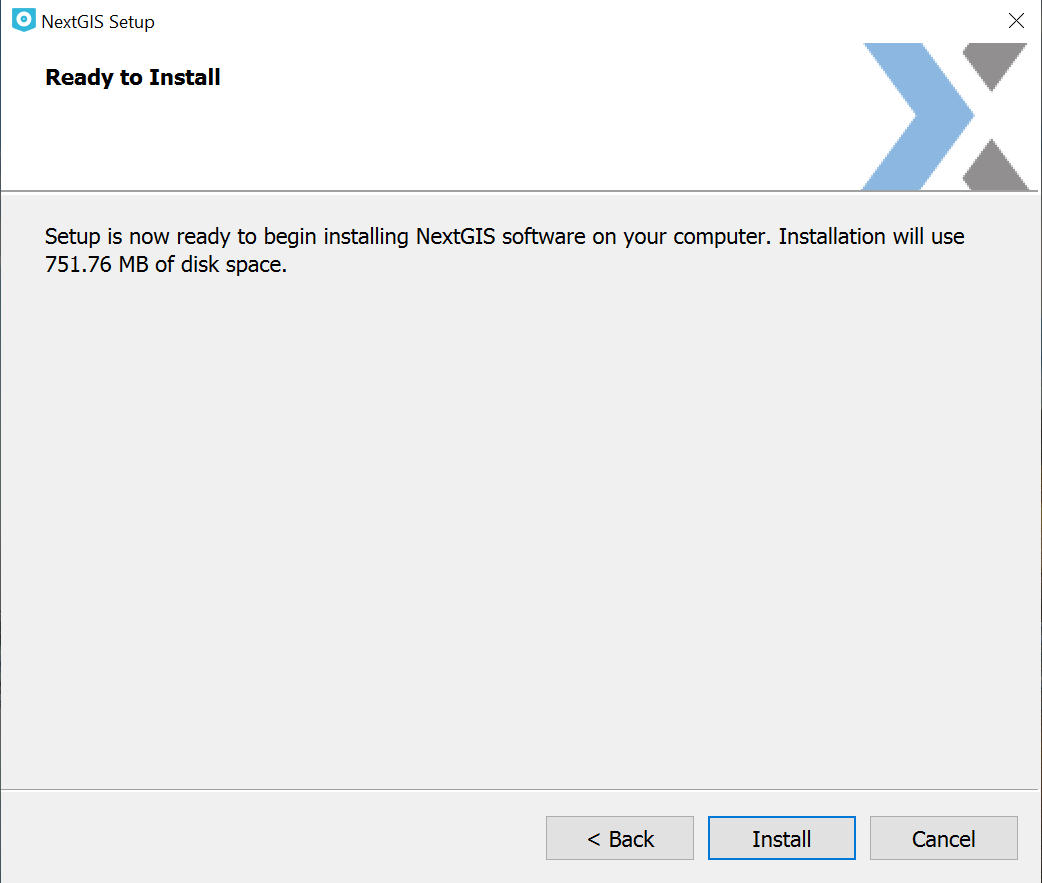
Installation wizard: page 6
After you press Install, the wizard will start unpacking and installing files. When this task is completed a final page will appear, announcing the successful installation of the programm.
System requirements
Minimal PC parameters required
OS Windows 7 or higher, 64 bit
Intel Core i3 at least 2 MHz (2 cores) or an equivalent processor
RAM 4 GB min
motherboard fit for the selected processor with integrated graphics card
HDD 40 GB min
mouse
keyboard
LCD 14” with 1024x768 resolution
Recommended PC parameters
OS Windows 10 or higher, 64 bit
Intel Core i5 at least 2.8 MHz (4 cores) or an equivalent processor
RAM 16 GB min
motherboard fit for the selected processor
discrete graphics with video memory 4 GB min
HDD or SSD 500 GB min
mouse
keyboard
Uninterruptible power supply 800 VA min
LCD 24”, with resolution 2560x1440